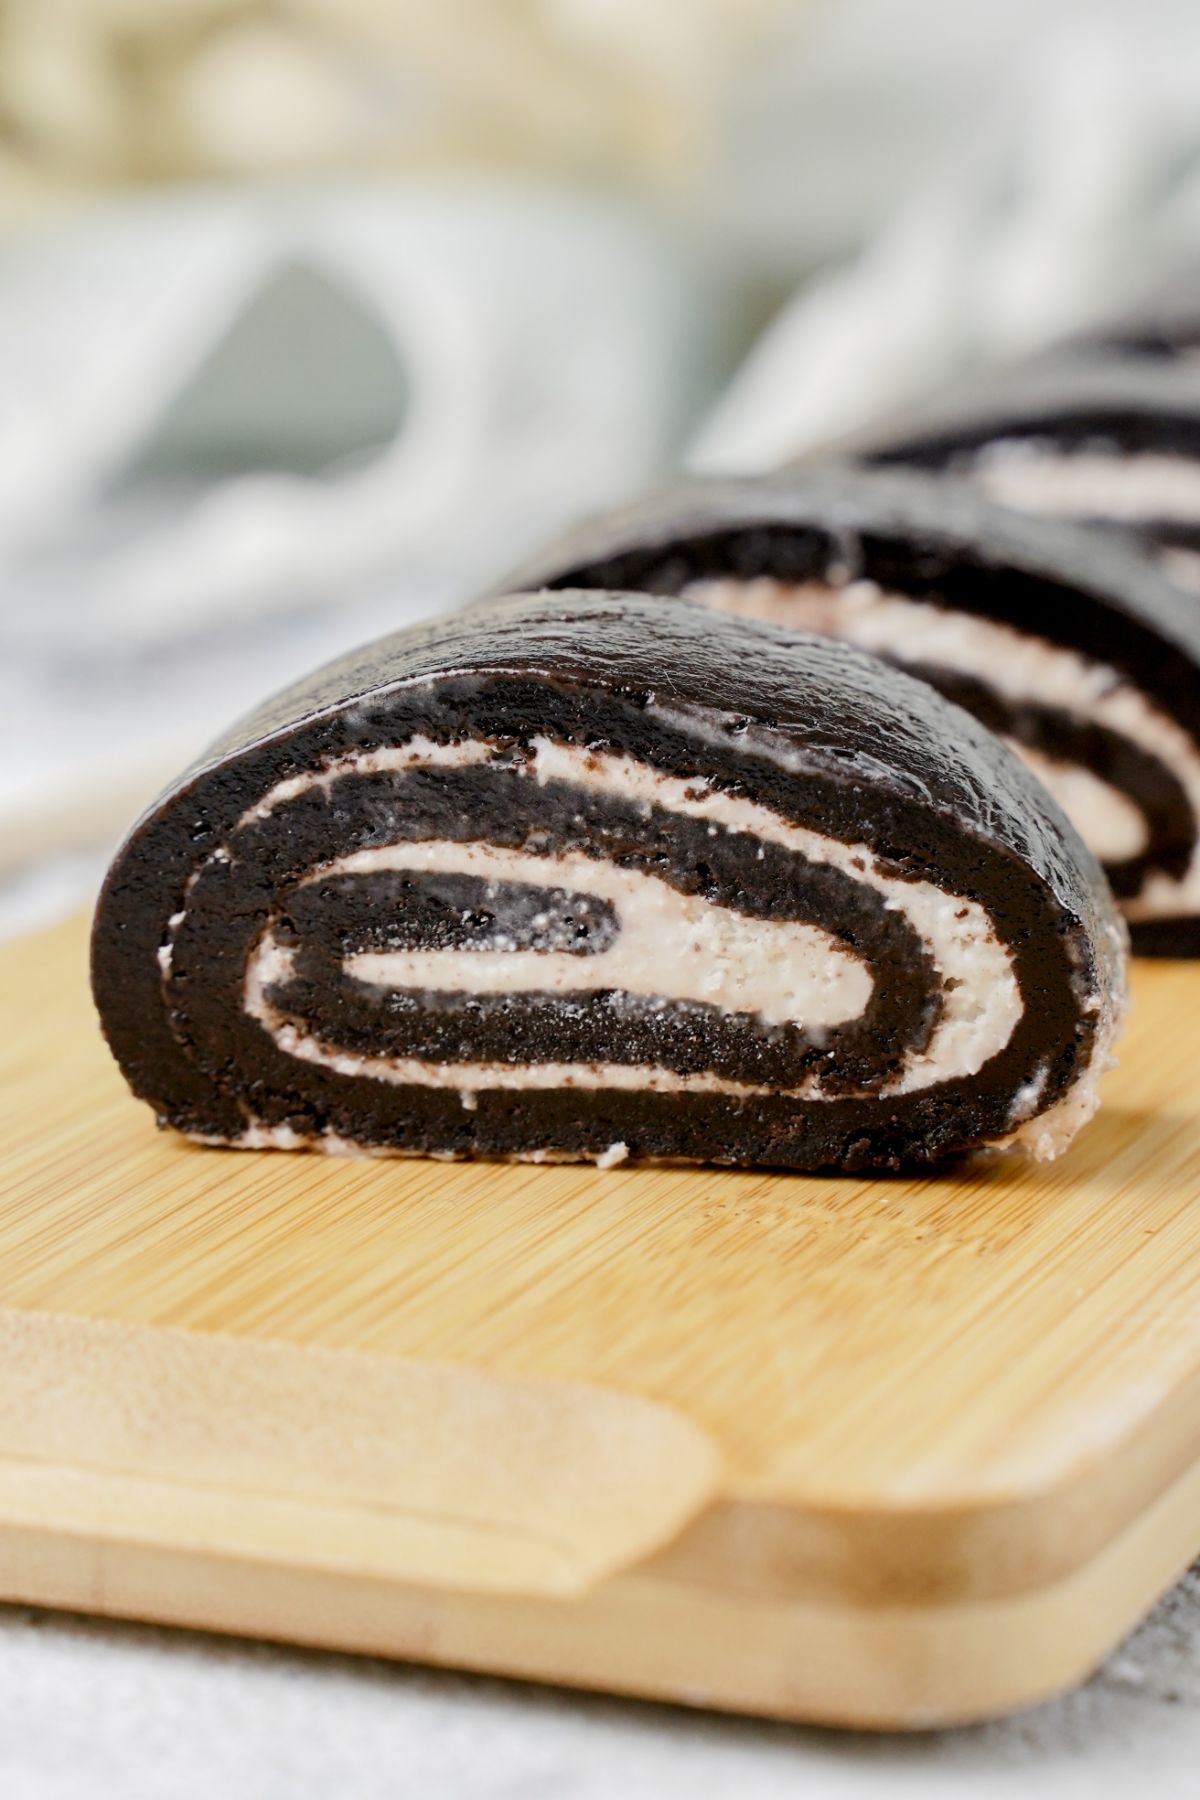
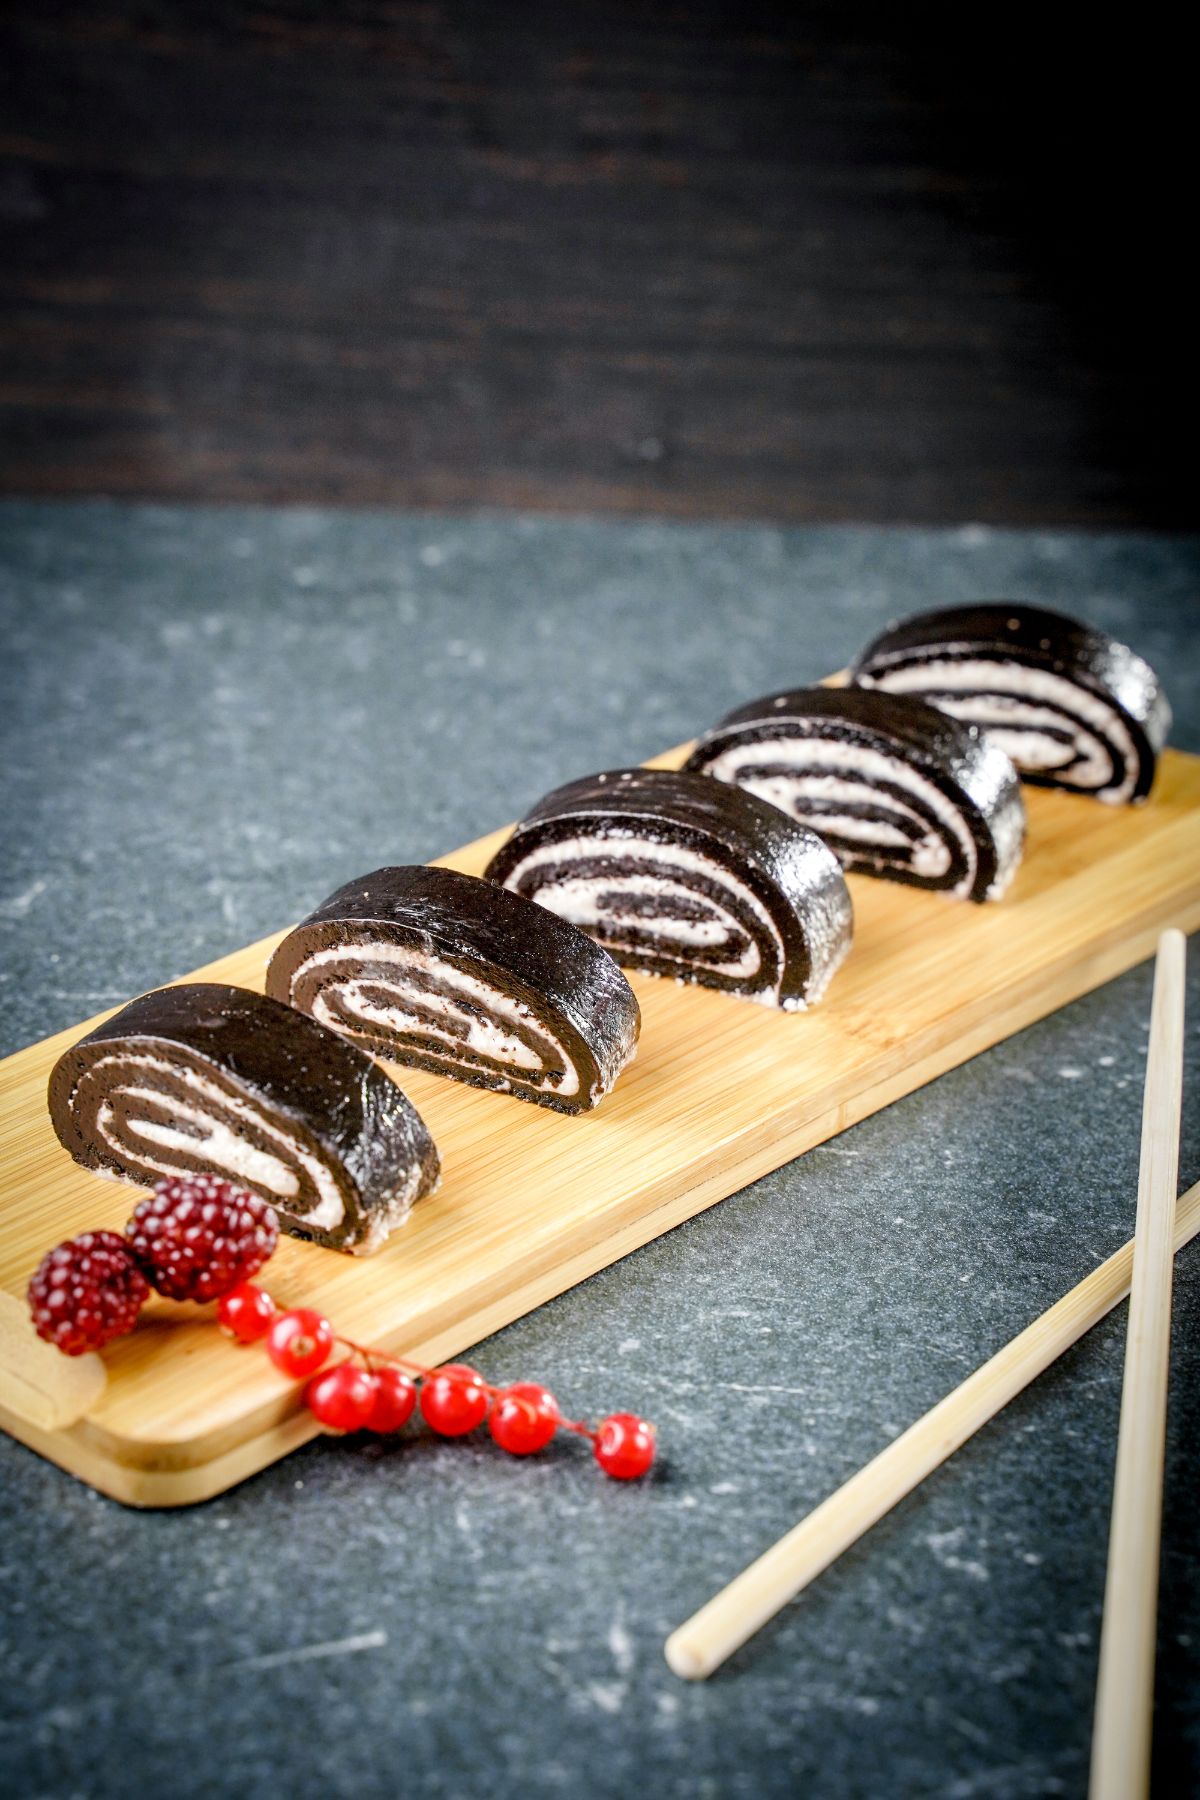
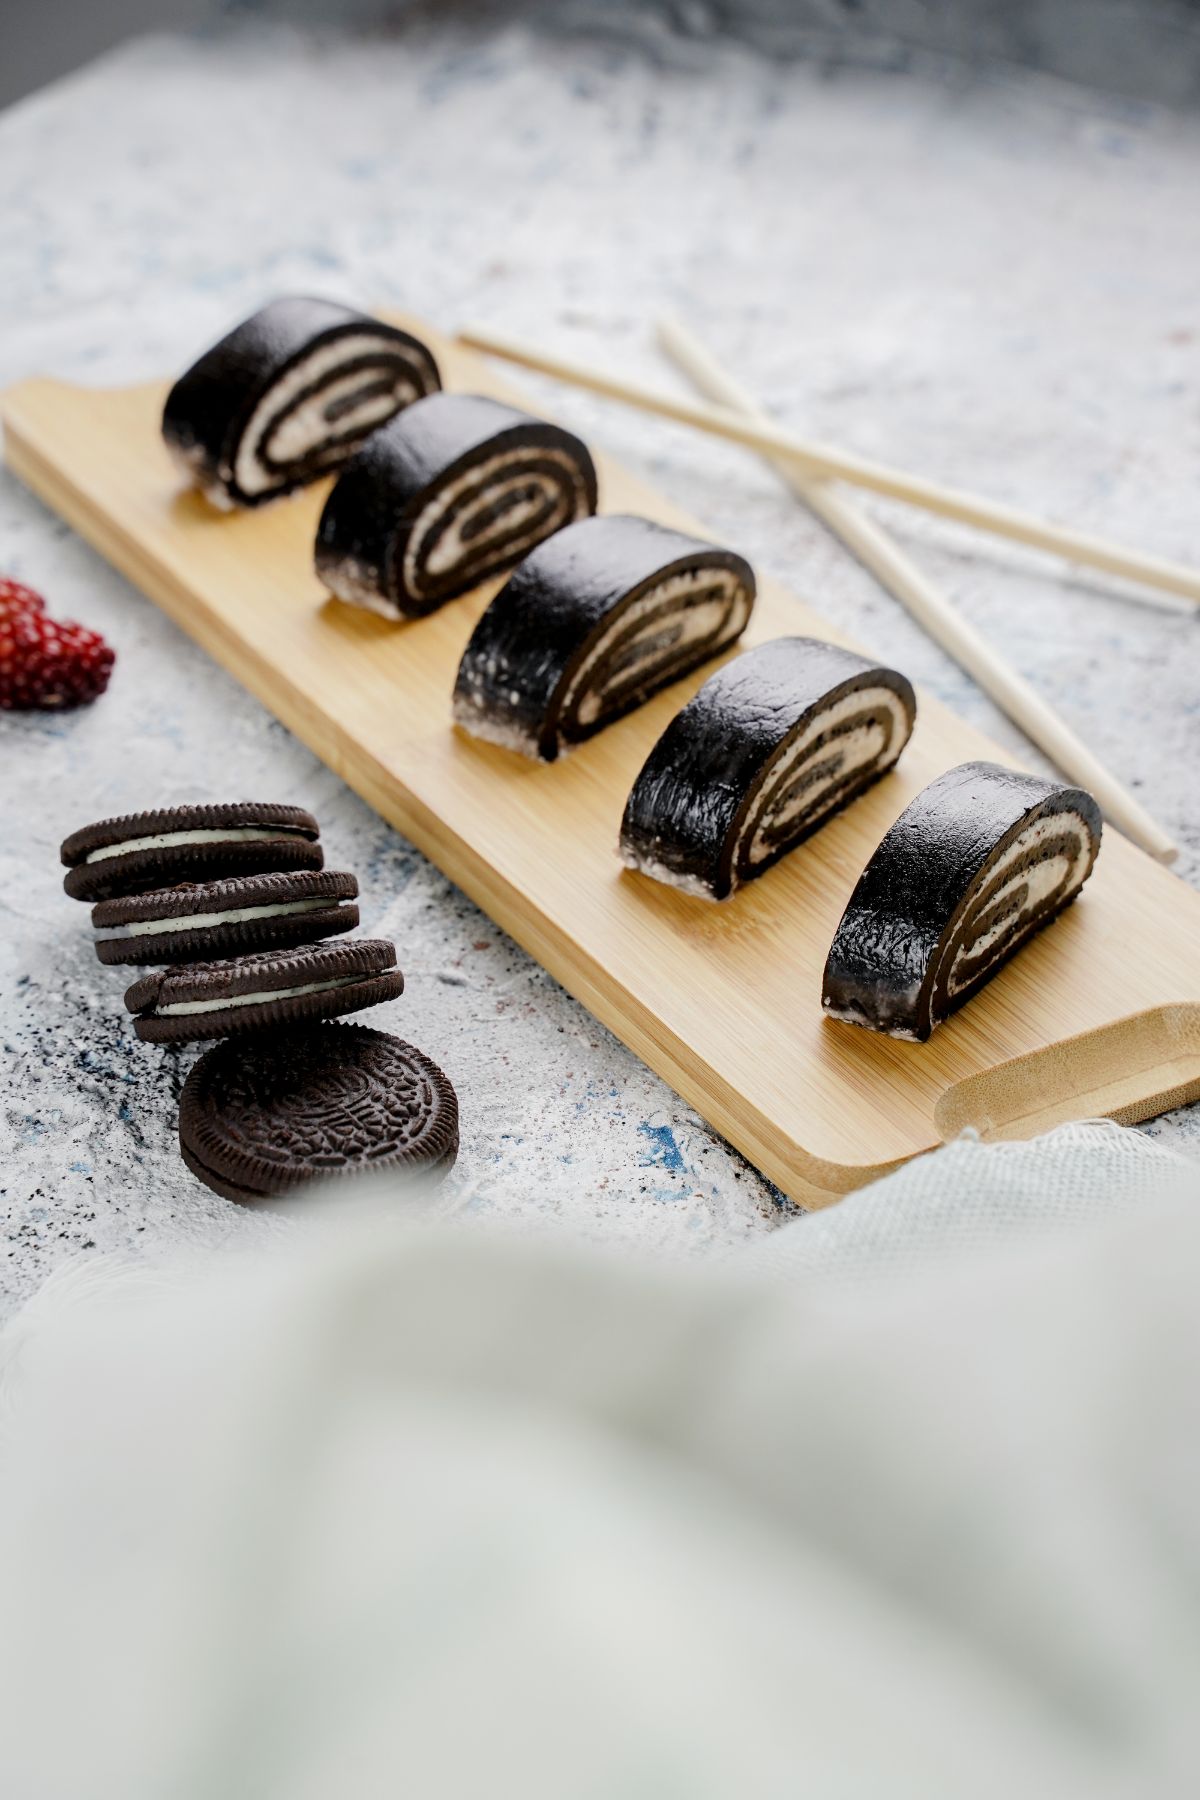
This easy, 2 ingredient Oreo sushi recipe is the perfect fun and interesting take on the humble Oreos. Go give it a try!

Oreo lovers will agree- there’s no one single way to enjoy an Oreo. Whether you have been dunking it in milk or adding it to your homemade no-bake cheesecakes, they can be a fun little ingredient that can really add a lot of texture and a unique flavor to whatever it is that you are making.
So there’s no surprise Oreo sushi came up as a new genius little sweet treat that looks and tastes fascinating and delicious. And if you’re intimidated by how fancy it looks, don’t be. It takes just a few ingredients and a little bit of kitchen time to whip up this fantastic little dessert bite that you can make a little party that you’re hosting or just enjoy on your own.
Jump to:
Ready to give the recipe a shot? Scroll down and keep reading to discover more about it.
Ingredients For the Recipe
You’ll need just 2 simple ingredients to make the no-bake Oreo sushi.
- 24 Oreos
- 3 tablespoon + 2 tablespoon milk
Kitchen Tools Needed
How to Make the Oreo Sushi
Once you have everything ready, here’s what you need to do to make the Oreo sushi.
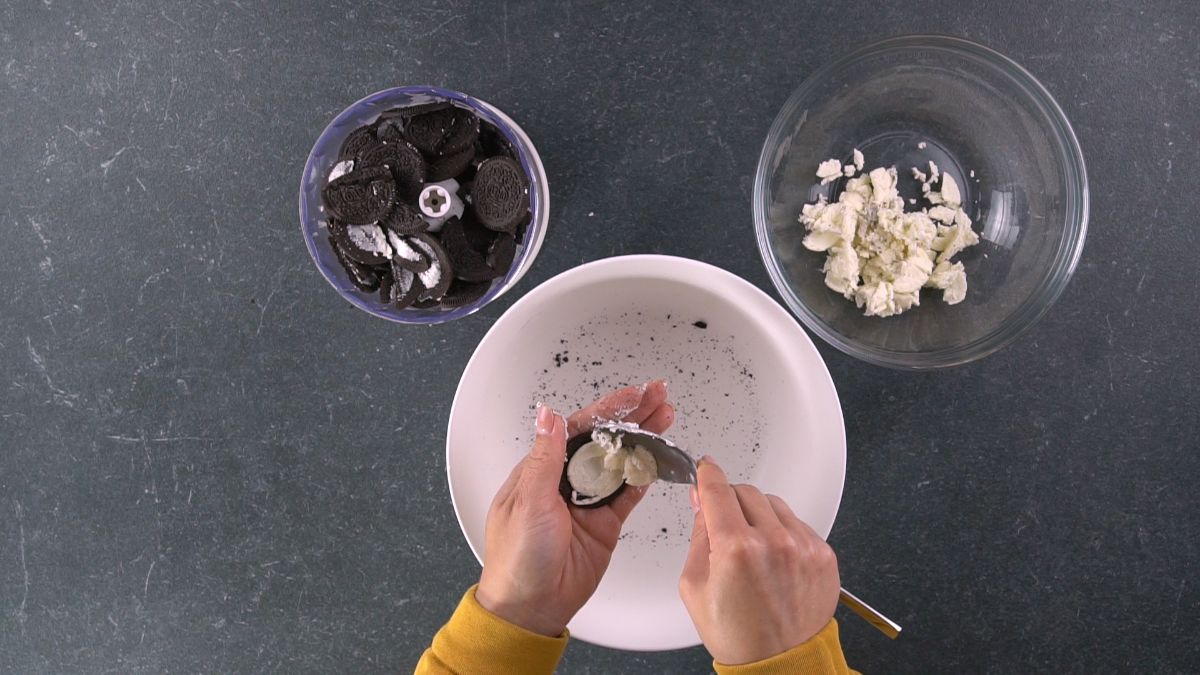
Divide the black and white part of the cookies into two different dishes.
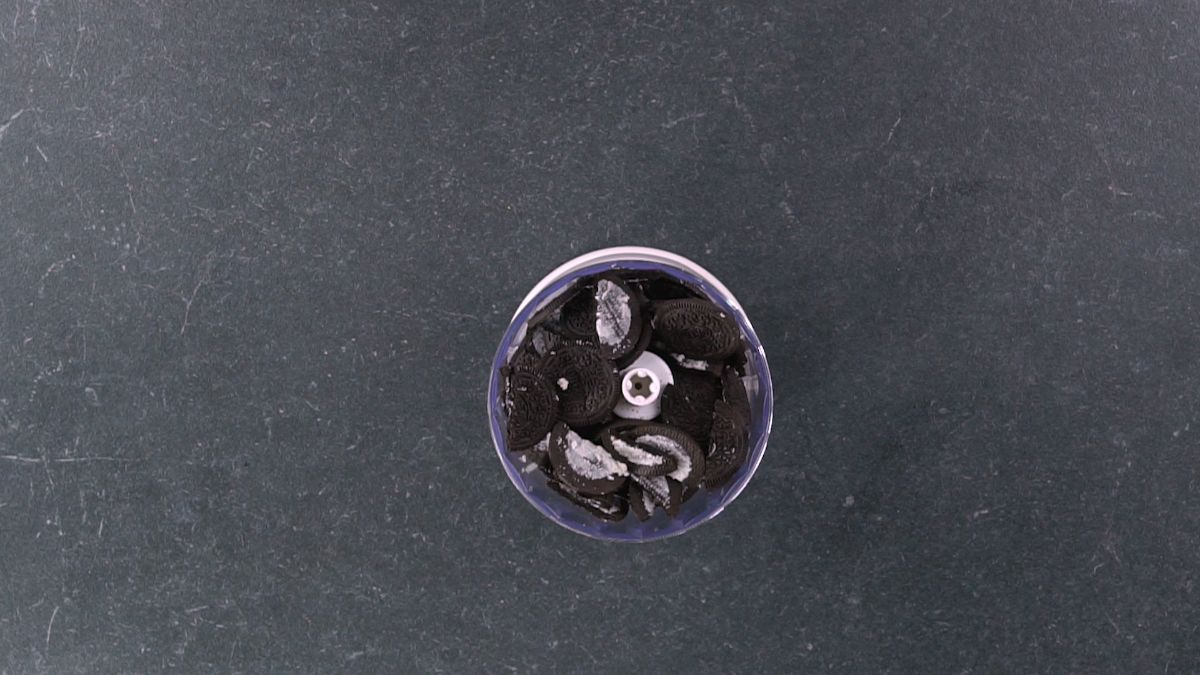
Place the cookies in a food processor and process them until you get crumbs.
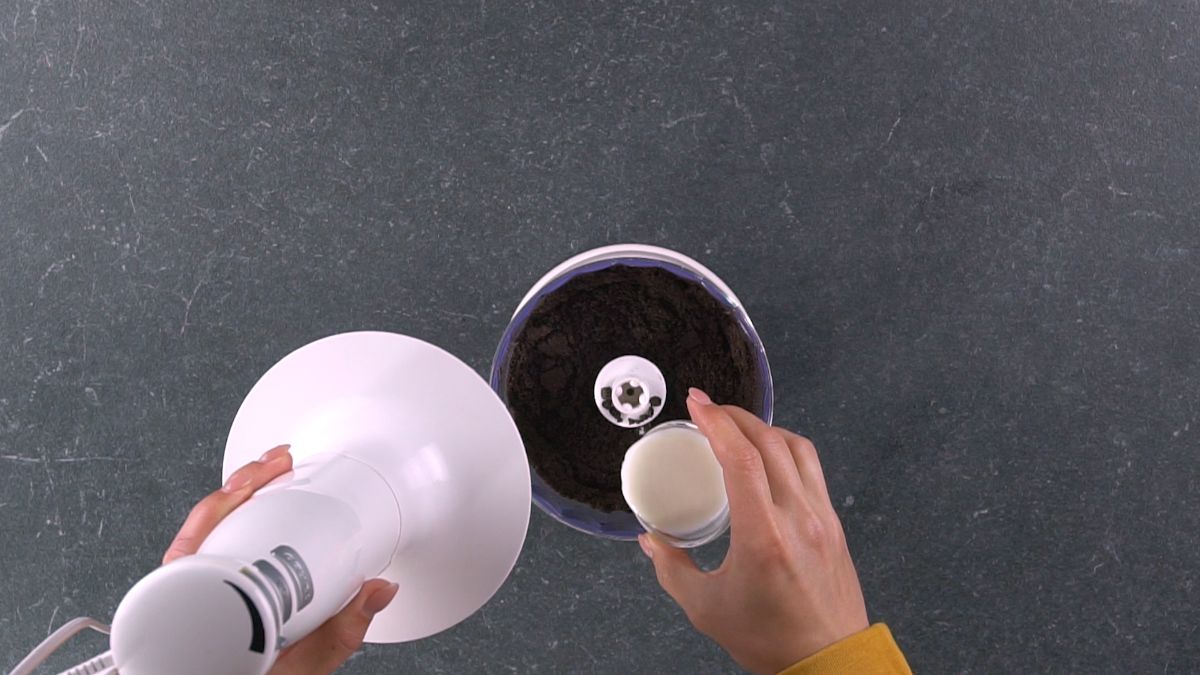
Add 3 tablespoon of milk to create a dough.
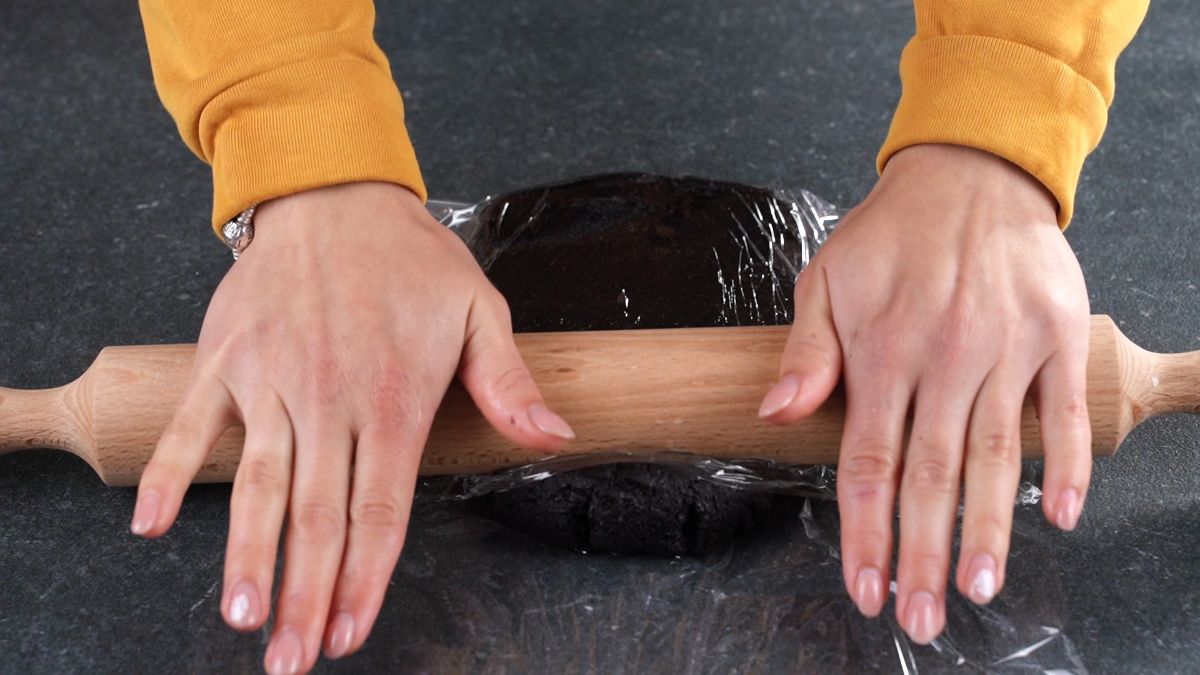
When the dough is ready, place it between two sheets of cling wrap and roll it until you get the desired thickness.
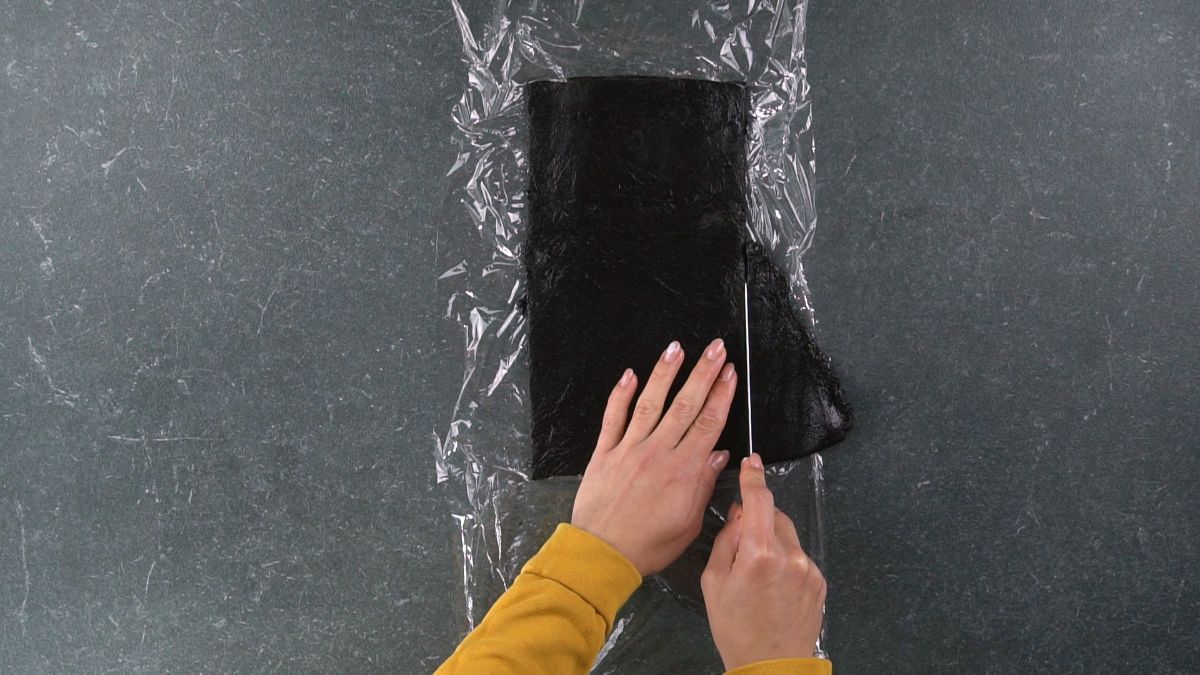
Trim the ends of the dough to get a rectangular shape.
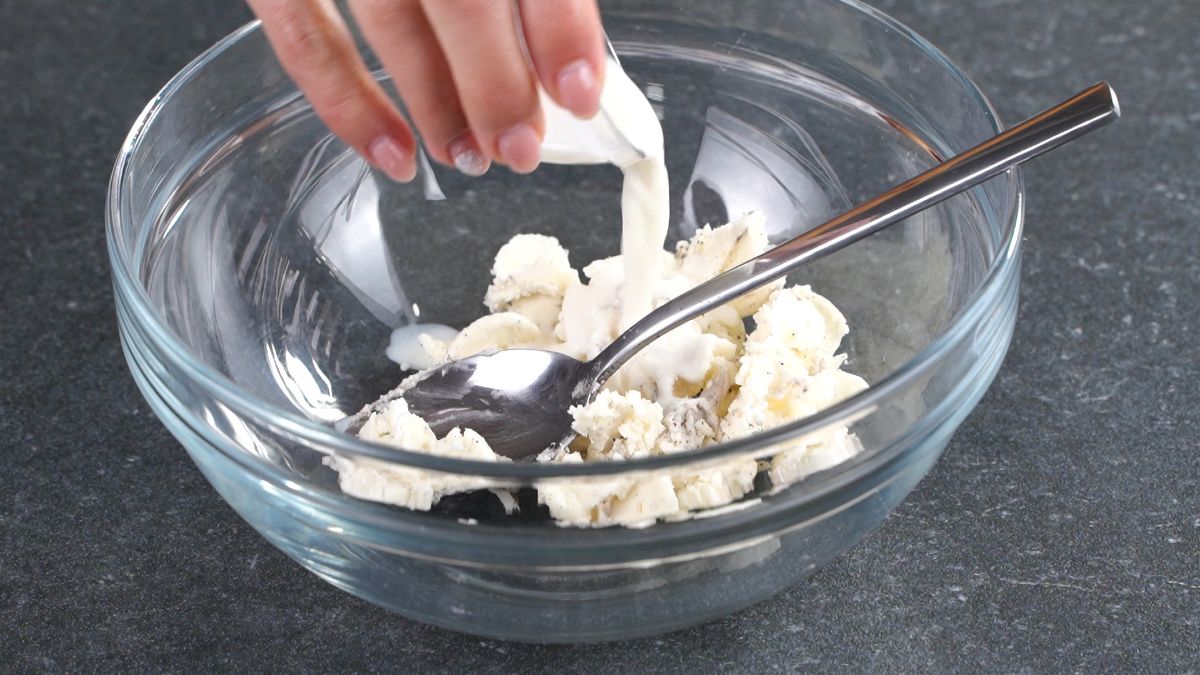
To create the filling you will need the white part of the oreo and 2 tablespoon of milk.
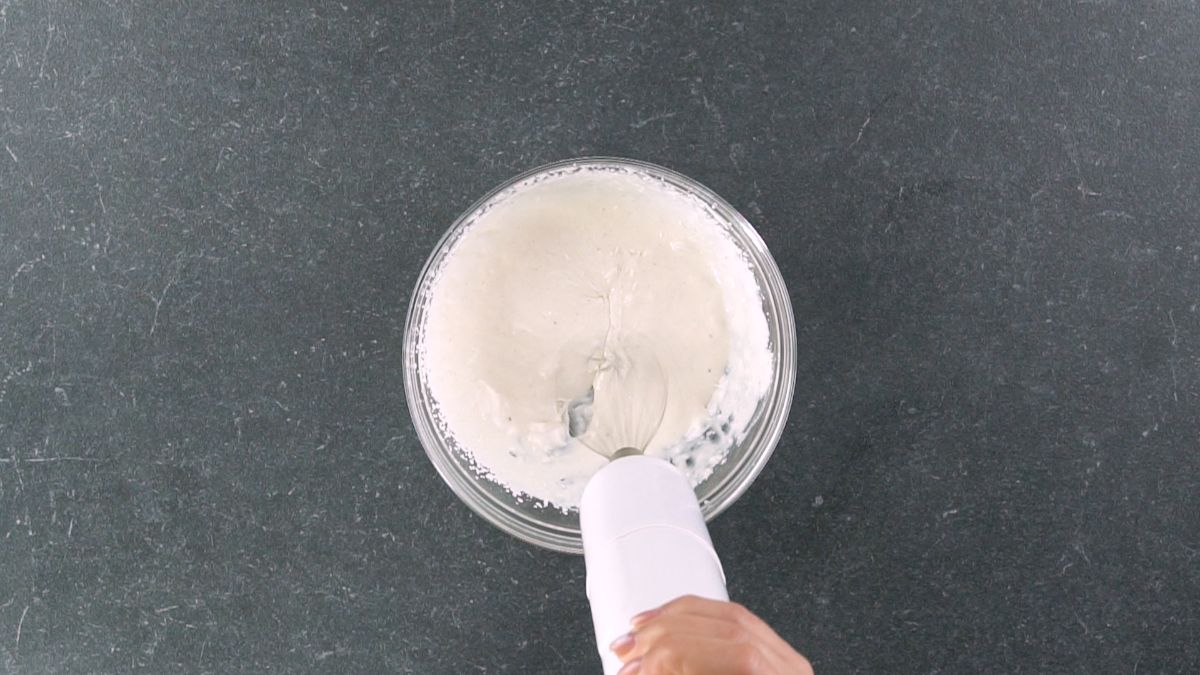
Mix them together until you get a thick mixture.
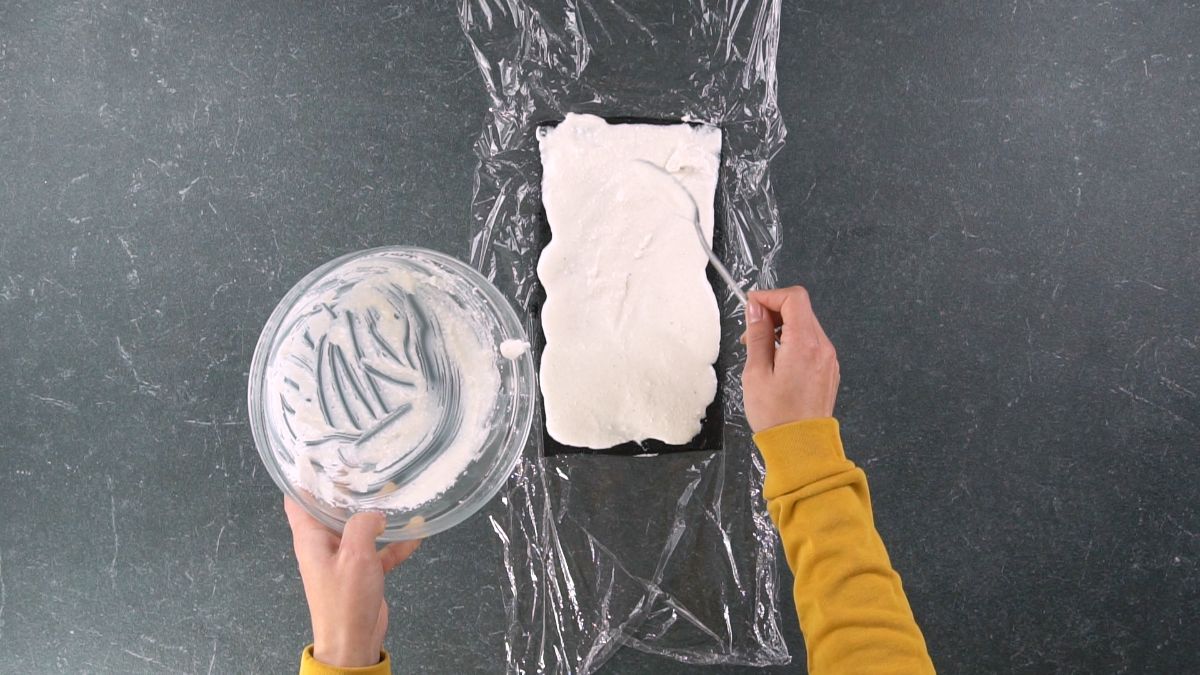
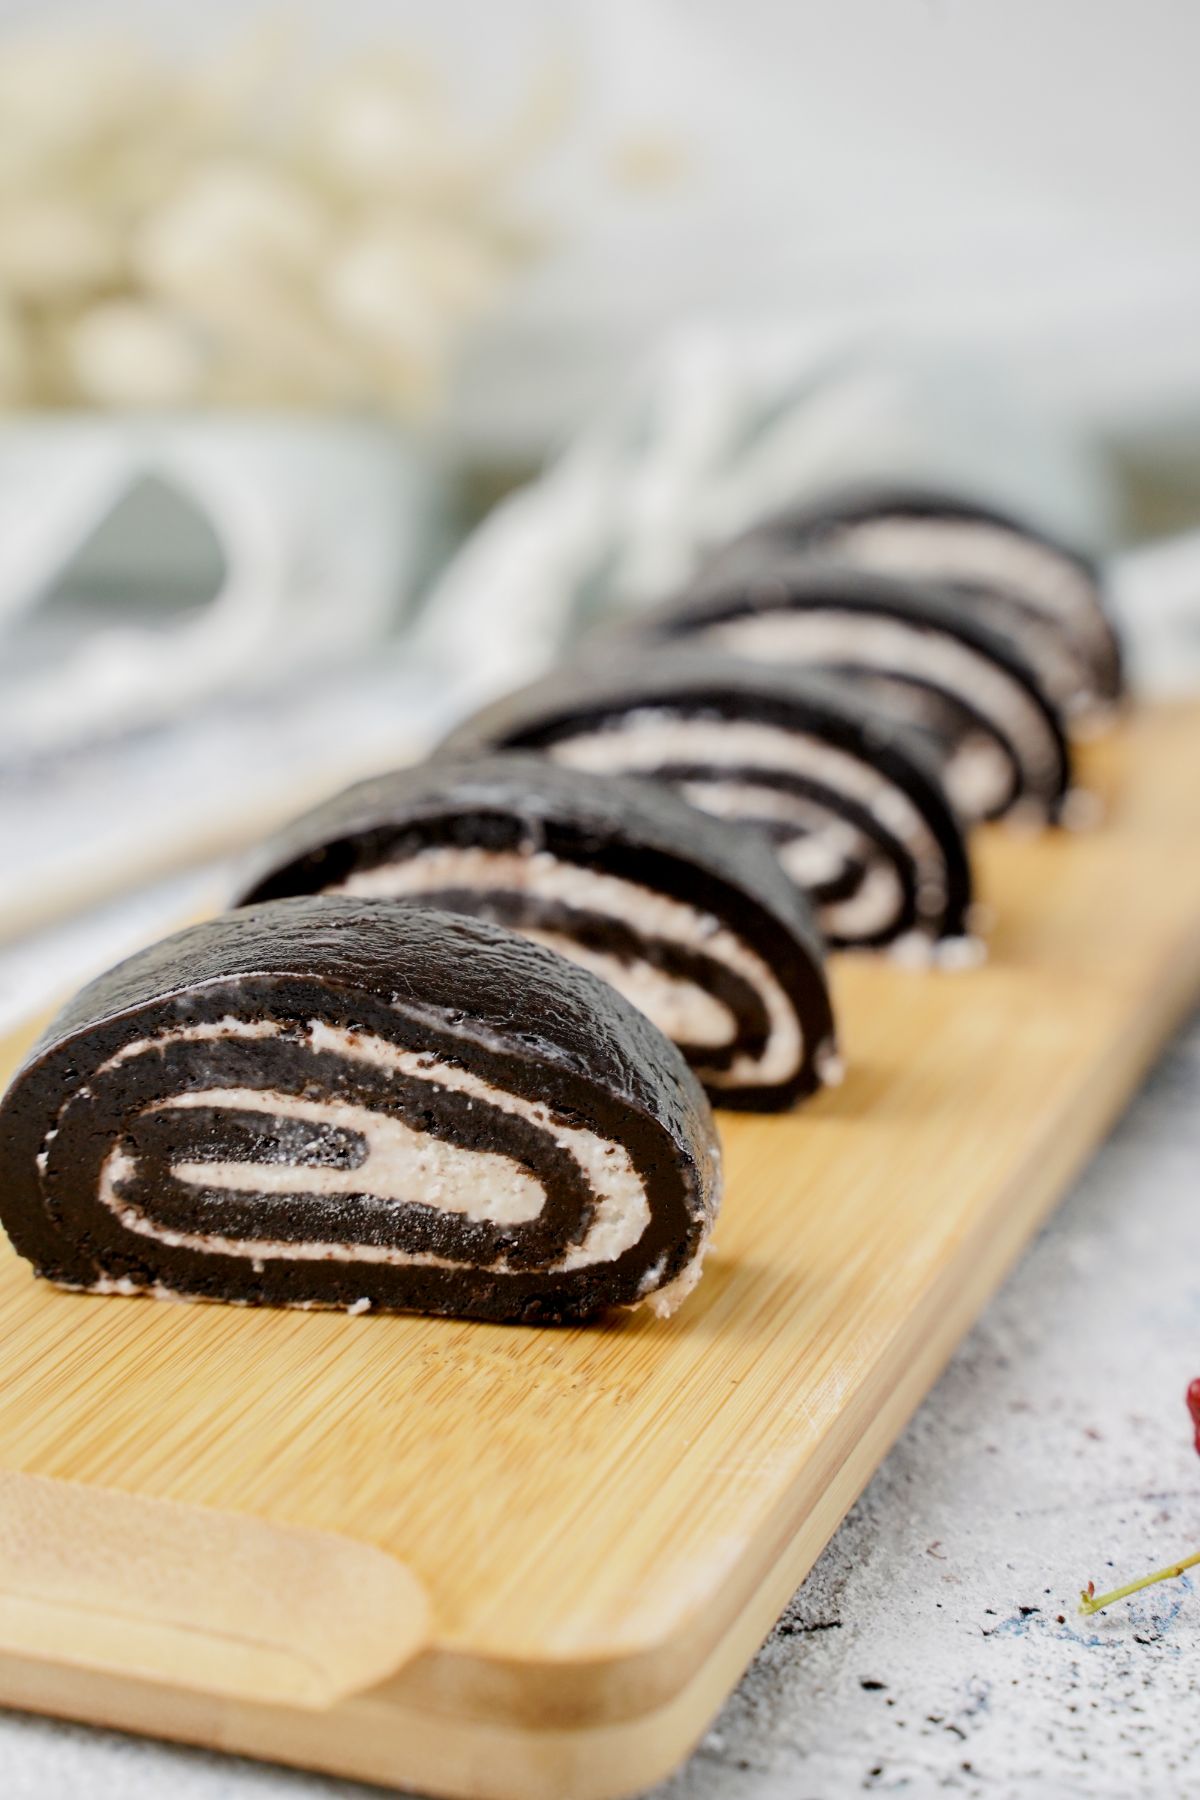
Spread it over the dough in an even layer, then gently roll the dough in a spiral.
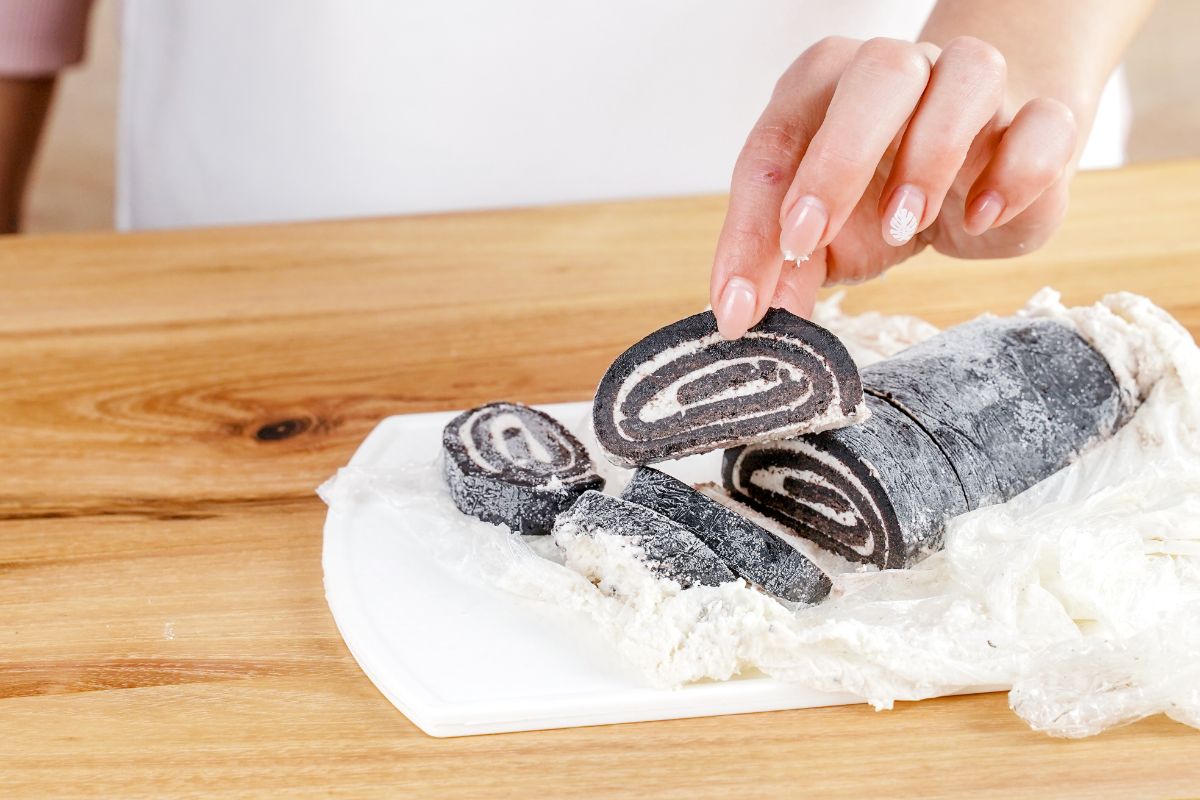
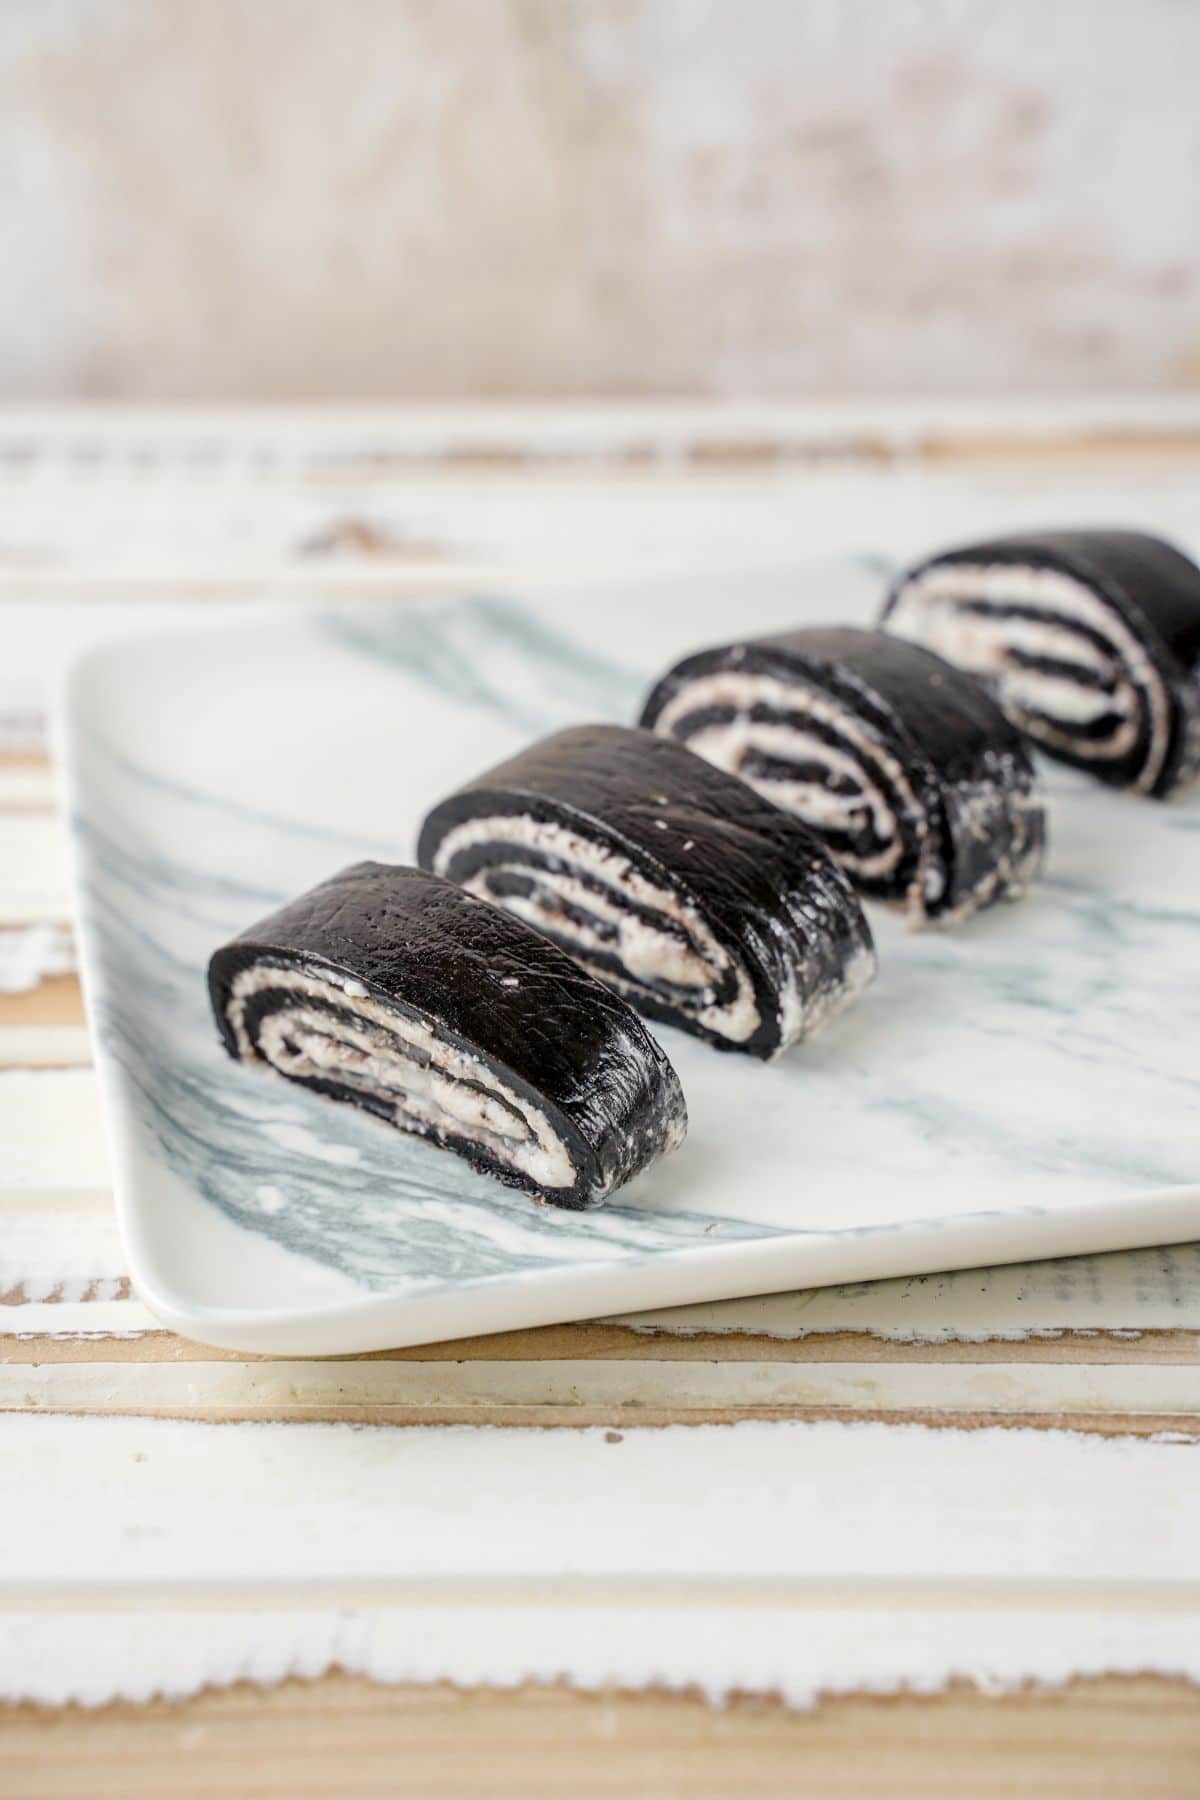
Place it in a fridge for at least 1 hour to set. Cut it into thicker pieces and serve.
Frequently Asked Questions
You definitely can. If you’re not too keen on using regular Oreos, you could use golden Oreos instead as well, and experiment with the fillings and additions to transform it into a unique flavored Oreo sushi.
If you don’t have Oreos, you could try replicating the same recipe with graham cracker crumbs too, and use any spread of your choice for the filling.
The recipe calls for the use of the Oreo cream filling and some milk, but you don’t necessarily have to stick to just that. You can experiment with anything else that you prefer and give the Oreo sushi your own twist.
Peanut butter, for example, can make for a good addition as a filling for the Oreo sushi, as can Nutella spread. You can also use some Lotus Biscoff spread or any other cookie butter as a filling for the sushi to enjoy a bit of a unique flavor.
If you’re using golden Oreos to make the sushi, you can add a little berry jam or some lemon zest into the cream mixture to turn it into nice summery dessert sushi.
You can stick to the simple cream filling for this recipe or add an additional layer of; say chopped nuts or some chocolate shavings to lend the sushi rolls a bit of extra texture.
Another cool idea is to throw some crushed Oreo cookie crumbs into the cream filling. This will make the sushi rolls look even more attractive and will lend them a bit of texture too.
The Oreo sushi is super soft, which is why it is best to consume it as quickly as you can. You can refrigerate it in an airtight container for up to 24 hours, but if you try to store it beyond that, it might start to turn into a soggy mess.
Freezing it is again, not recommended, since the sushi can lose its texture and firmness as it thaws.
Tips to Nail the Oreo Sushi Recipe
Think you’re all ready to give this easy recipe a shot? Wait up! You might want to keep these additional tips and tricks in mind to nail the recipe.
- You’ll need to add milk to the processed Oreos, but make sure you add them bit by bit, one spoon at a time. Stop adding milk until you feel the consistency is just right enough that the mixture develops a dough-like consistency.
- Want to enjoy this take on Oreos but still keep it a bit healthy? Swap the cream filling for a mixture of low-fat butter, some protein powder, and any natural sweetener of your choice.
- Remember that chill time is exceptionally important for this recipe. Make sure you give it at least 2 hours in the refrigerator so that the sushi can firm up and hold its shape well, and not fall apart when you try to cut the roll into the individual sushi rolls.
- Once you get the refrigerated Oreo sushi out, roll it on your countertop a few more times to get it back to the shape you want it to have.
Serving Ideas & Suggestions
These no-bake Oreo sushi bites taste great all on their own, but if you really want to go the extra mile and pair them with something, you can create a melted chocolate dipping sauce of sorts to go along with the ‘sushi.’
You can also use the Oreo sushi as a topping for your Oreo cheesecake and turn it into a nice fusion dessert packed with the crunchy and chocolatey deliciousness of Oreos.
Enjoyed trying out this recipe? On the hunt for some more fun and interesting recipes that are also easy to make? You might want to give these a shot!
- Chocolate Fudge Without Condensed Milk
- Easy Oreo Banana Parfait No-Bake Dessert
- 3 Ingredient Cookies and Cream Bars
Recipe
Easy No-Bake Oreo Sushi
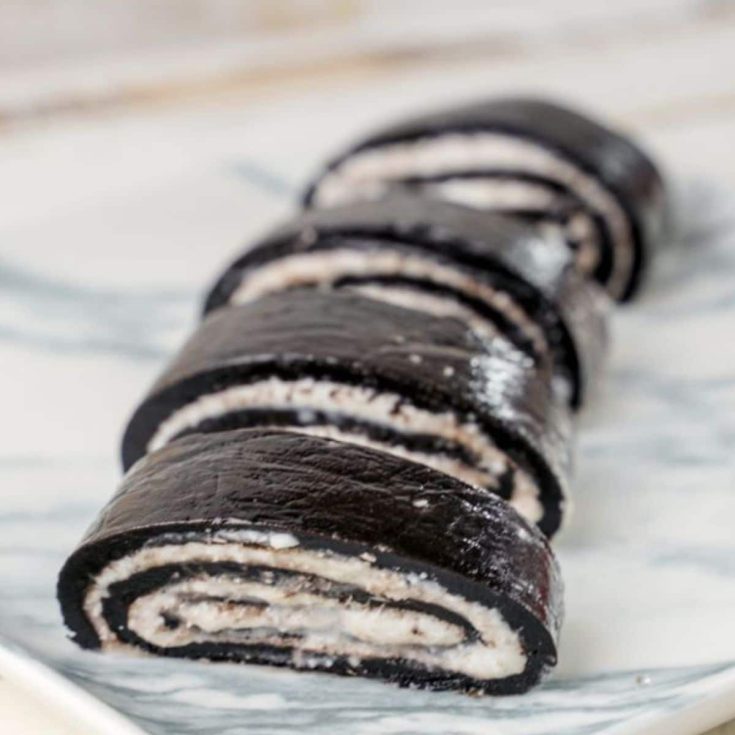
This easy, 2 ingredient Oreo sushi recipe is the perfect fun and interesting take on the humble Oreos. Go give it a try!
Ingredients
- 24 oreos
- 3 tablespoon (44ml) + 2 (30g) tablespoon milk
Instructions
- Divide the black and white part of the cookies into two different dishes.
- Place the cookies in a food processor and process them until you get crumbs.
- Add 3 tablespoon of milk to create a dough.
- When the dough is ready, place it between two sheets of cling wrap and roll it until you get the desired thickness.
- Trim the ends of the dough to get a rectangular shape.
- To create the filling you will need the white part of the oreo and 2 tablespoon of milk.
- Mix them together until you get a thick mixture.
- Spread it over the dough evenly, then gently roll the dough into a spiral.
- Place it in a fridge for at least 1 hour to set. Cut it into thicker pieces and serve.
Nutrition Information:
Yield:
10Serving Size:
1Amount Per Serving: Calories: 133Total Fat: 6gSaturated Fat: 2gTrans Fat: 0gUnsaturated Fat: 0gCholesterol: 1mgSodium: 112mgCarbohydrates: 20gFiber: 1gSugar: 12gProtein: 1g



Comments
No Comments