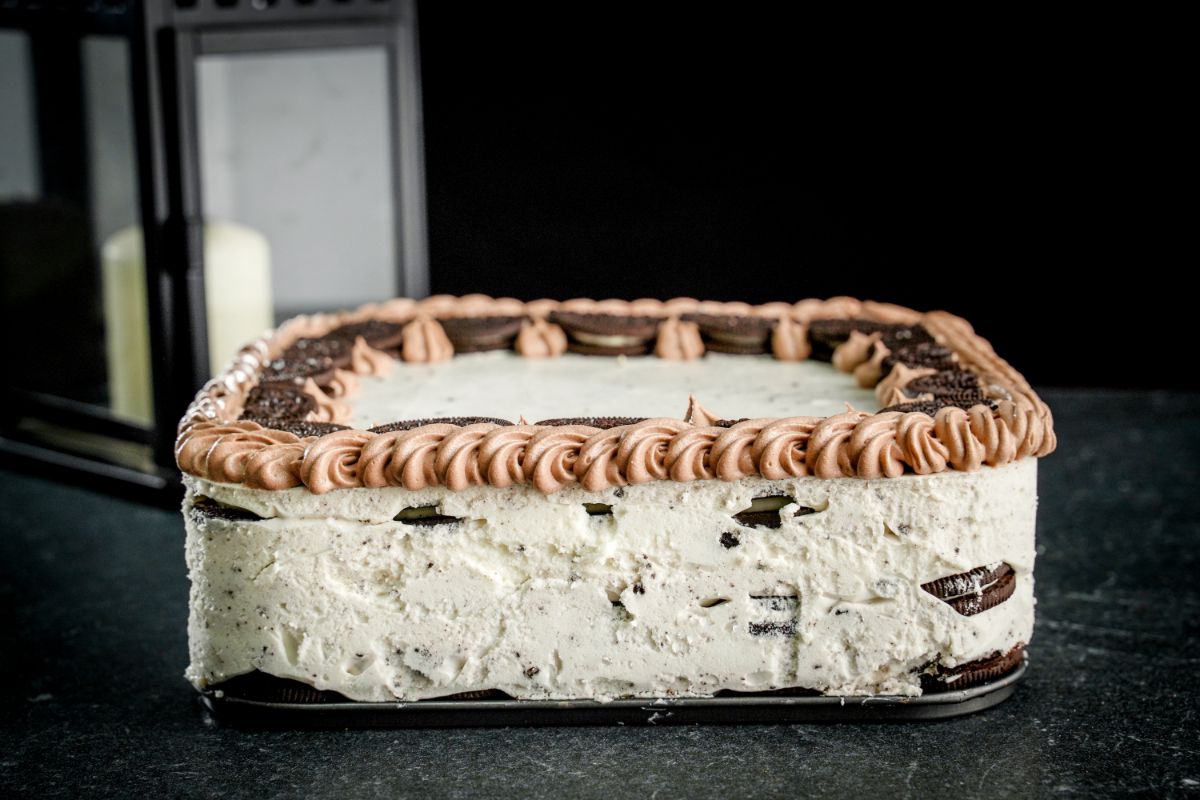
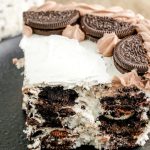
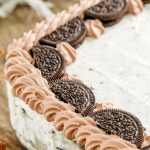
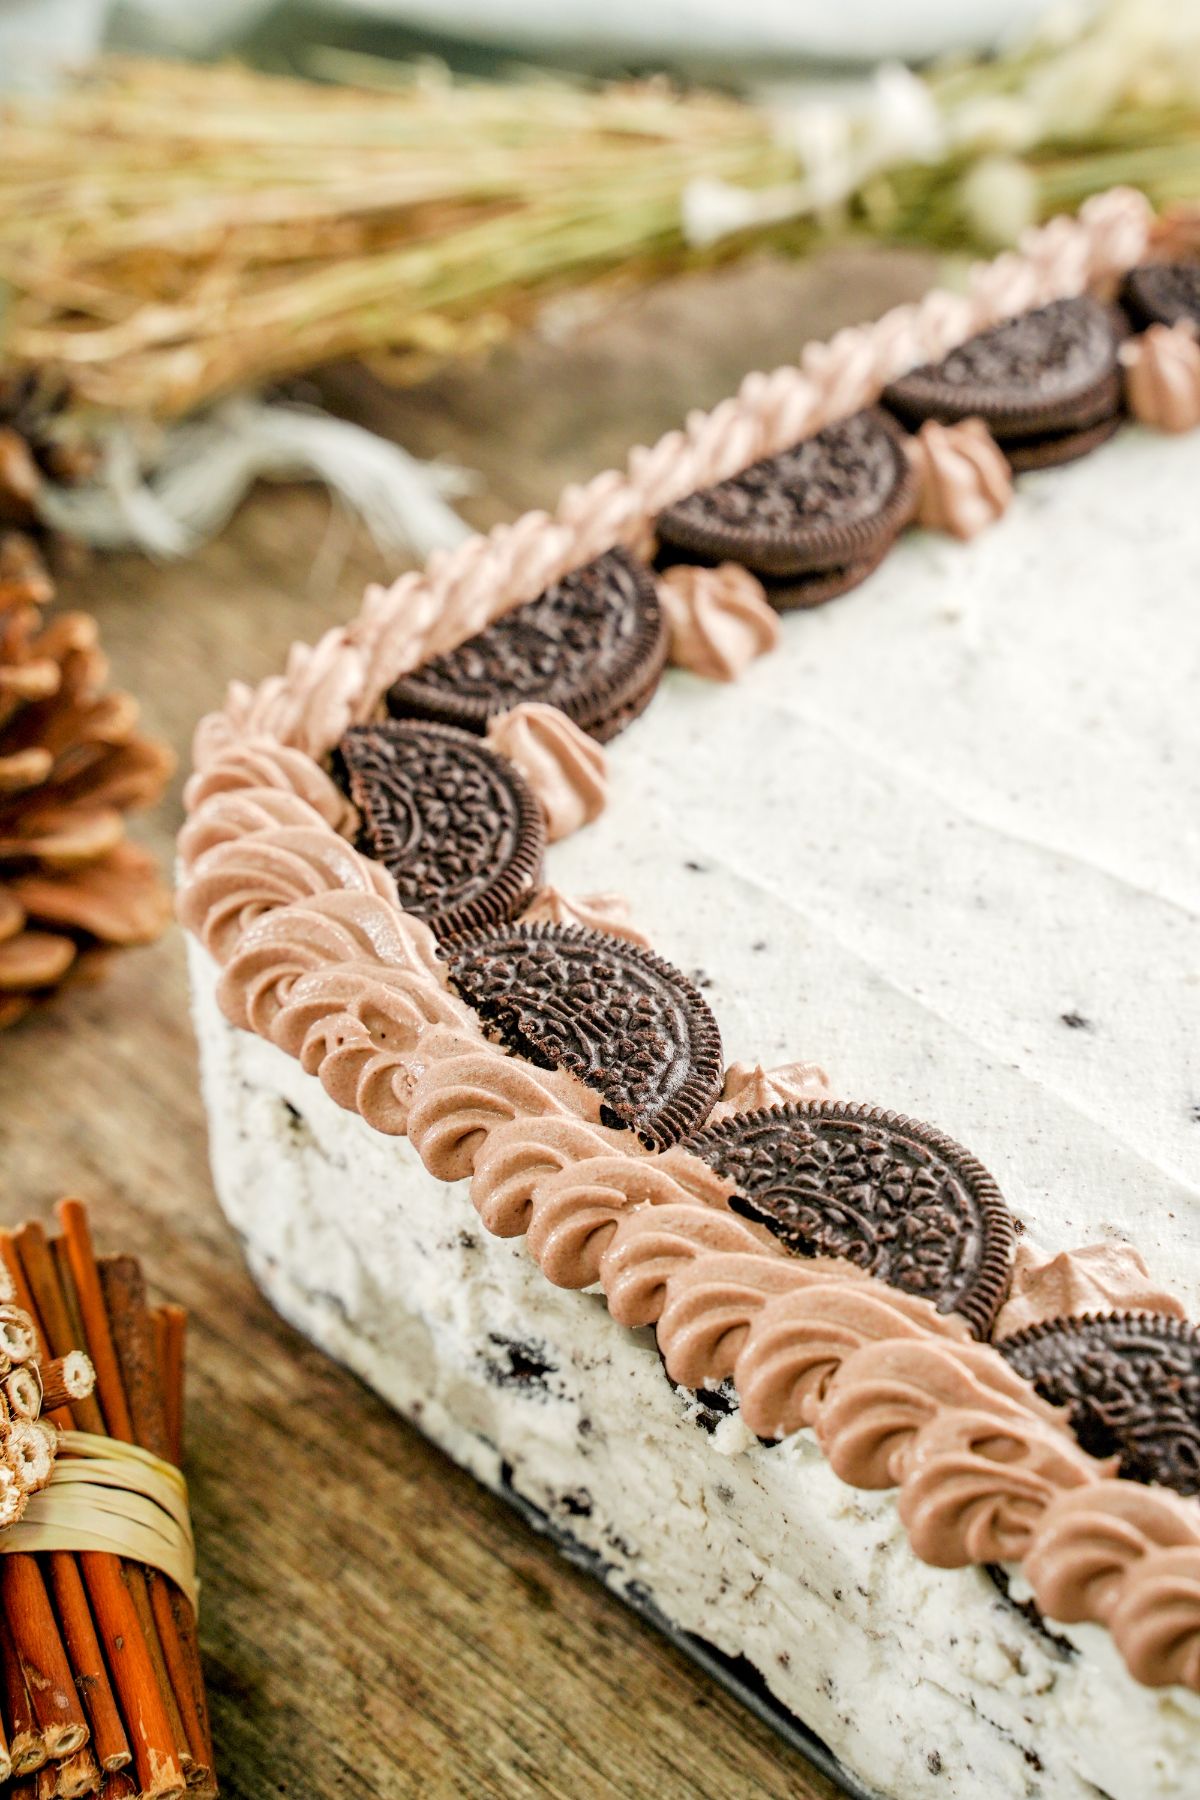
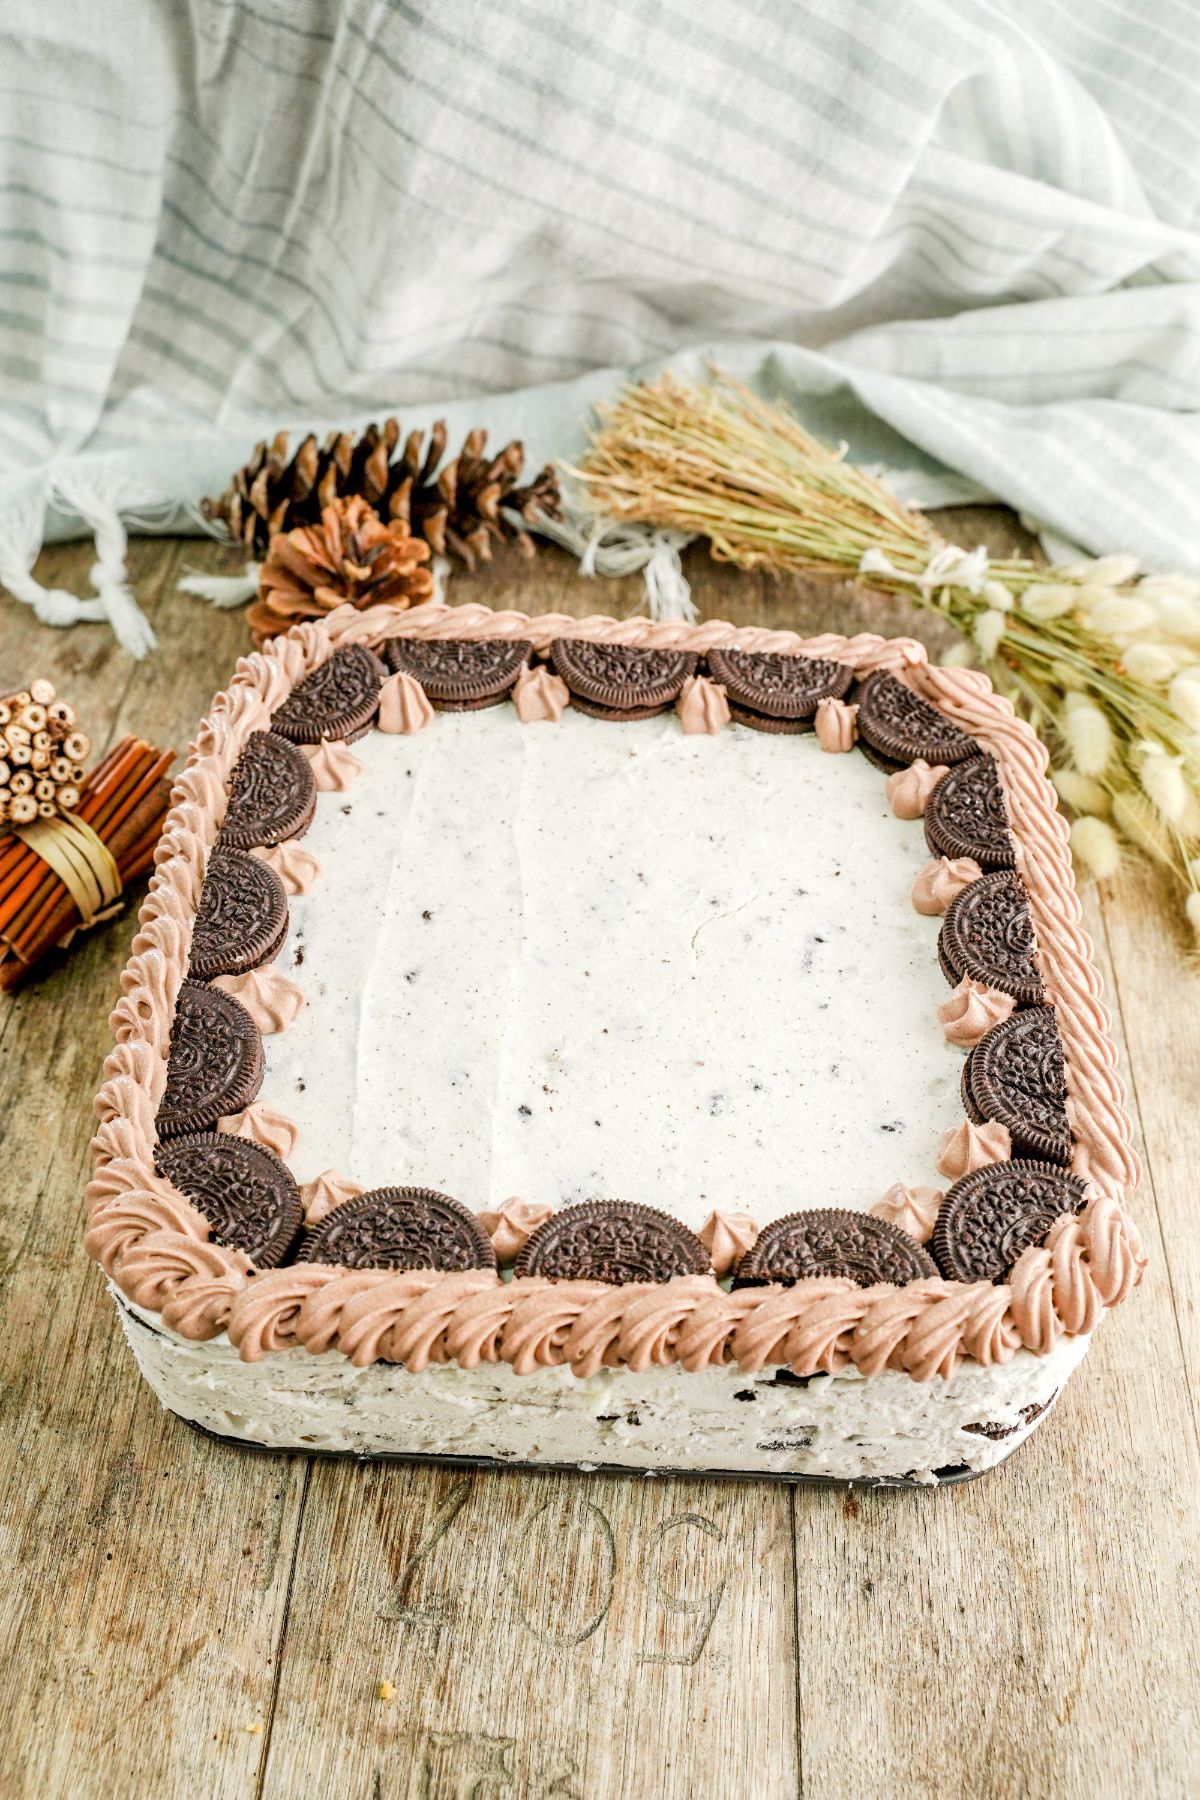
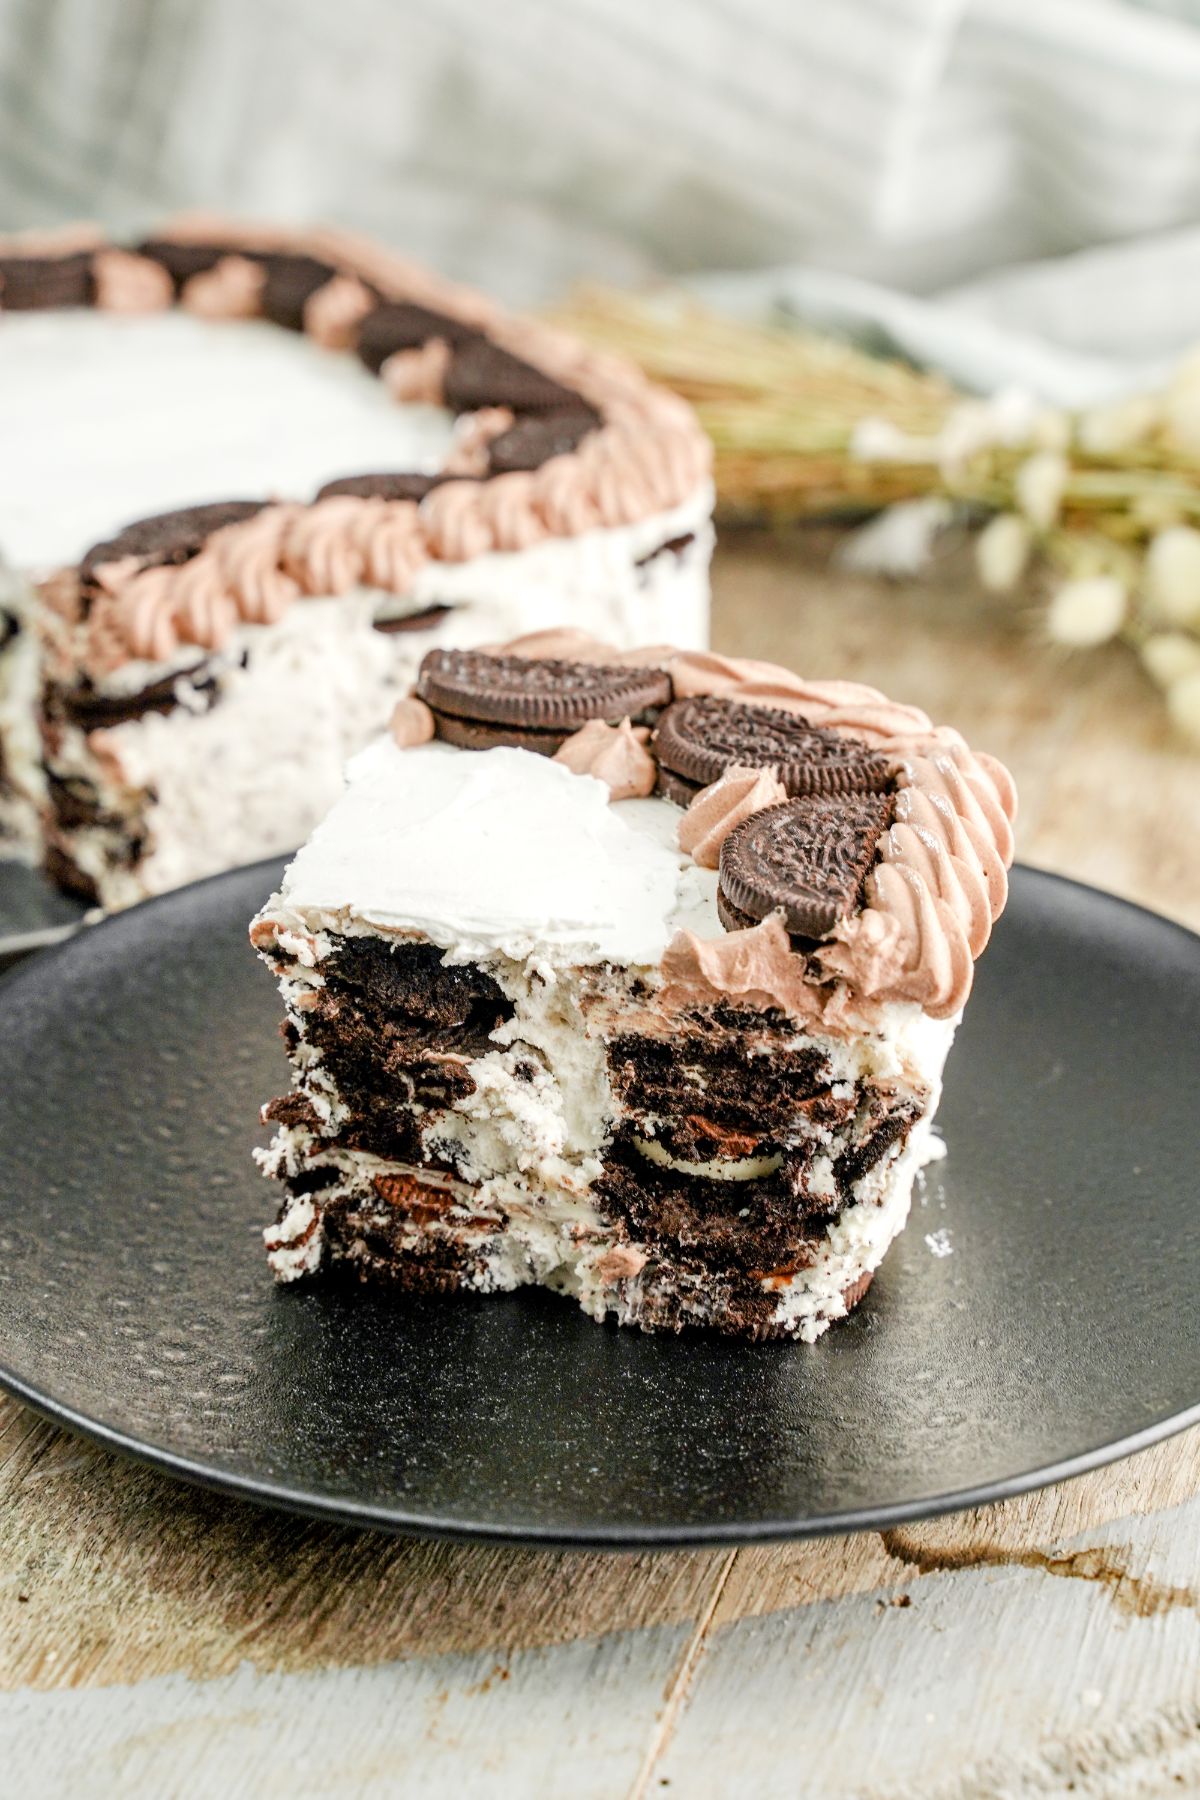
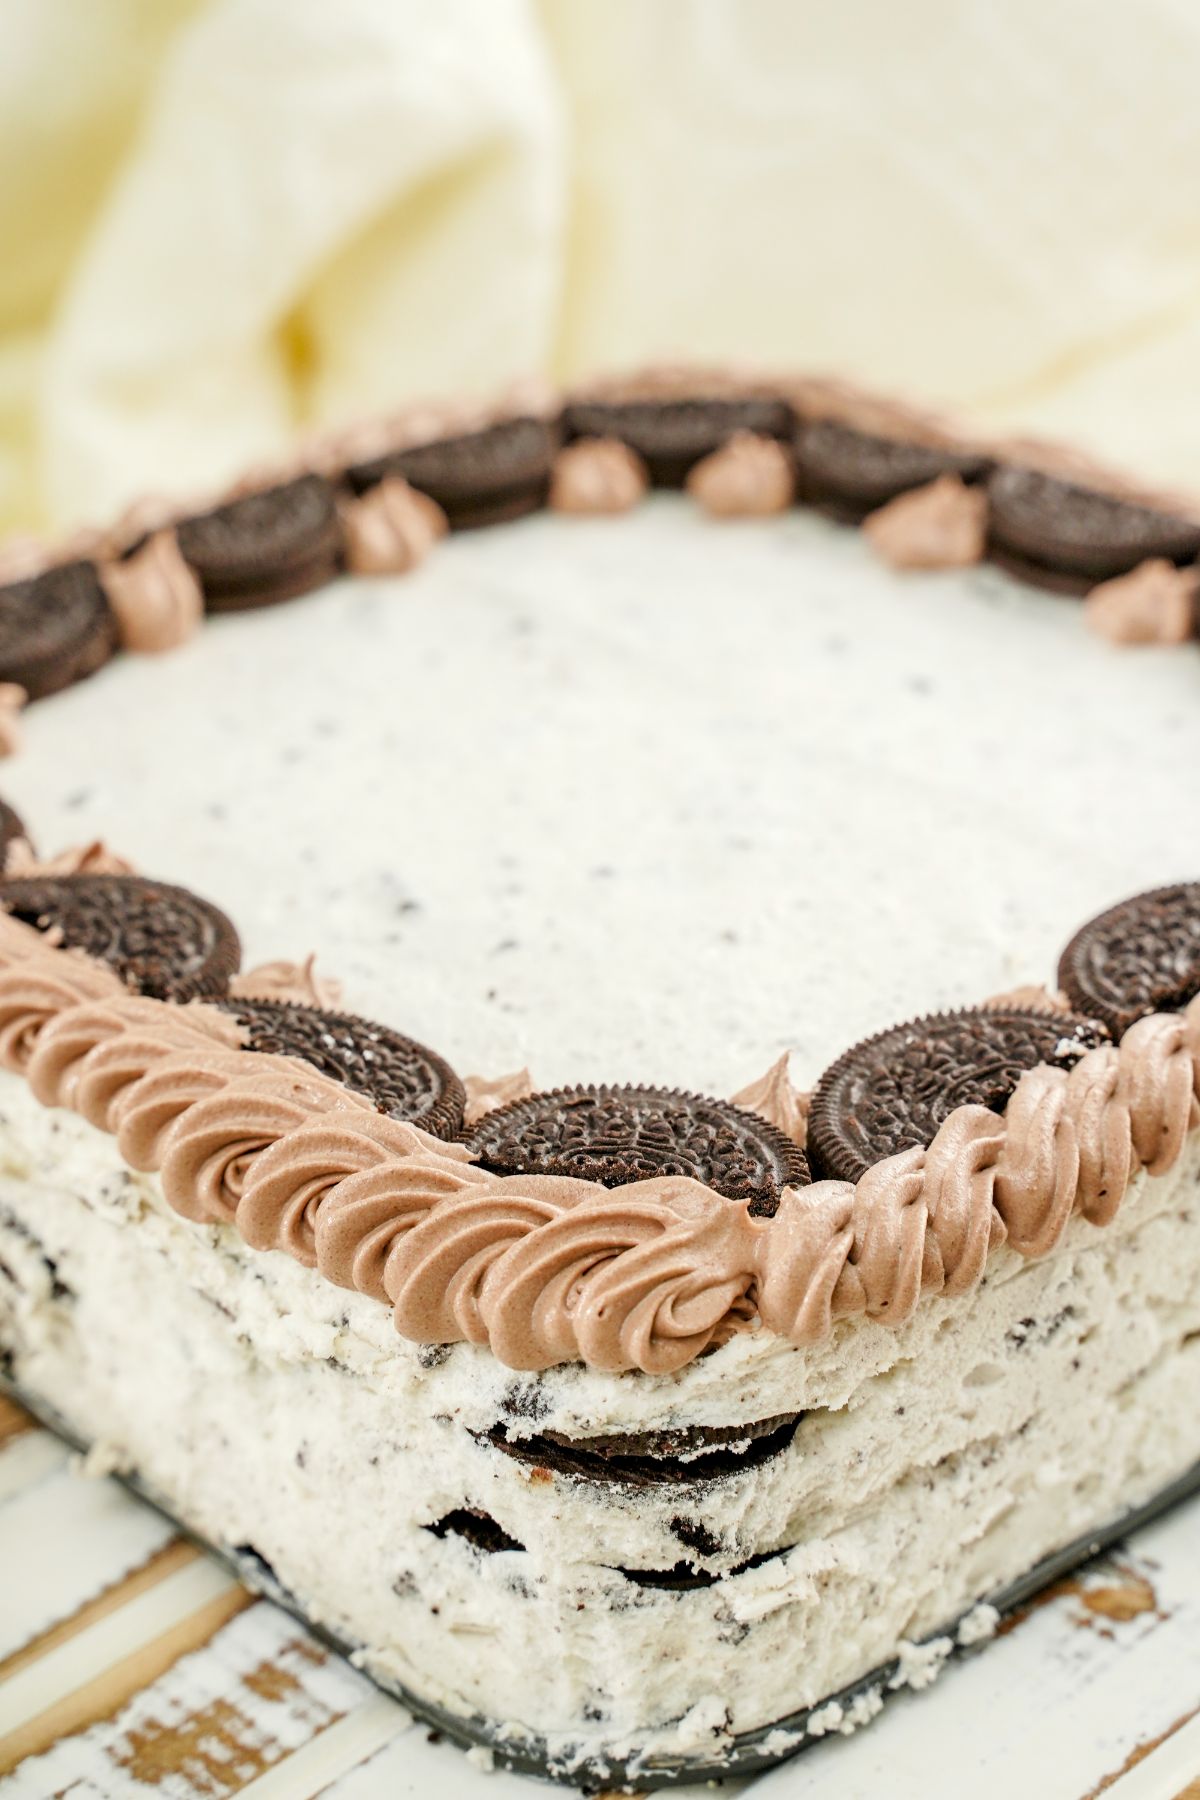
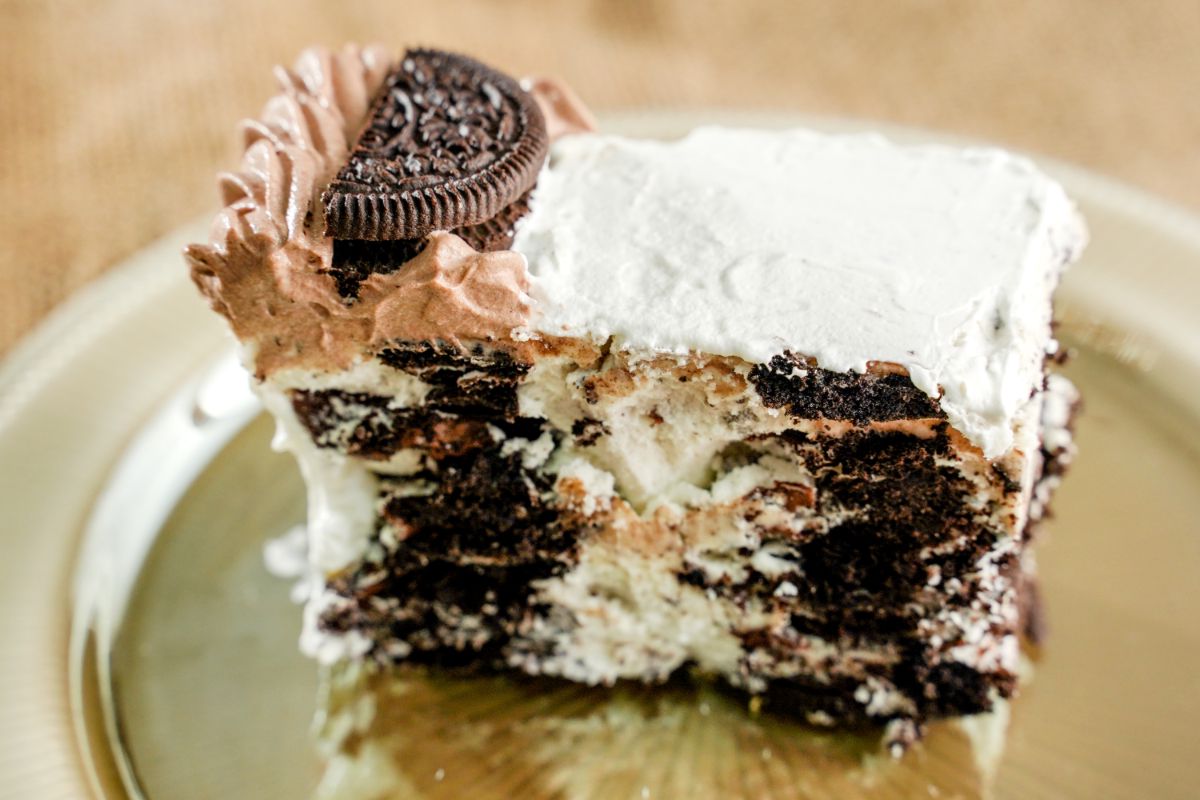
Rich, creamy, and oh-so-delicious - this no-bake Oreo Nutella layered cake is the dessert of your dreams coming to life.
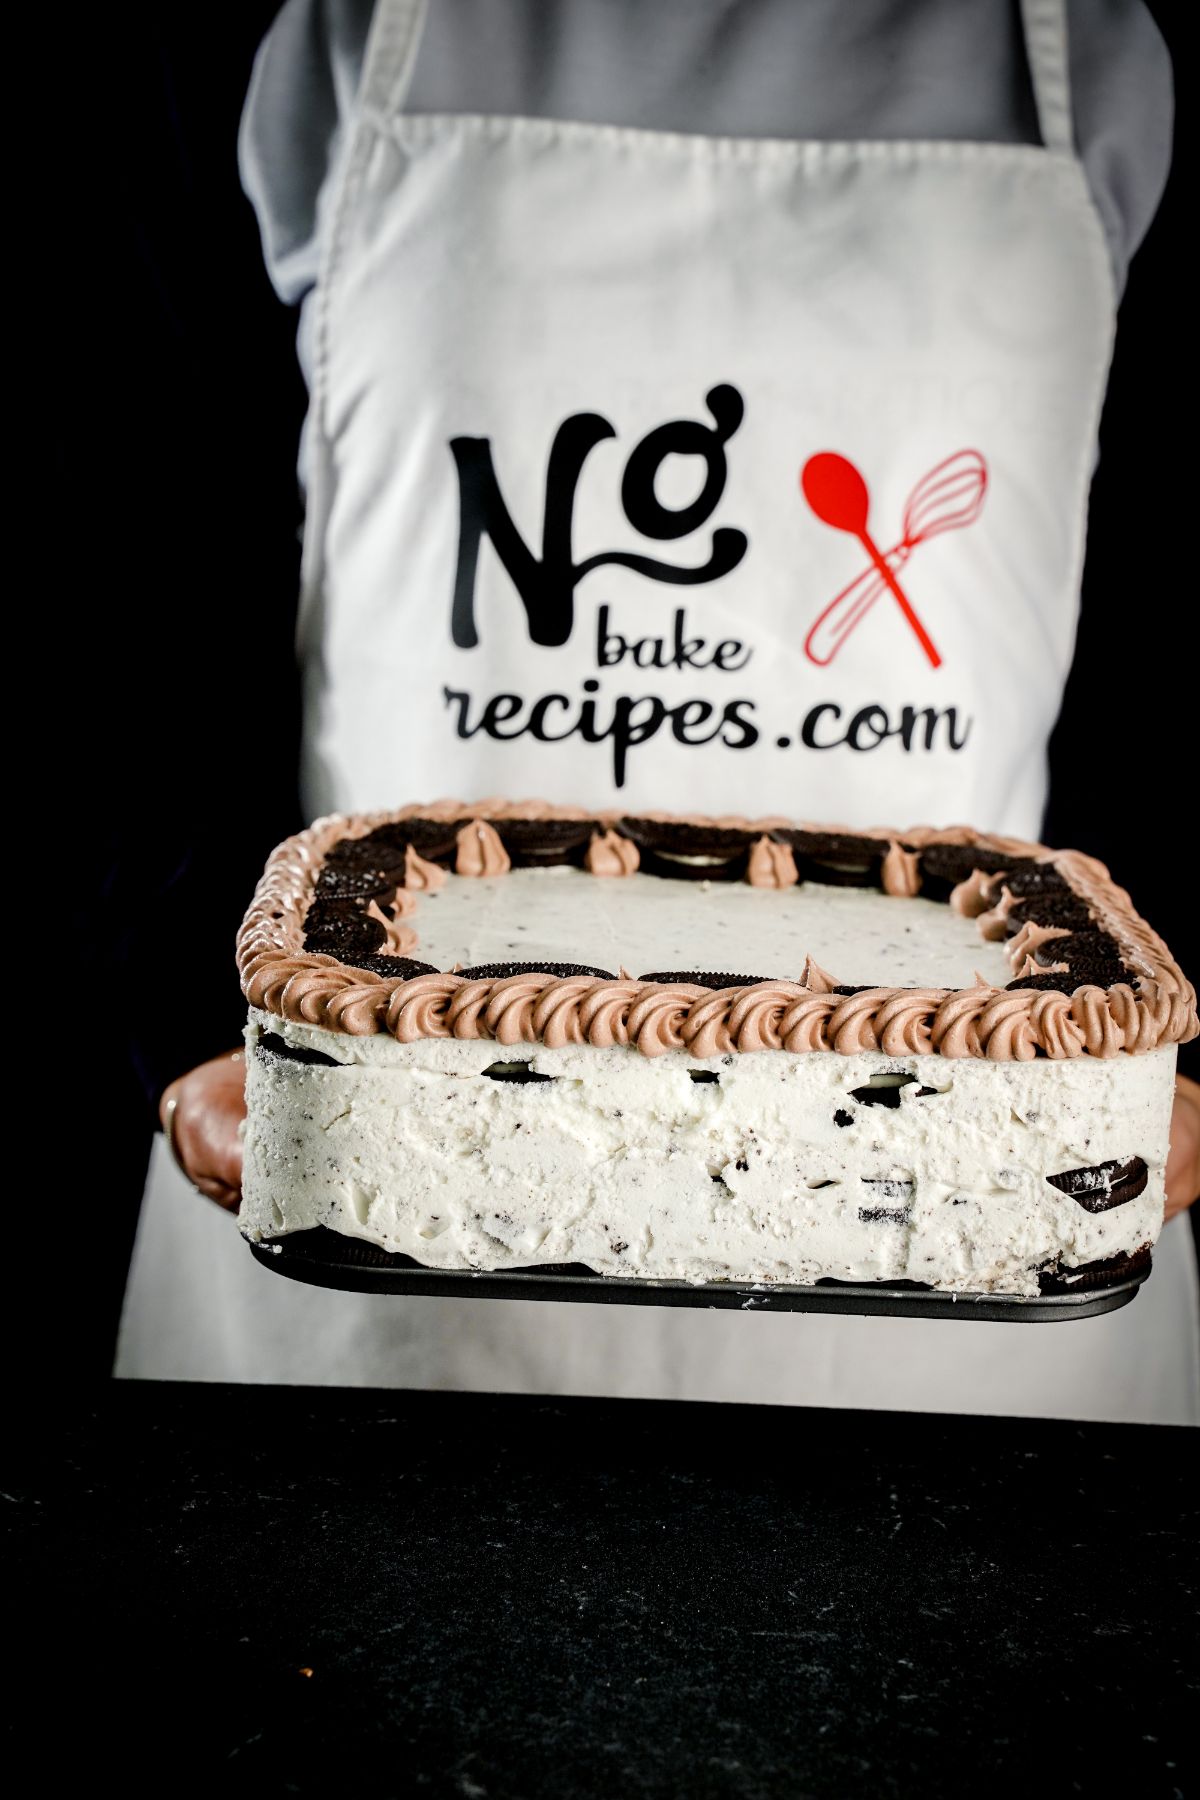
There are those who love Oreos, and then there are those who are obsessed with everything Nutella. If you’re both, you’ve got to give this no-bake Oreo Nutella layered cake recipe a try. It is surprisingly easy to make and is sure to be a crowd-pleaser if you’re planning to make it for some guests you are hosting.
Jump to:
But before you get onto the recipe, scroll down and give everything below a quick read.
Ingredients For the Recipe
You’ll need just 5 simple ingredients to put this wickedly delicious cake together.
- 1 ¾ cups heavy cream
- ½ cup powdered sugar
- 10 crushed Oreos
- 1 cup + 2 tablespoon Nutella
- 30 whole Oreos
Kitchen Tools Needed
- Measuring cups and spoons
- Mixing bowls
- Blender or Food processor
- Hand mixer
- 9-inch springform pan
- Medium saucepan
How to Make the Oreo Nutella Layered Cake
Got all your ingredients and tools ready? Here’s what you need to do to make the no-bake Oreo Nutella layered cake.
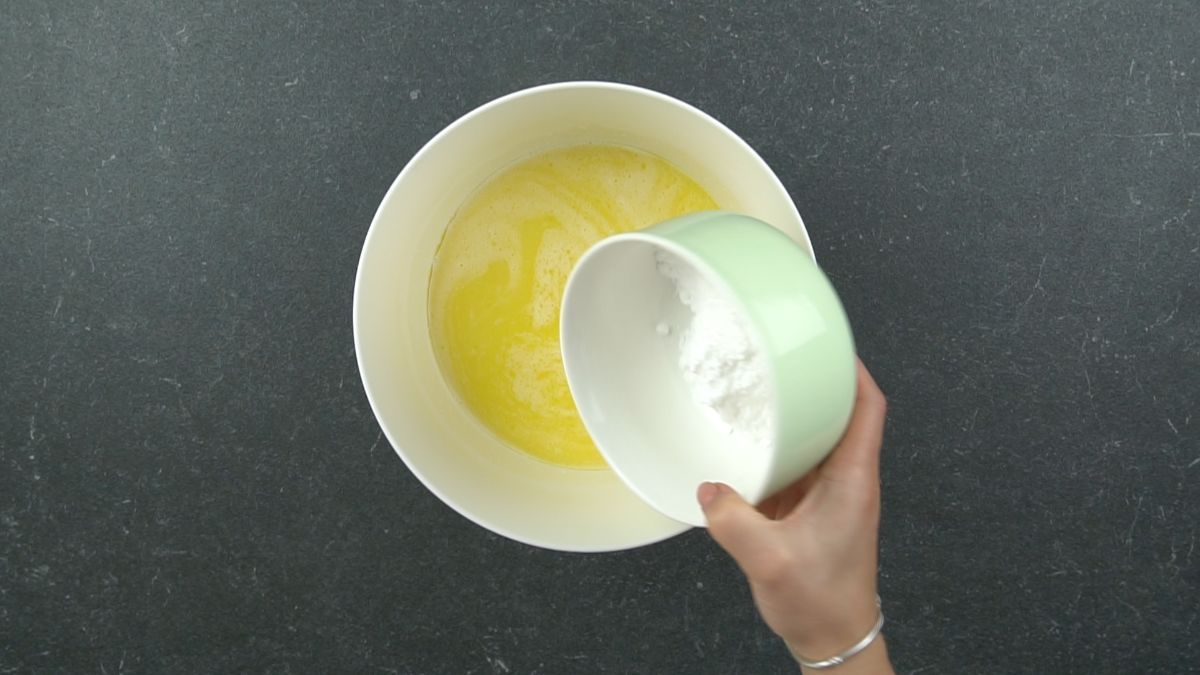
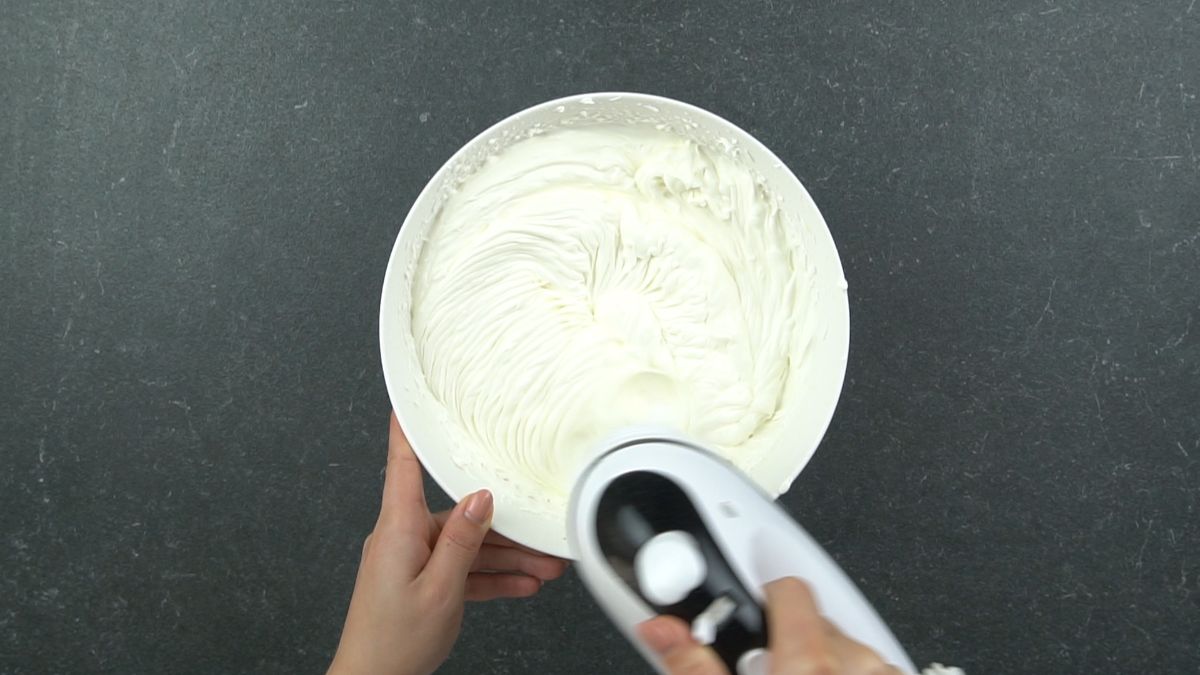
Mix the heavy cream with the powdered sugar until everything is combined.
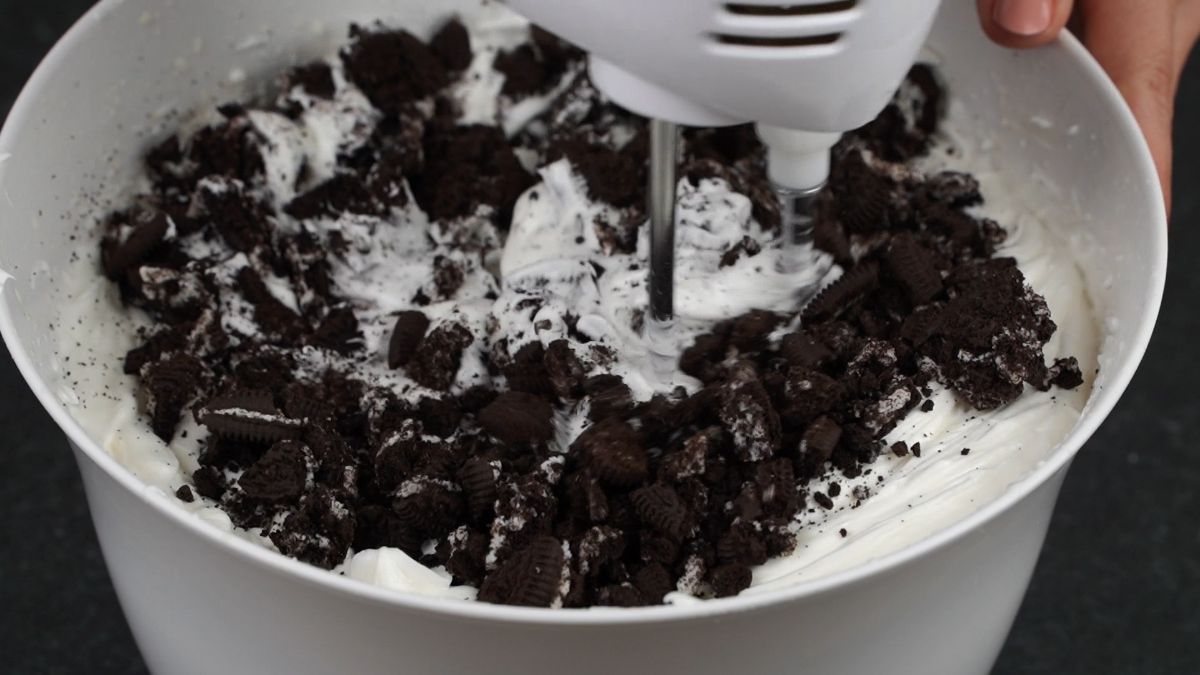
Add the crushed Oreos and continue stirring with a spatula.
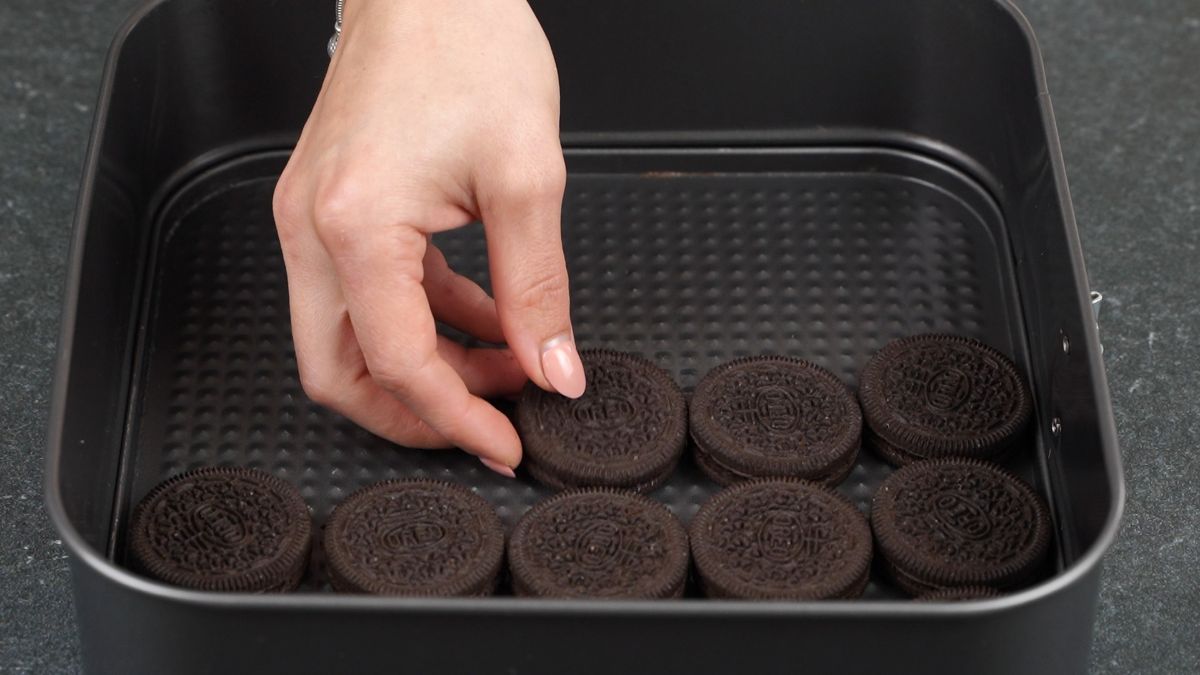
When the mixture is ready, prepare a cake pan and place a layer of whole oreo cookies on the bottom.
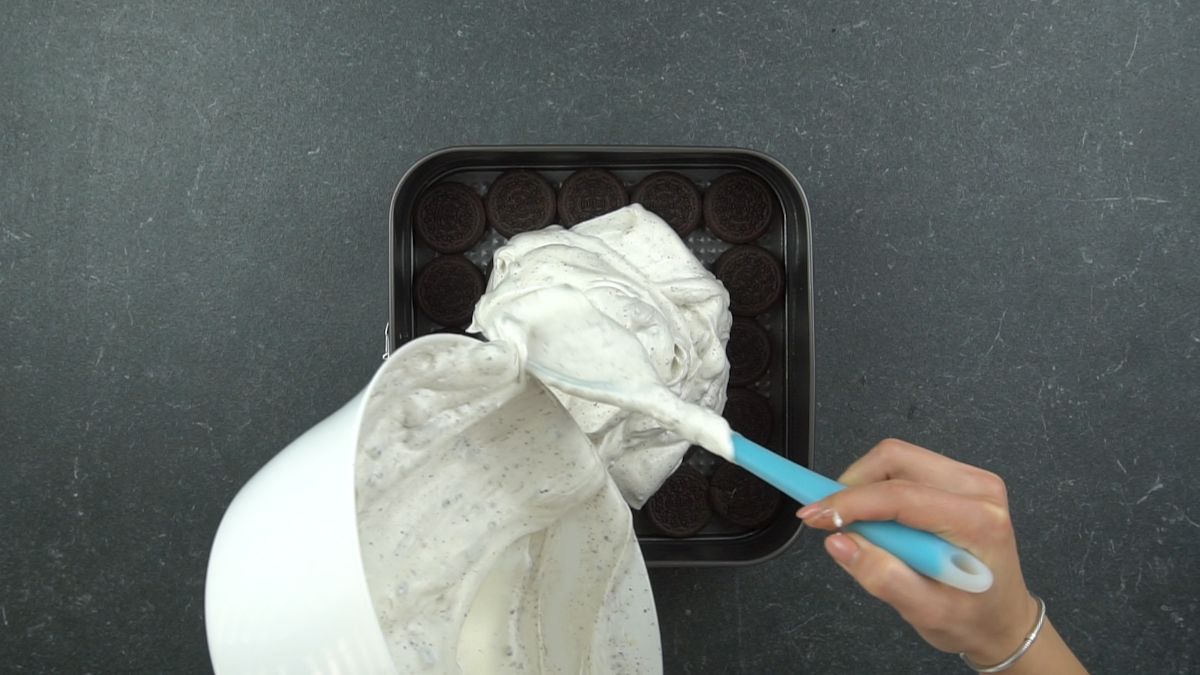
Then add a layer of the heavy cream mixture.
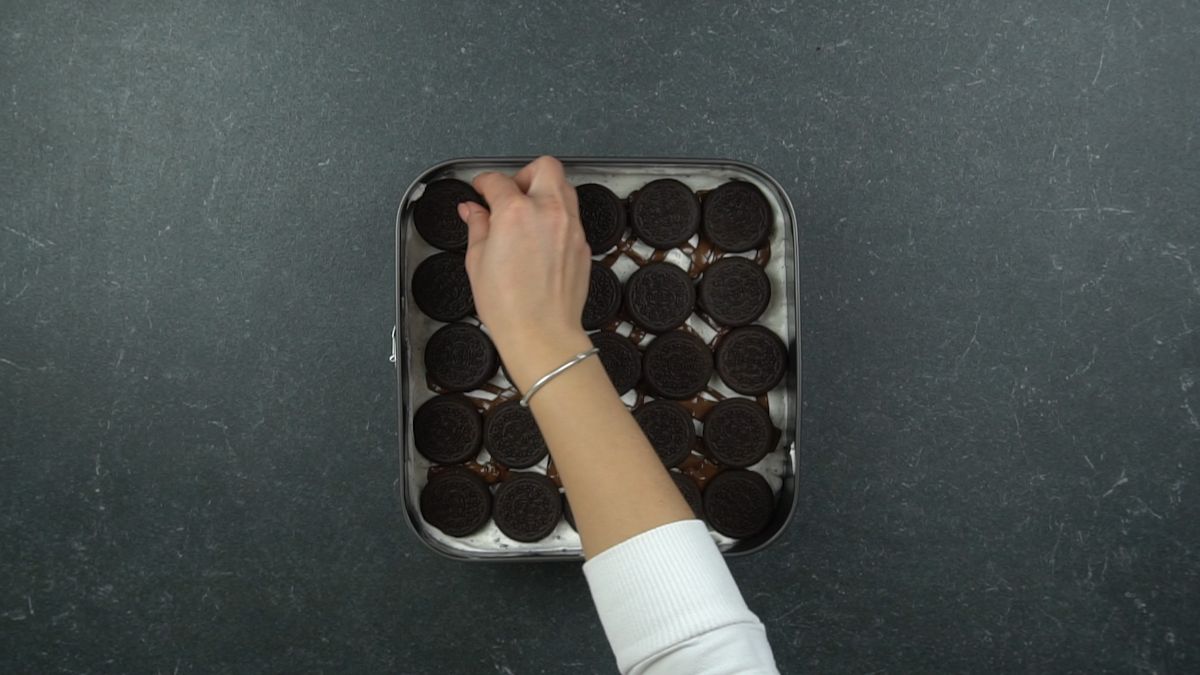
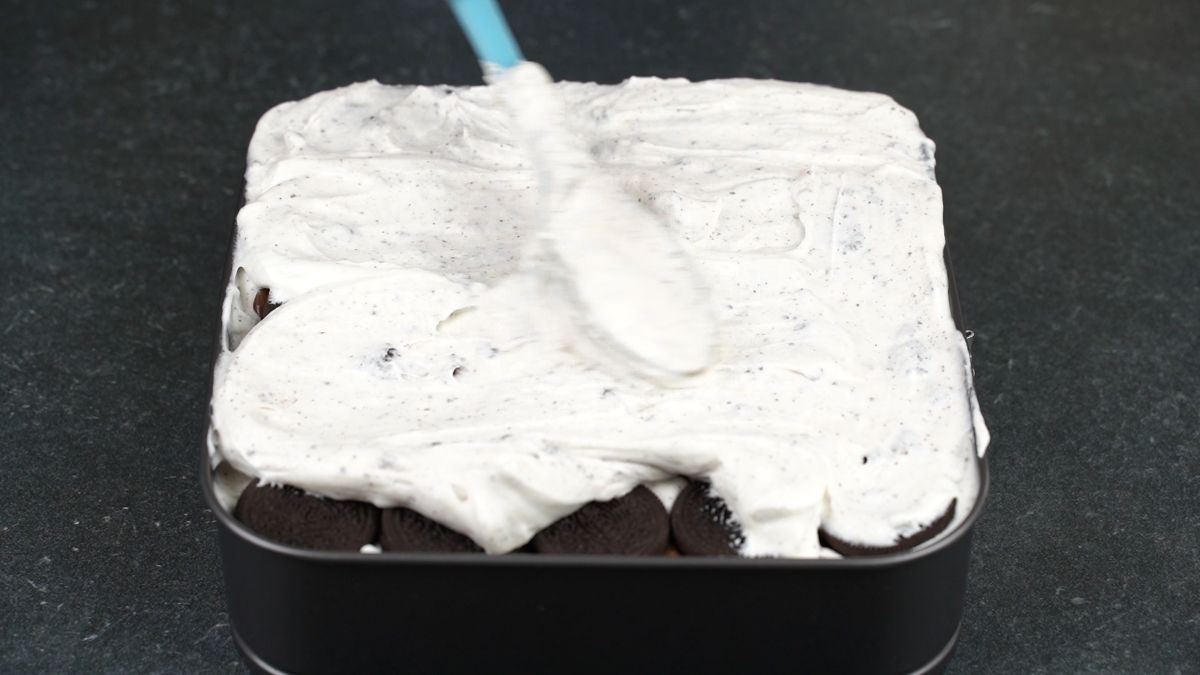
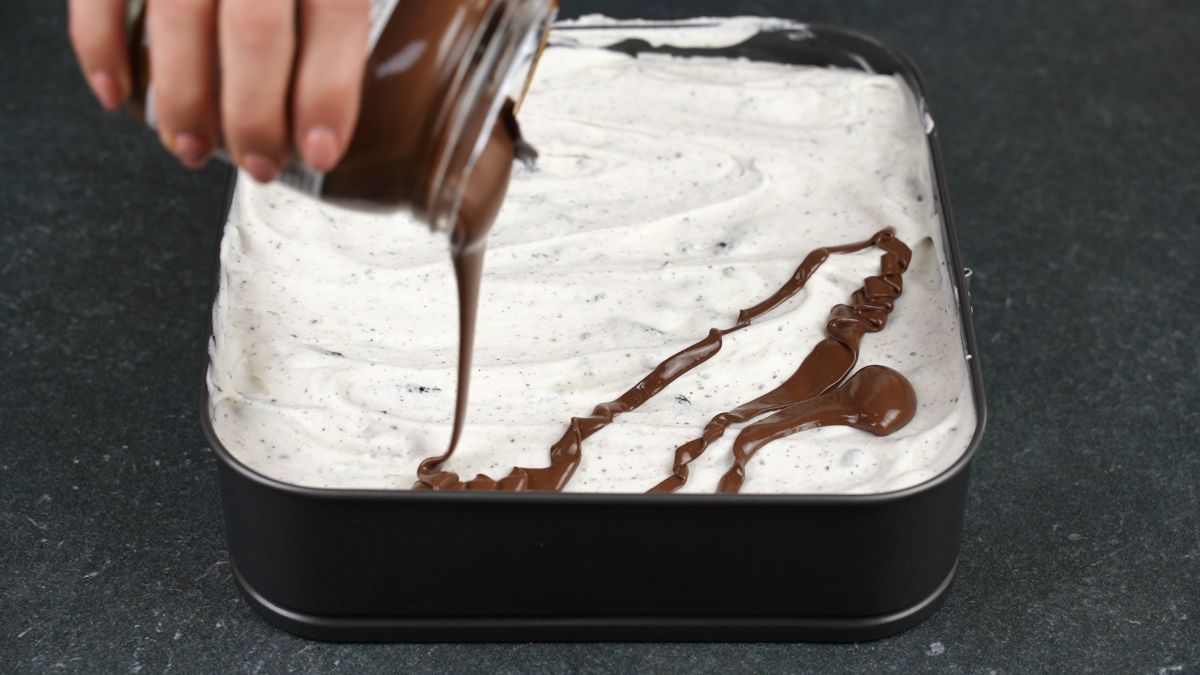
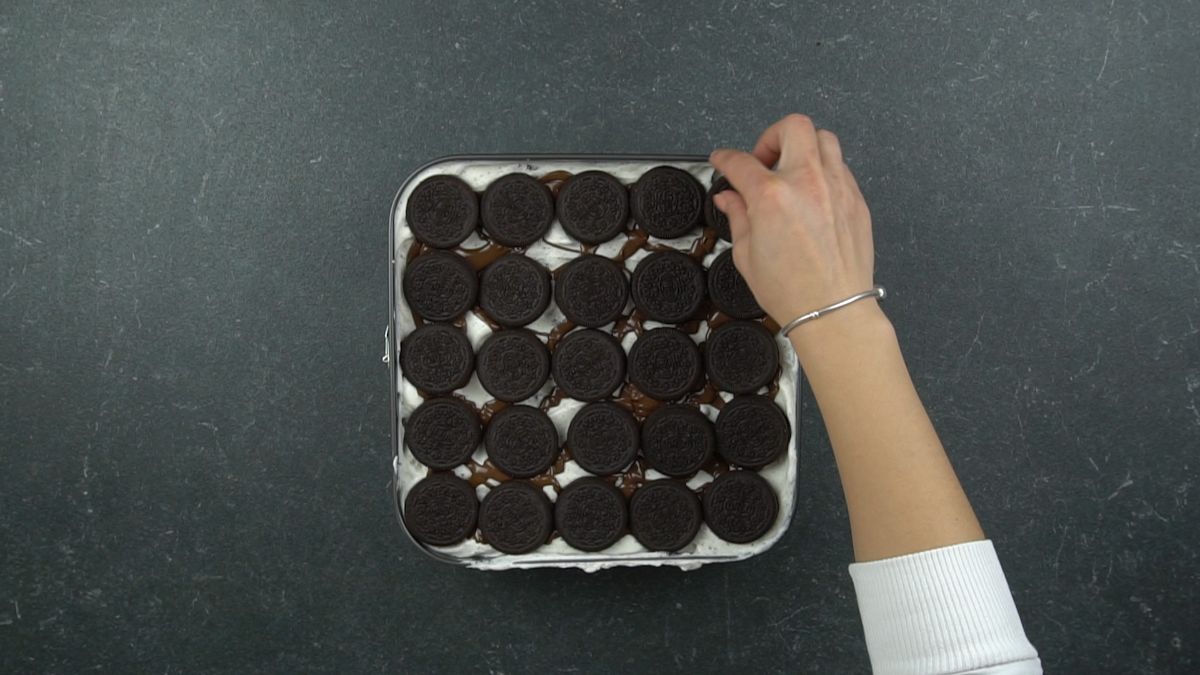
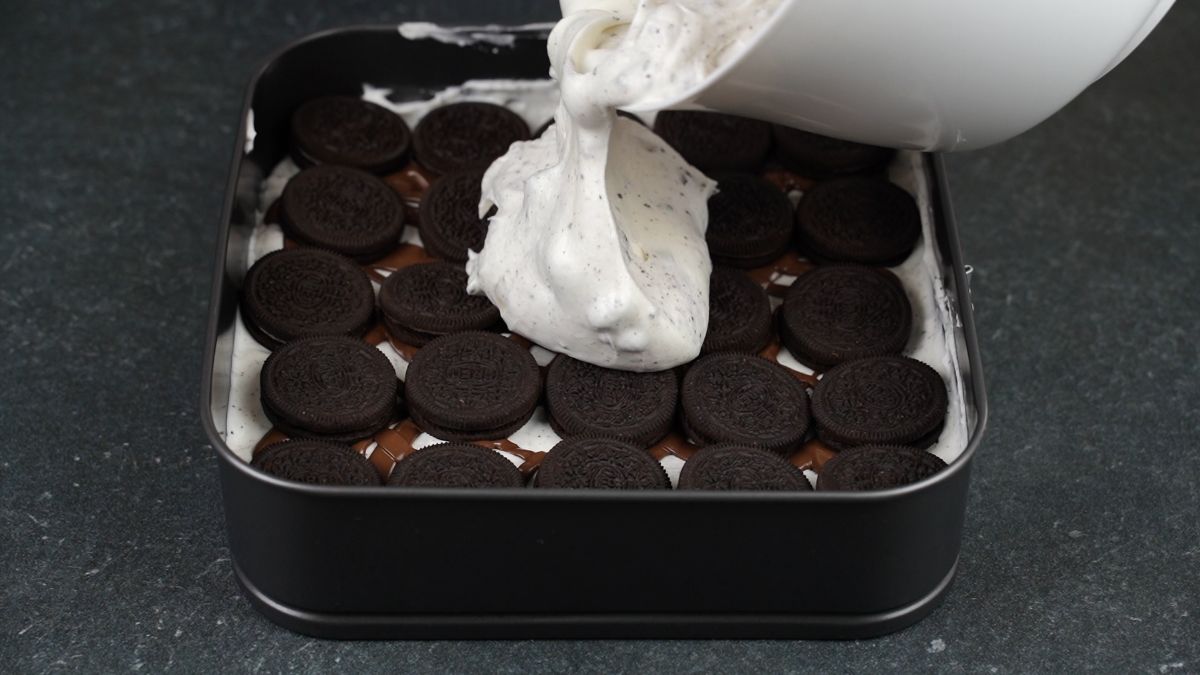
Repeat the same procedure until you utilize all the cookies and the mixture.
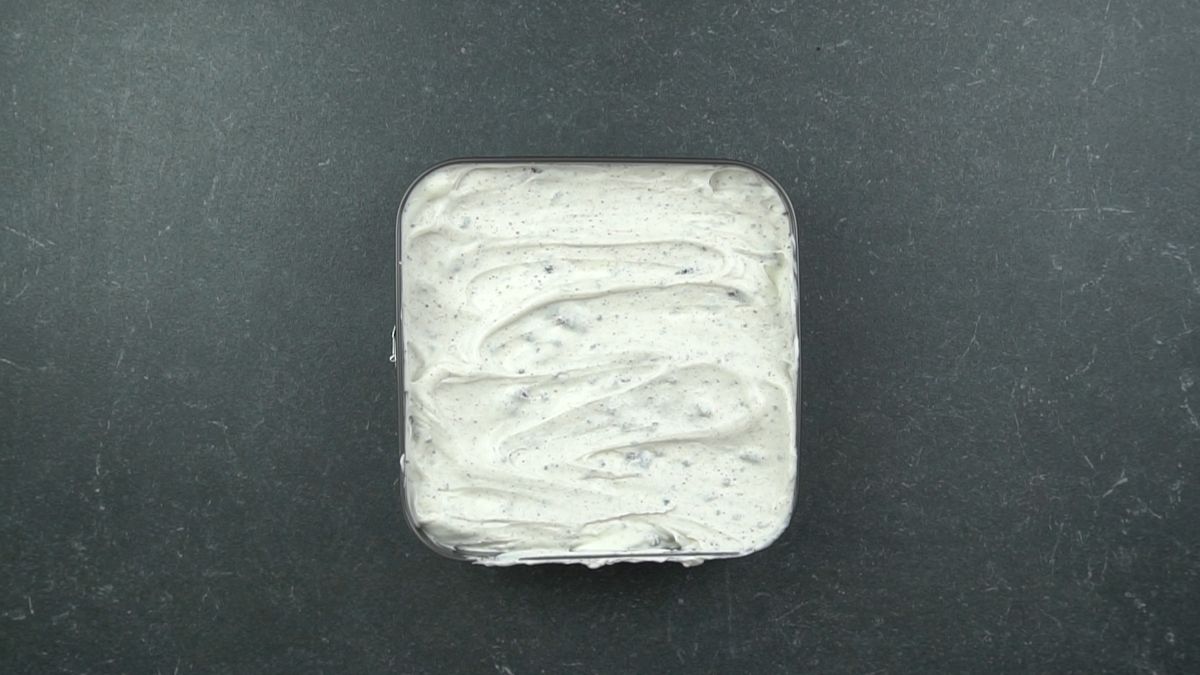
Finish the cake with the cream mixture on the top.
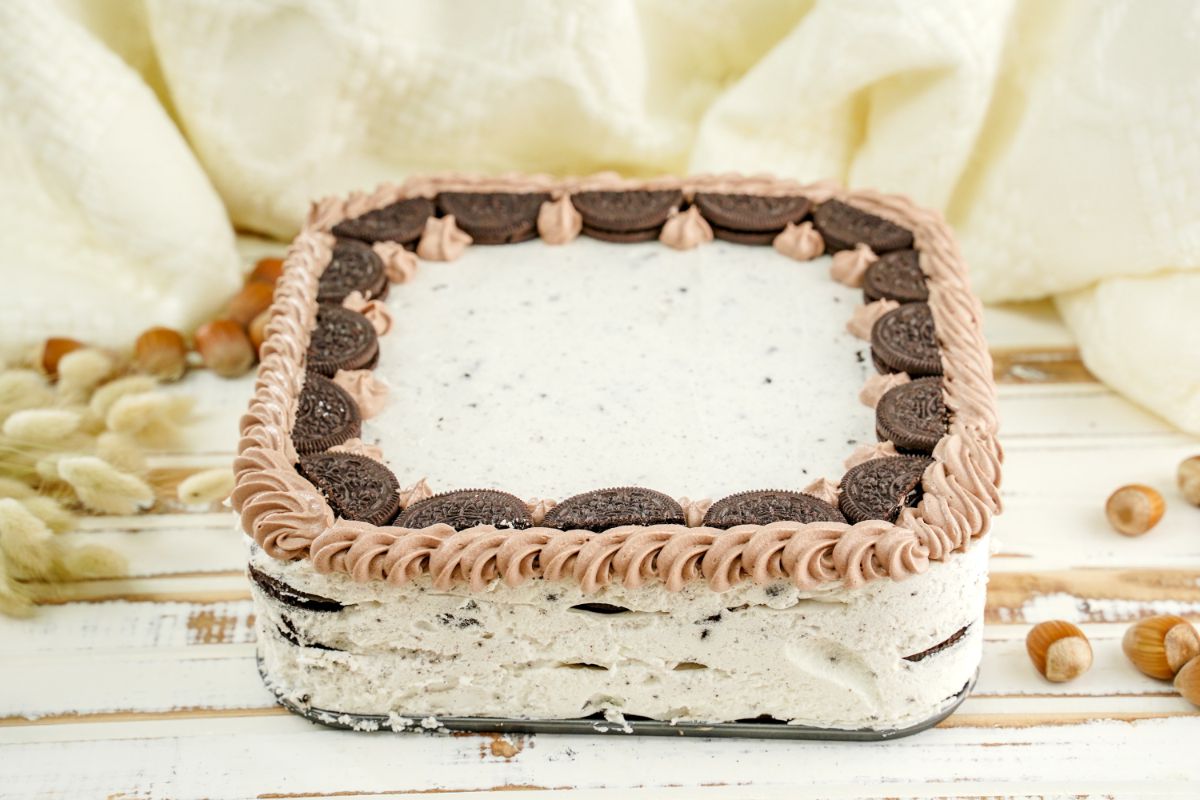
Leave it in a fridge for at least 7 hours before you serve.
Frequently Asked Questions
Double cream is the best choice for the filling for this cake. It is easy to work with and inexpensive too. Remember that you’ll need to get the cream to the perfect stiff peak consistency for it to set well. The best way to do this is to make sure the cream is chilled when you start to whisk it.
You could also use whipped topping instead, and if you crave that creamy cheesecake flavor, some cream cheese could work just as well. You could also use a half-and-half mixture of cream cheese and whipping cream.
You could let the two key flavors- Oreos and Nutella shine through, but if that’s not all, you can also add in some more ingredients. Chopped nuts are a classic you can never go wrong with- almonds, hazelnuts, and walnuts are best since they are versatile and can add a nice crunch factor to the cake. If you don’t want to add nuts, you could use chocolate chips or chocolate shavings instead.
And if you want another twist to this cake, you can add an additional layer of roughly chopped Ferrero Rochers.
Storing the cake is pretty easy. All you need to do is cover it with a lid and refrigerate it- it should stay fresh in there for up to 5 days. This cake is freezer friendly too- just remember to use a freezer-safe container, and you should be able to enjoy it for up to 2 months.
The best part about this no-bake Oreo Nutella layered cake is the fact that you don’t actually have to prepare the crust- just a layer of Oreo cookies can suffice. But if you really want to put in the extra effort, you can just crush the Oreo cookies using a rolling pin and a Ziploc bag or in the food processor, mix it with a bit of melted butter and create a nice crust using the mixture.
While this version of the Oreo Nutella layered cake calls for the use of the double cream mixture on the top, you can give it your twist too. A generous drizzle of Nutella spread or caramel spread or cookie butter can be great. You could also pour some basic chocolate ganache or chocolate sauce over the top of the cake, right before you serve.
If none of these work for you and you’re looking for something simple, you can just sprinkle some cocoa powder on the top and that should work too!
Tips to Make the Oreo Nutella Layered Cake
Making the layered cake is incredibly easy no doubt, but with these additional tips and tricks, you can make the process of putting it together a breeze.
- While you could use any mold of your choice for this recipe, investing in a 9-inch springform pan is a good idea, especially if you love trying out no-bake dessert recipes. It’ll make the process of unmolding the cake so much hassle-free and easier.
- If you are using cream cheese instead of whipping cream to make the filling, remember that the cream cheese should be at room temperature instead of being chilled, which is the case with whipped cream.
- Remember that since this is a no-bake cake, it needs ample refrigeration time to set well and firm up. Aim for overnight refrigeration, but if that’s not workable for you, you can pop the cake in the freezer for an hour and then transfer it to the refrigerator and let it stay there for 2-3 hours.
- Cutting slices out of a no-bake cake can be tricky- you can warm up your knife a bit before cutting the slices, and wipe the knife clean after every cut you make. This will help you get those perfect-looking slices.
- To make this dessert even fancier, you can add an additional layer of Nutella spread or some crushed Oreo cookies in the middle.
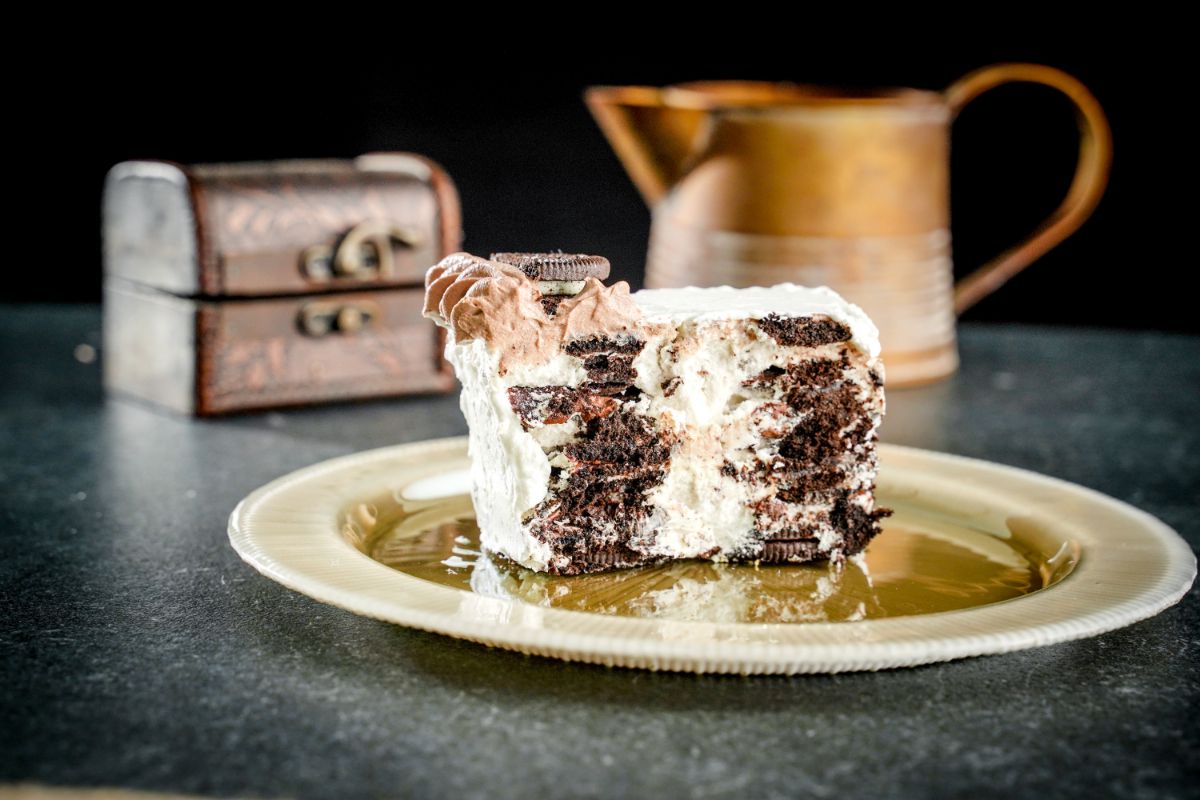
Loved how delicious this Oreo Nutella layered cake turned out to be? Looking for some more such sinful recipe worth trying out? Here are a few good ones you might want to check out.
- No-Bake Oreo Cheesecake Recipe
- Nutella Oreo Banana Pudding Trifle Recipe
- Frozen Samoa Pie Copycat Girl Scouts Recipe
Recipe
No-Bake Oreo Nutella Layered Cake
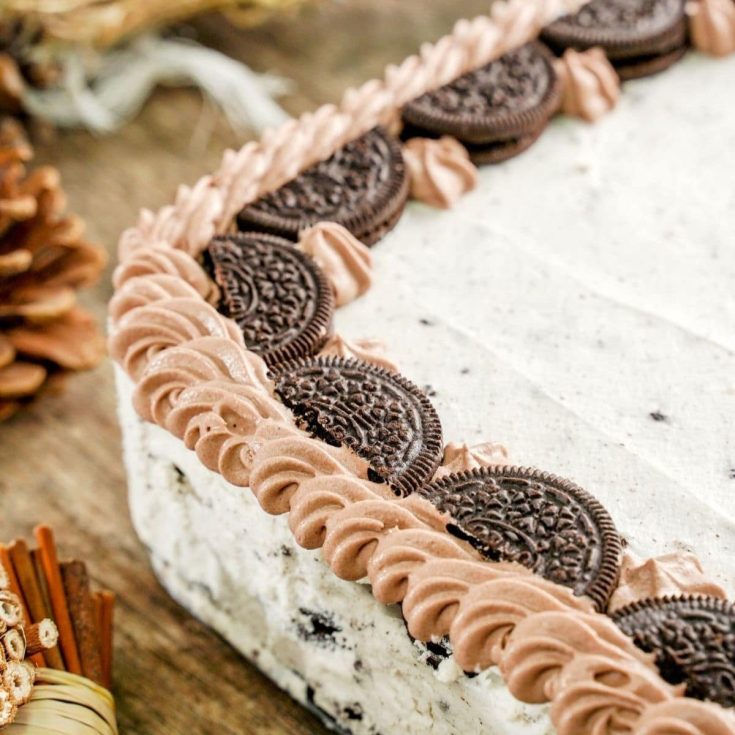
Rich, creamy, and oh-so-delicious- this no-bake Oreo Nutella layered cake is the dessert of your dreams coming to life.
Ingredients
- 1 ¾ cups (400ml) heavy cream
- ½ cup (50g) powdered sugar
- 10 crushed Oreos
- 1 cup + 2 tablespoon (300g) Nutella
- Around 50 Oreos cookies (depending of the pan you are using)
Instructions
- Mix the heavy cream with the powdered sugar until everything is combined.
- Add the crushed Oreos and continue stirring with a spatula.
- When the mixture is ready, prepare a cake pan and place a layer of whole oreo cookies on the bottom.
- Then add a layer of the heavy cream mixture.
- Repeat the same procedure until you utilize all the cookies
and the mixture.
- Finish the cake with the double cream mixture on the top.
- Leave it in a fridge for at least 7 hours before you serve.
Nutrition Information:
Yield:
9Serving Size:
1Amount Per Serving: Calories: 777Total Fat: 34gSaturated Fat: 11gTrans Fat: 0gUnsaturated Fat: 13gCholesterol: 7mgSodium: 633mgCarbohydrates: 117gFiber: 5gSugar: 66gProtein: 7g

Comments
No Comments