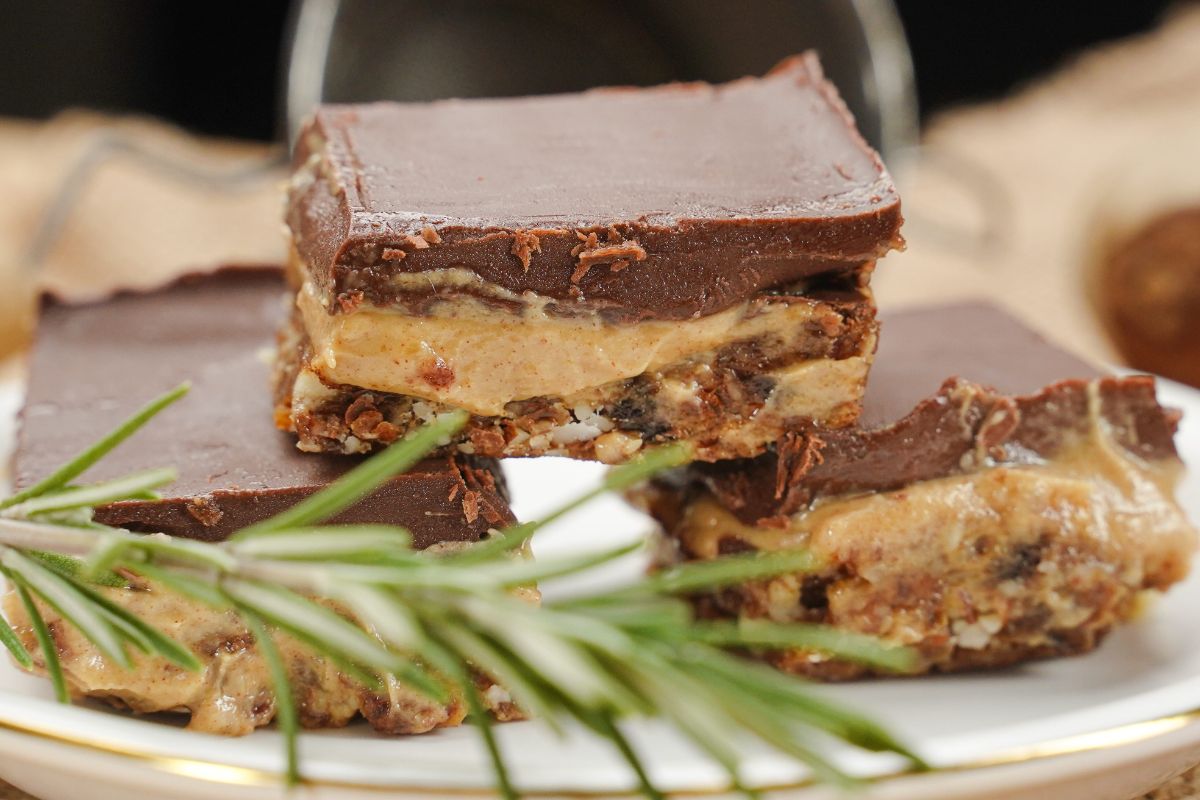
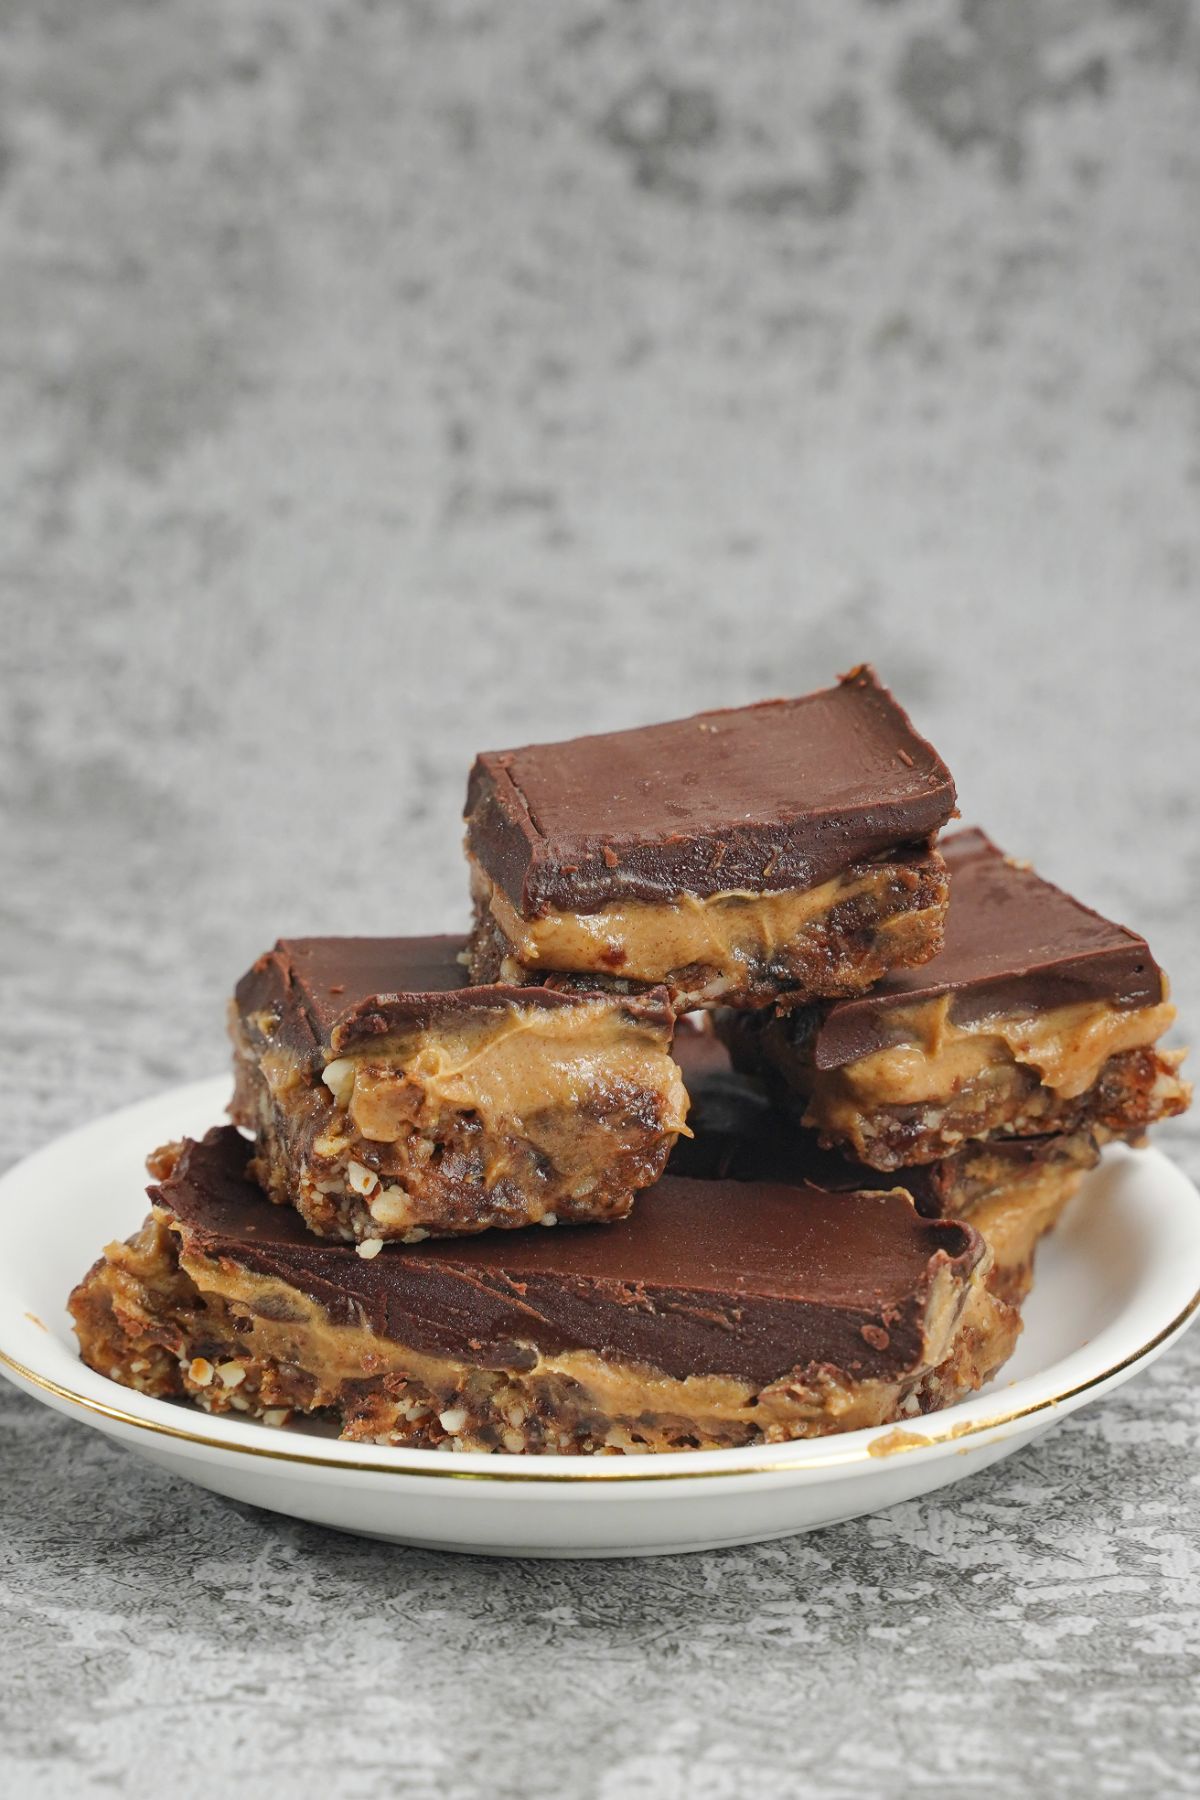
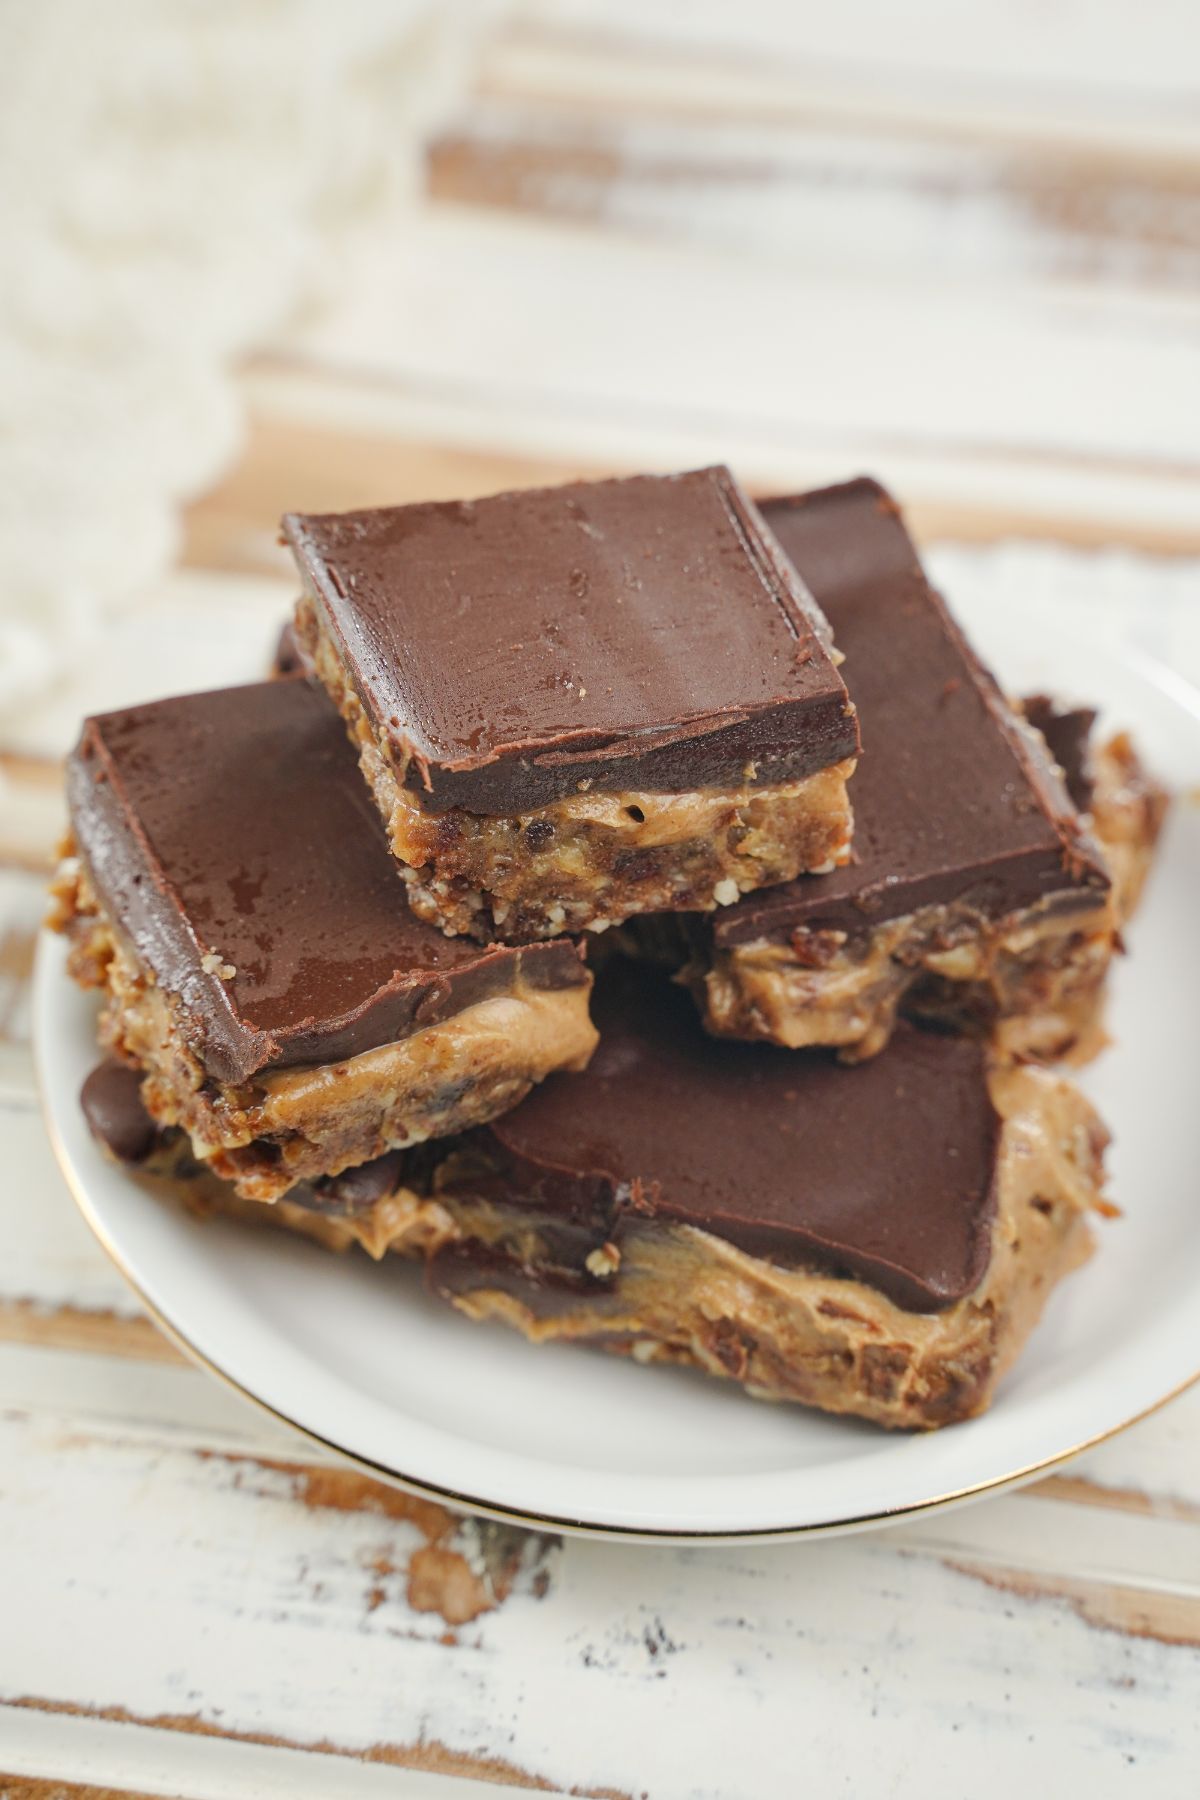
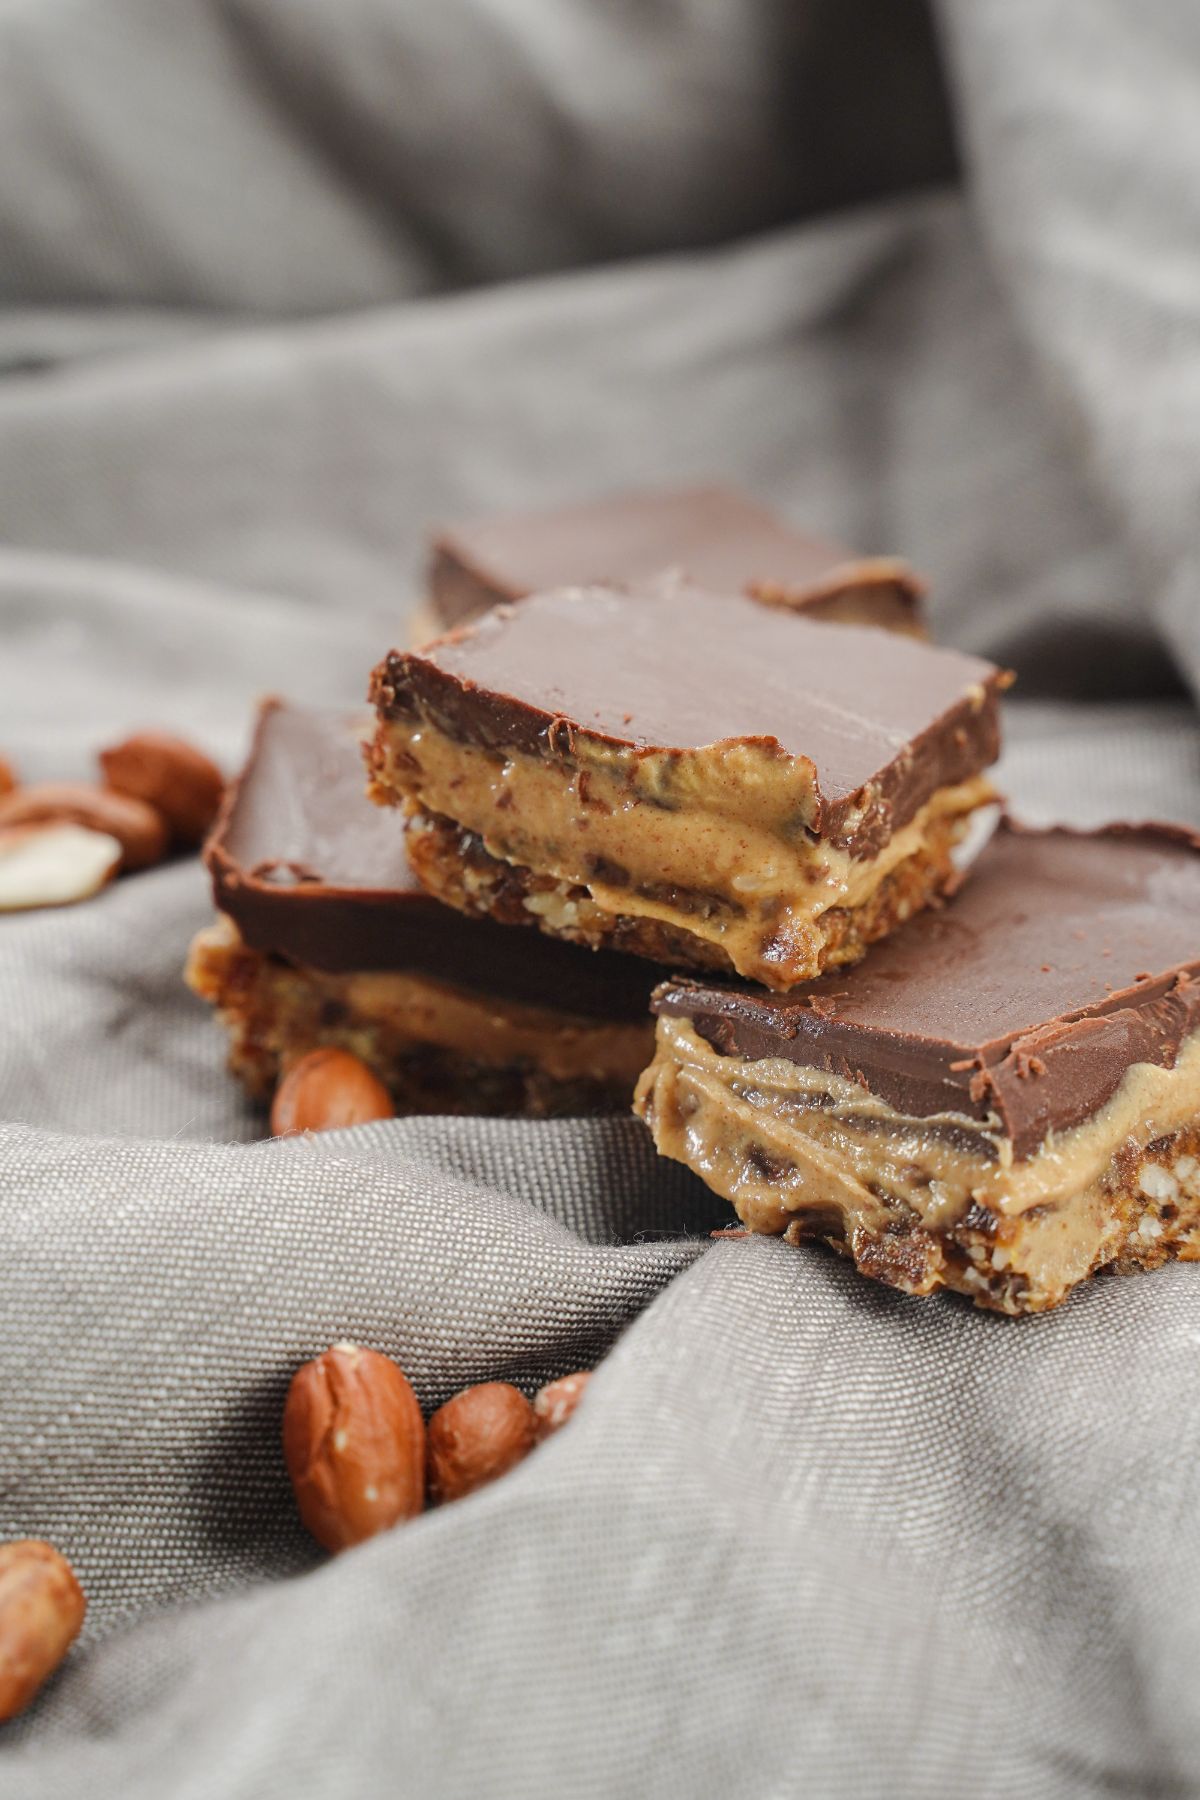
These homemade Twix bars might become your next favorite healthy snack. They're super easy to make too! Go give them a shot!

Chewy, crunchy, and with the perfect balance of flavors and textures, these homemade Twix bars are actually healthy for you. These are perfect to make and store for later, and enjoy when you’re hit by a hunger pang or are just craving for something a bit sweet- you won’t feel guilty about it later.
Jump to:
The best part is, you need just a few ingredients to put them together. Ready to go ahead and give them a try? Here’s all you need to about them before you do.
Ingredients For the Recipe
You’ll need three sets of ingredients to make the homemade Twix bars- one for the crunchy base, one for the chocolate layer, and one for the chewy caramel layer.
Base layer:
- 1 ½ cup almond flour
- 3 tablespoon coconut oil
- ¼ cup Medjool dates
Caramel layer:
- 1 ¼ cup Medjool dates
- ¼ cup nut butter
- 1-2 tablespoon unsweetened almond milk
- Pinch of salt
Chocolate layer:
- 1 cup Chocolate chips
Kitchen Tools Needed
How to Make the Homemade Twix Bars
Once you have all your ingredients ready, here’s the step-by-step process you need to follow to make the Twix bars.
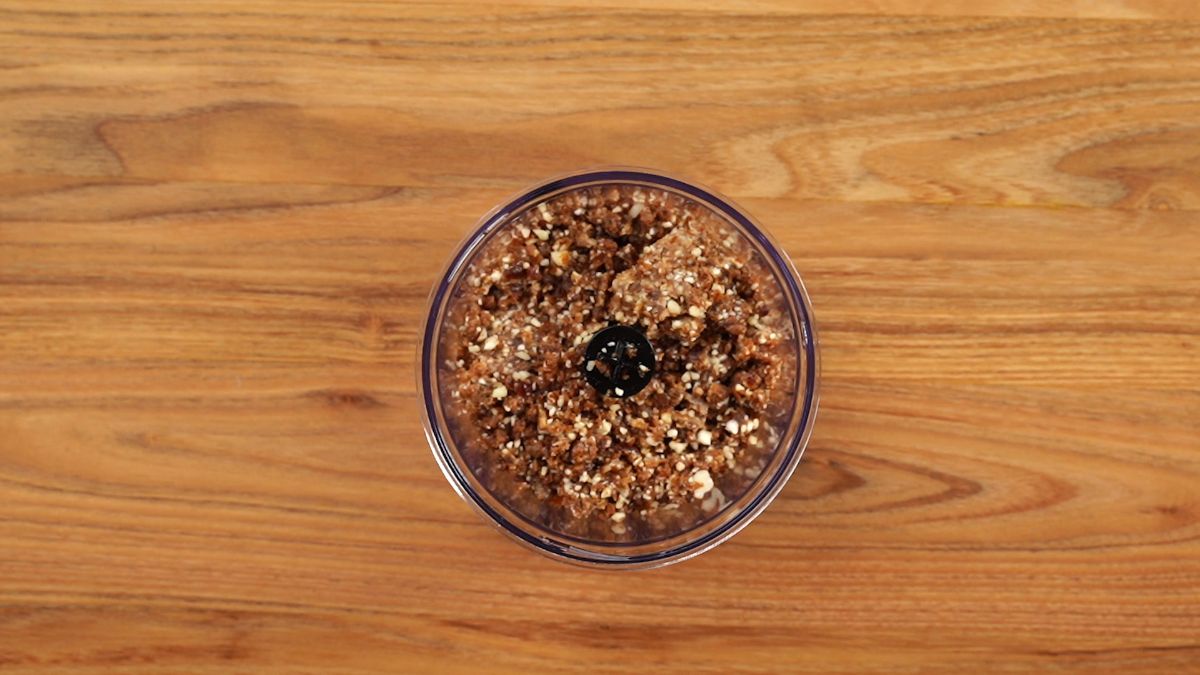
Put all the ingredients for the base layer in a food processor and process them until you get a dough.
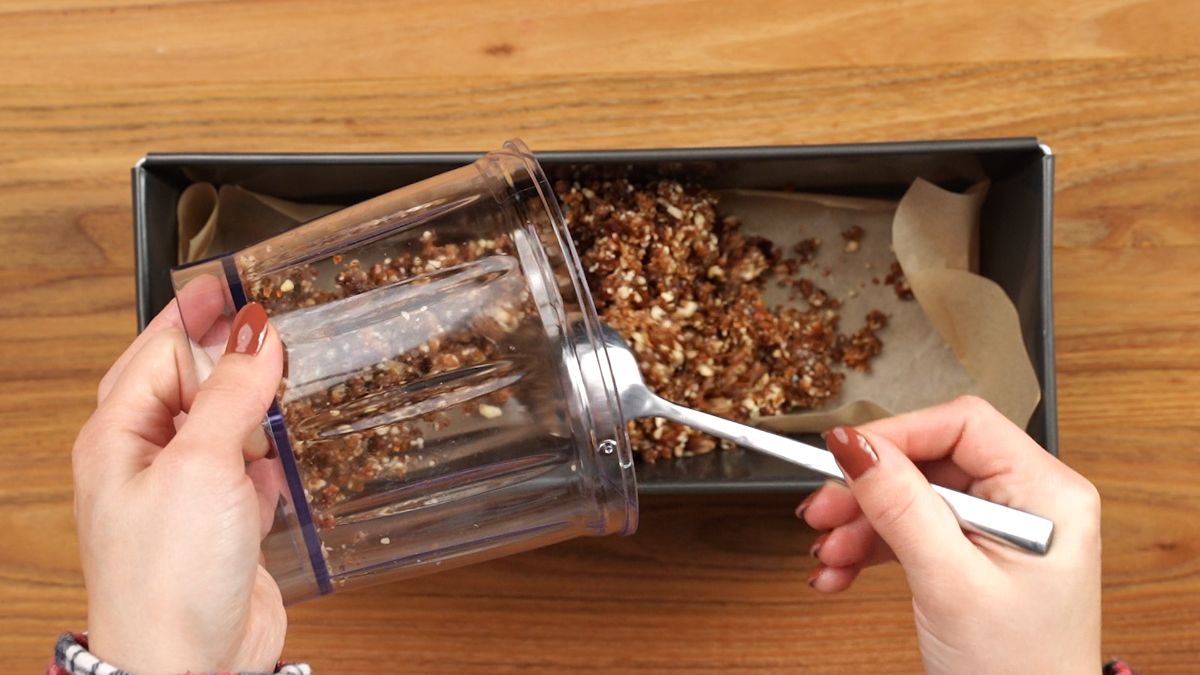
Place the dough in a pan lined with parchment paper.
Instead of almond flour, you can use almonds and process them until you get small crumbs.
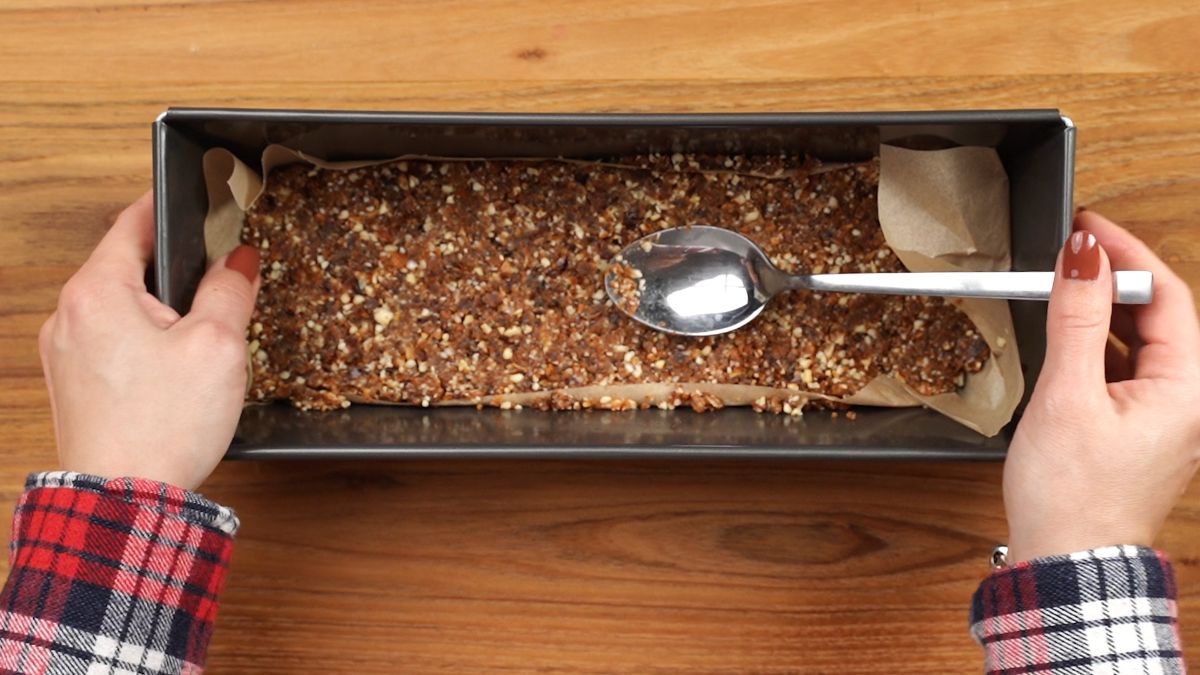
Leave the dough in the fridge while you are creating the next layer.
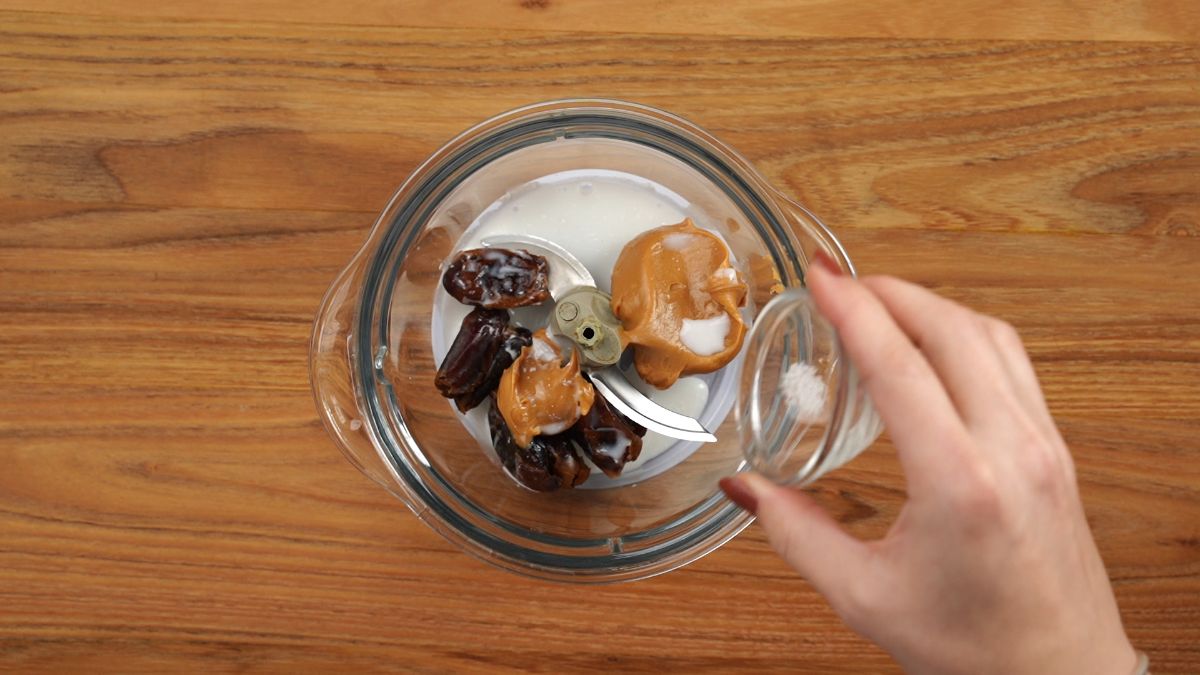
In a blender place the dates, butter, almond milk, and salt.
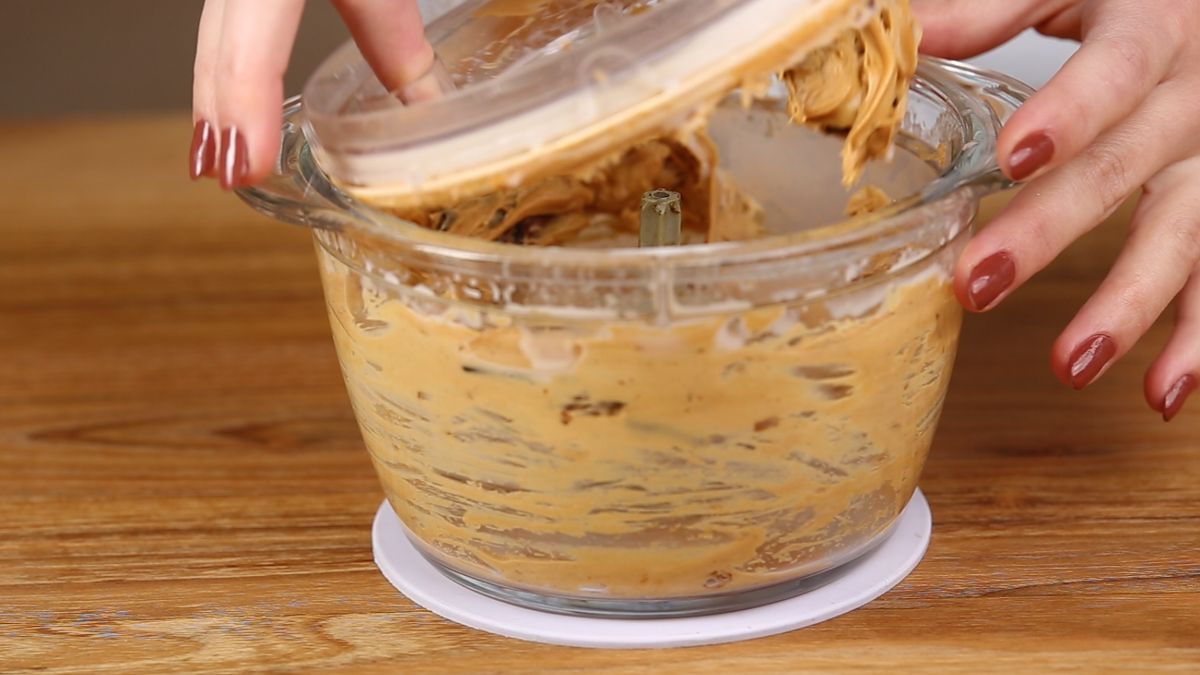
Blend until everything is well combined and you get a creamy mixture.
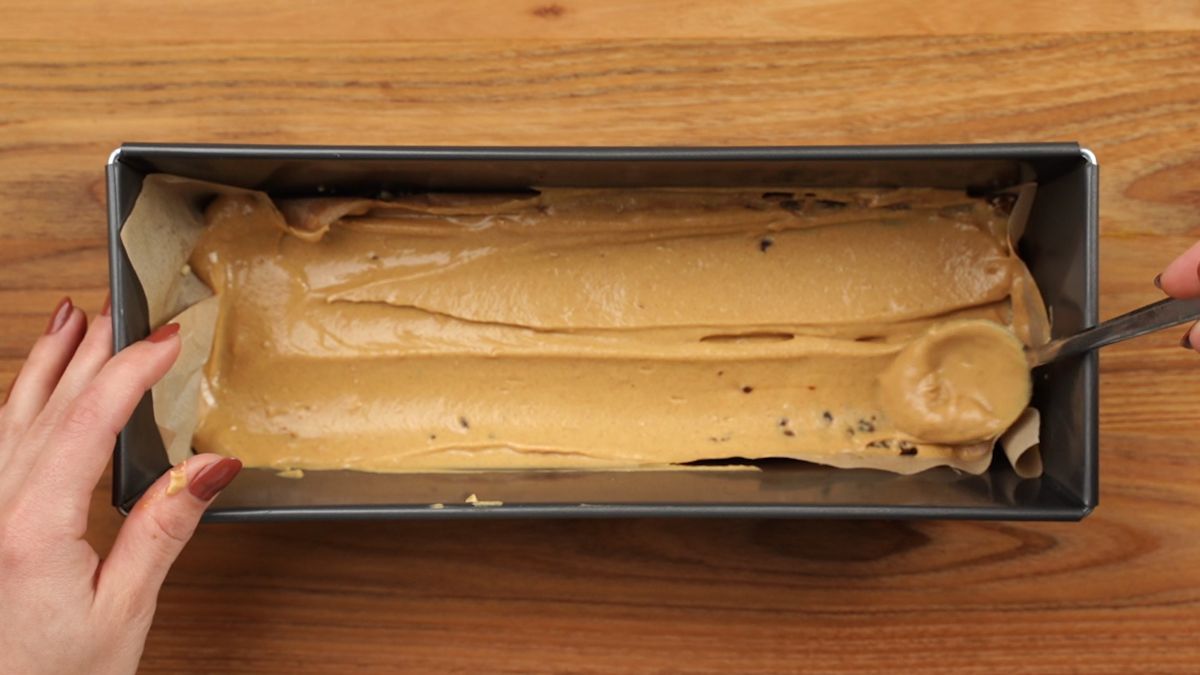
Pour the mixture into the pan over the first layer and place it back in the fridge.
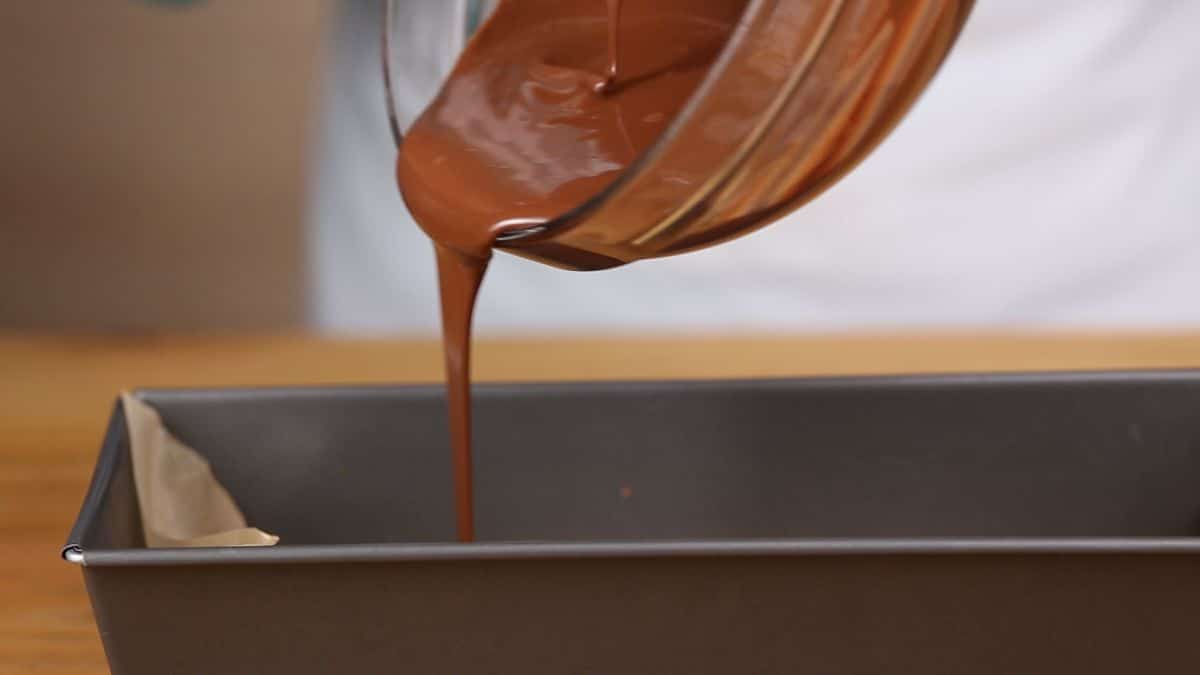
Melt the chocolate and pour it on top.
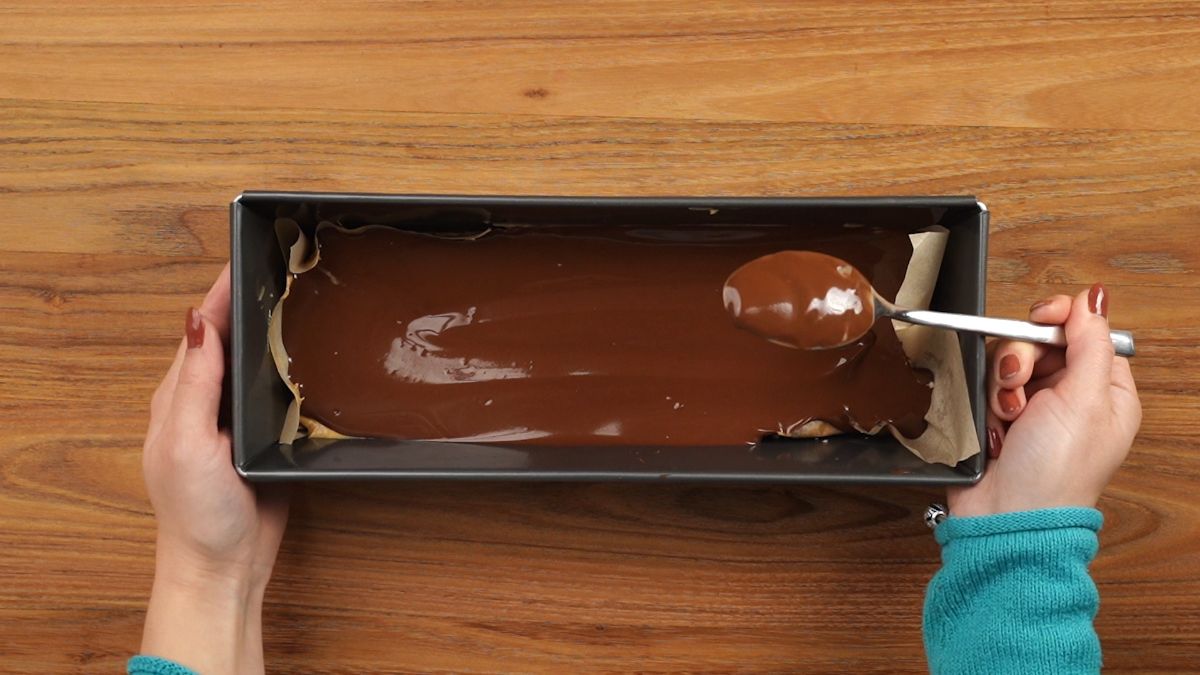
Put it back in the fridge and let it chill for 3 hours total before you serve.
In the cutting process, the chocolate is going to break.
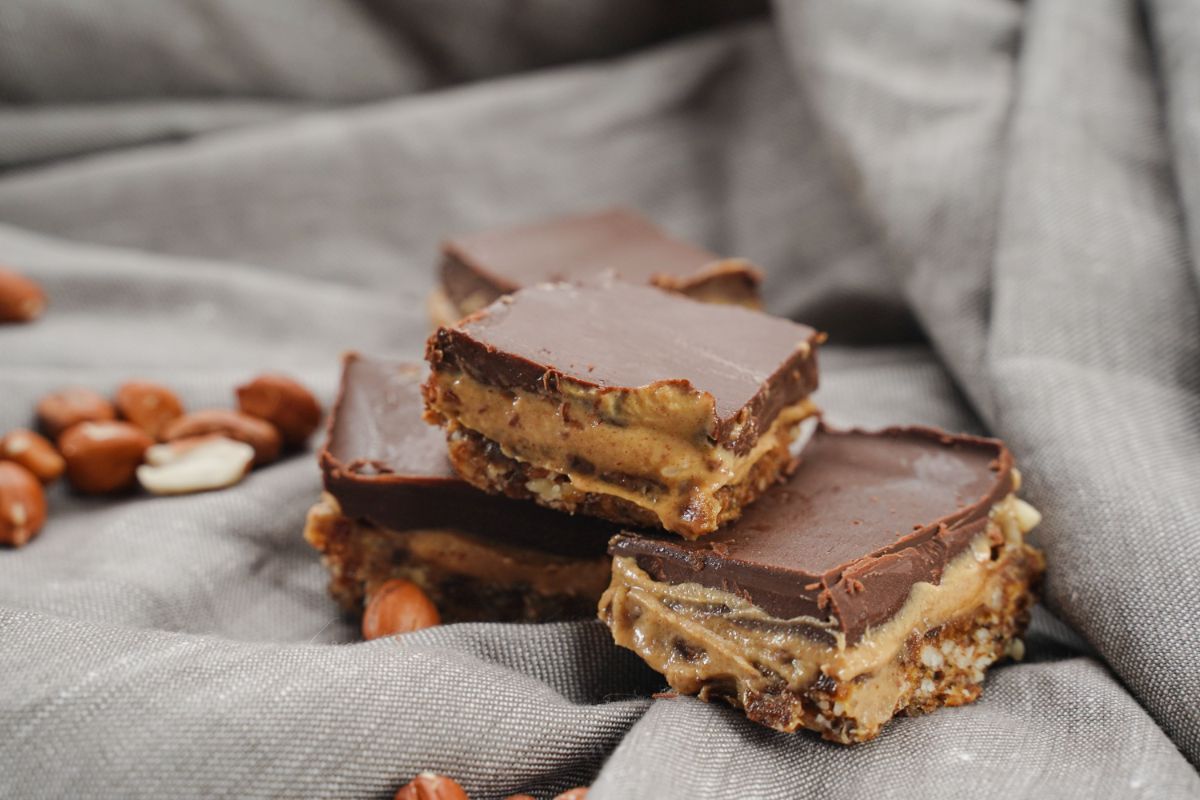
If you want a more neat look you can cut the first two layers in the wanted shape and then cover the bars in chocolate one by one.
Frequently Asked Questions
You definitely can. Medjool dates are the most preferred choice however since they are better in terms of their nutritive value and are also softer and juicier than most other dates, which is exactly what is needed to help bind the other ingredients together.
Plus, Medjool dates have a nice sweet, caramelly flavor that goes well with the other ingredients you’ll be adding to the bars.
If you’re using dried dates, remember to soak them in some warm water for a few minutes and then use them for the recipe- this will help them plump up a little and get to the texture you want them to have.
Almond flour provides a crumbly, nutty texture and flavor to your Twix bars. If you don’t have almond flour you could use coconut flour too. If none of them fit the bill, quick-cooking oats are your best bet.
And if you don’t want to go through the entire process of making the crust with the dates and the oil, you can whip up a simple crust using melted butter and crushed graham cracker crumbs or Nilla wafers- similar to what you would make for a cheesecake. Remember though, that this crust will need some refrigerator time to set well, and is going to be more fragile and crumbly than the crust with almond flour.
You could use any nut butter to make your homemade Twix bars- peanut butter, cashew butter, almond butter are all good choices. If you want to bump up the nutritive value of the bars, work with a mixture of nut butter and seed butter.
There’s a lot you can add to these bars- they’re super versatile that way. You can throw some coarsely chopped nuts of your choice into the caramel mixture before you layer it on the crust, or if you enjoy a bit of chewiness and gooeyness, you can also add some mini marshmallows into the mixture.
For some extra chocolatey taste, you can also add some cocoa powder into the crust mixture.
Your homemade Twix bars can last for up to 5 days when stored in an airtight container in the refrigerator. You can also choose to freeze them and then get them out in batches. Just use a Ziploc bag or a freezer-safe container to keep the freezer burn away, and you should be all set for a few months. Remember to use a sheet of parchment paper in between each stack to keep the bars from sticking to each other.
Tips to Make the Homemade Twix Bars
Think you’re all set and ready to try the recipe? You might want to keep these additional tips and tricks in mind.
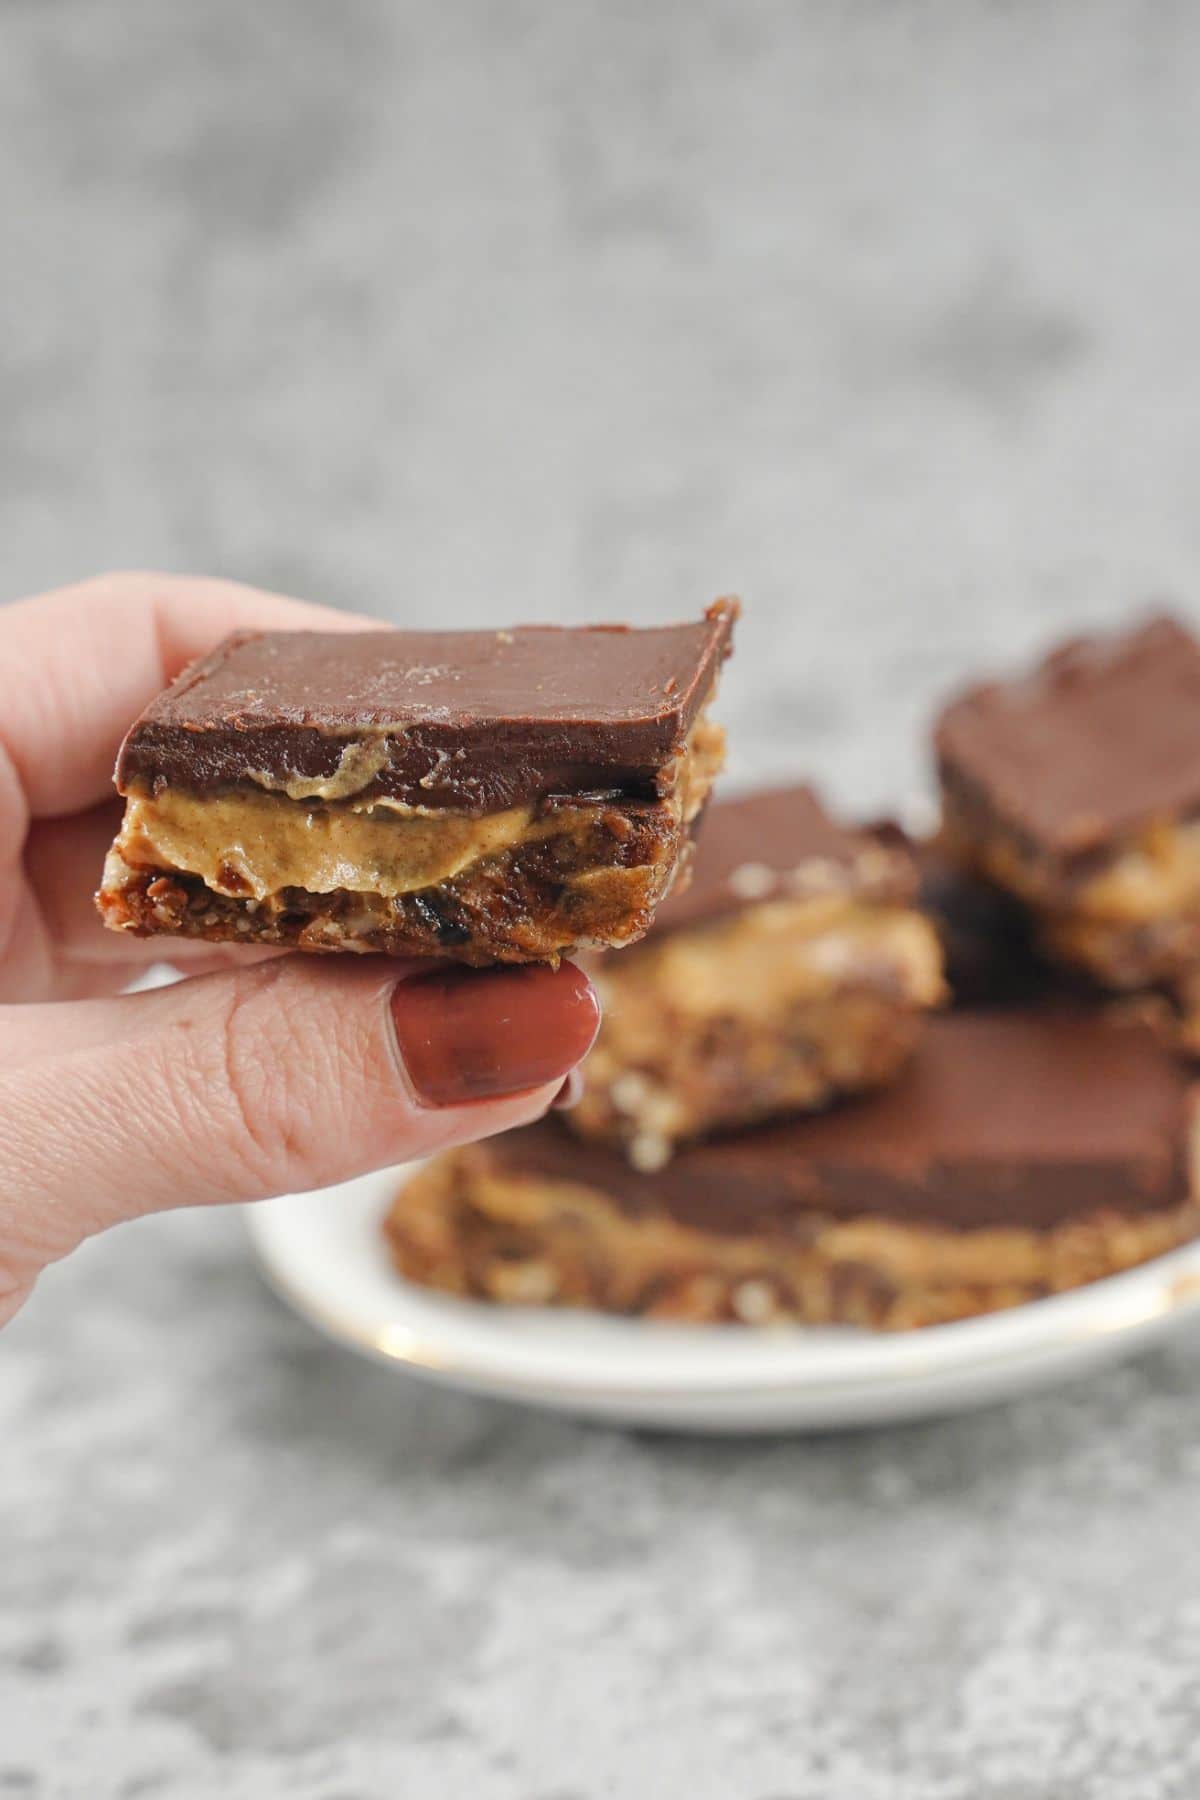
- For some extra flavor and health factor, you can add some desiccated coconut or toasted coconut flakes into the crust or mix them into the caramel mixture.
- To make cutting the bars easier, heat the knife before you use it.
- You can also set the Twix bars only until you’re finished with the caramel layer, and then cut it before dunking it into the chocolate layer. That way, you’ll have those fully chocolate-coated bars.
- You’ll need melted chocolate to make the chocolate coating. For this, you can use chocolate bars or chocolate chips- it all depends on what you have at hand. Just remember to also add a teaspoon of coconut oil into the chocolate to help it coat the bars nicely and set well.
- If you’re melting the chocolate in a microwave, remember to stir at every 30 second interval to keep it from burning.
Loved how easy it was to replicate this recipe in your kitchen? Looking for some more such fun and easy recipes worth trying out? Here are a few good ones worth checking out.
- Chocolate Fudge Without Condensed Milk
- Superfood Chocolate Brownie Energy Bites
- 3 Ingredient Cookies and Cream Bars
Recipe
Easy Homemade Twix Bars
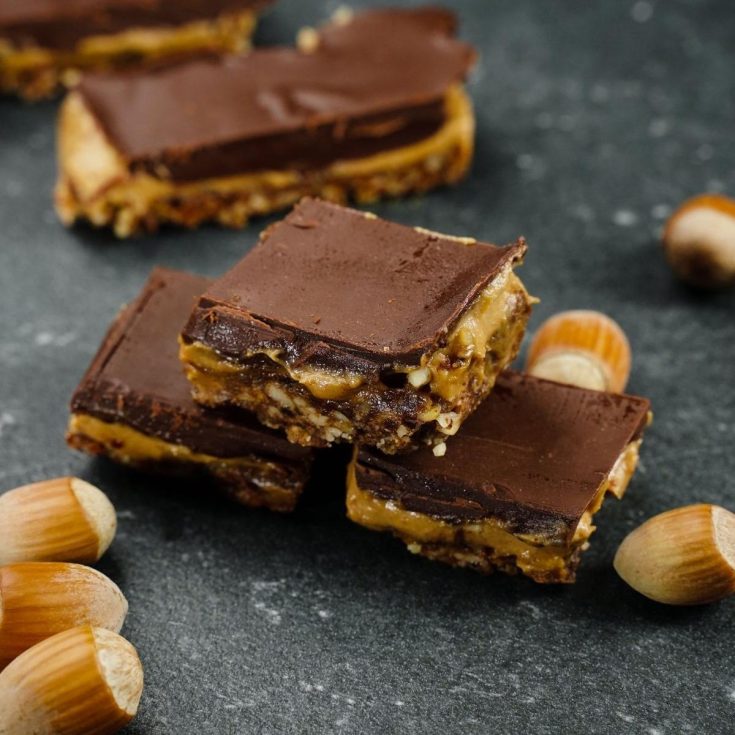
These homemade Twix bars might become your next favorite healthy snack. They're super easy to make too! Go give them a shot!
Ingredients
Base Layer:
- 1 ½ cup (144g) almond flour
- 3 tablespoon (41g) coconut oil
- ¼ cup (32g) medjool dates
- 1 ¼ cup (225g) medjool dates
Caramel Layer:
- ¼ cup (60g) nut butter
- 1-2 tablespoon (15-30ml) unsweetened almond milk
- Pinch of salt
Chocolate Layer:
- 1 cup (170g) Chocolate chips
Instructions
- Put all the ingredients for the base layer in a food processor and process them until you get a dough.
- Place the dough in a pan lined with parchment paper.
- Instead of almond flour, you can use almonds and process them until you get small crumbs.
- Leave the dough in the fridge while you are creating the next layer.
- In a blender place the dates, butter, almond milk, and salt.
- Blend until everything is well combined and you get a creamy mixture.
- Pour the mixture into the pan over the first layer and place it back in the fridge.
- Melt the chocolate and pour it on top.
- Put it back in the fridge and let it chill for 3 hours total before you serve.
- In the cutting process, the chocolate is going to break.
- If you want a more neat look you can cut the first two layers in the wanted shape and then cover the bars in chocolate one by one.
Nutrition Information:
Yield:
16Serving Size:
1Amount Per Serving: Calories: 86Total Fat: 4gSaturated Fat: 0gTrans Fat: 0gUnsaturated Fat: 3gCholesterol: 0mgSodium: 20mgCarbohydrates: 11gFiber: 1gSugar: 1gProtein: 1g


Comments
No Comments