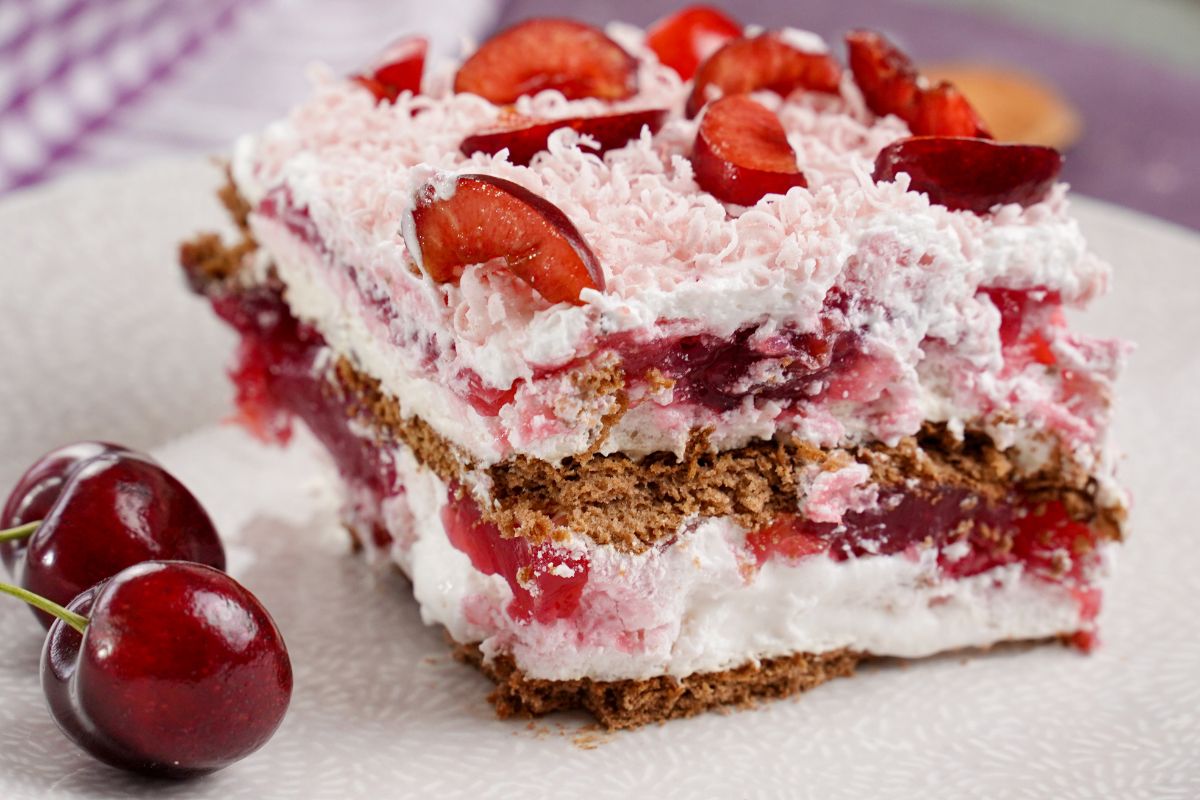
This black forest icebox cake is your old-fashioned chocolate icebox cake taken up a notch. Plus, it is incredibly easy to put together. This is a perfect choice for any time you need a tasty dessert.
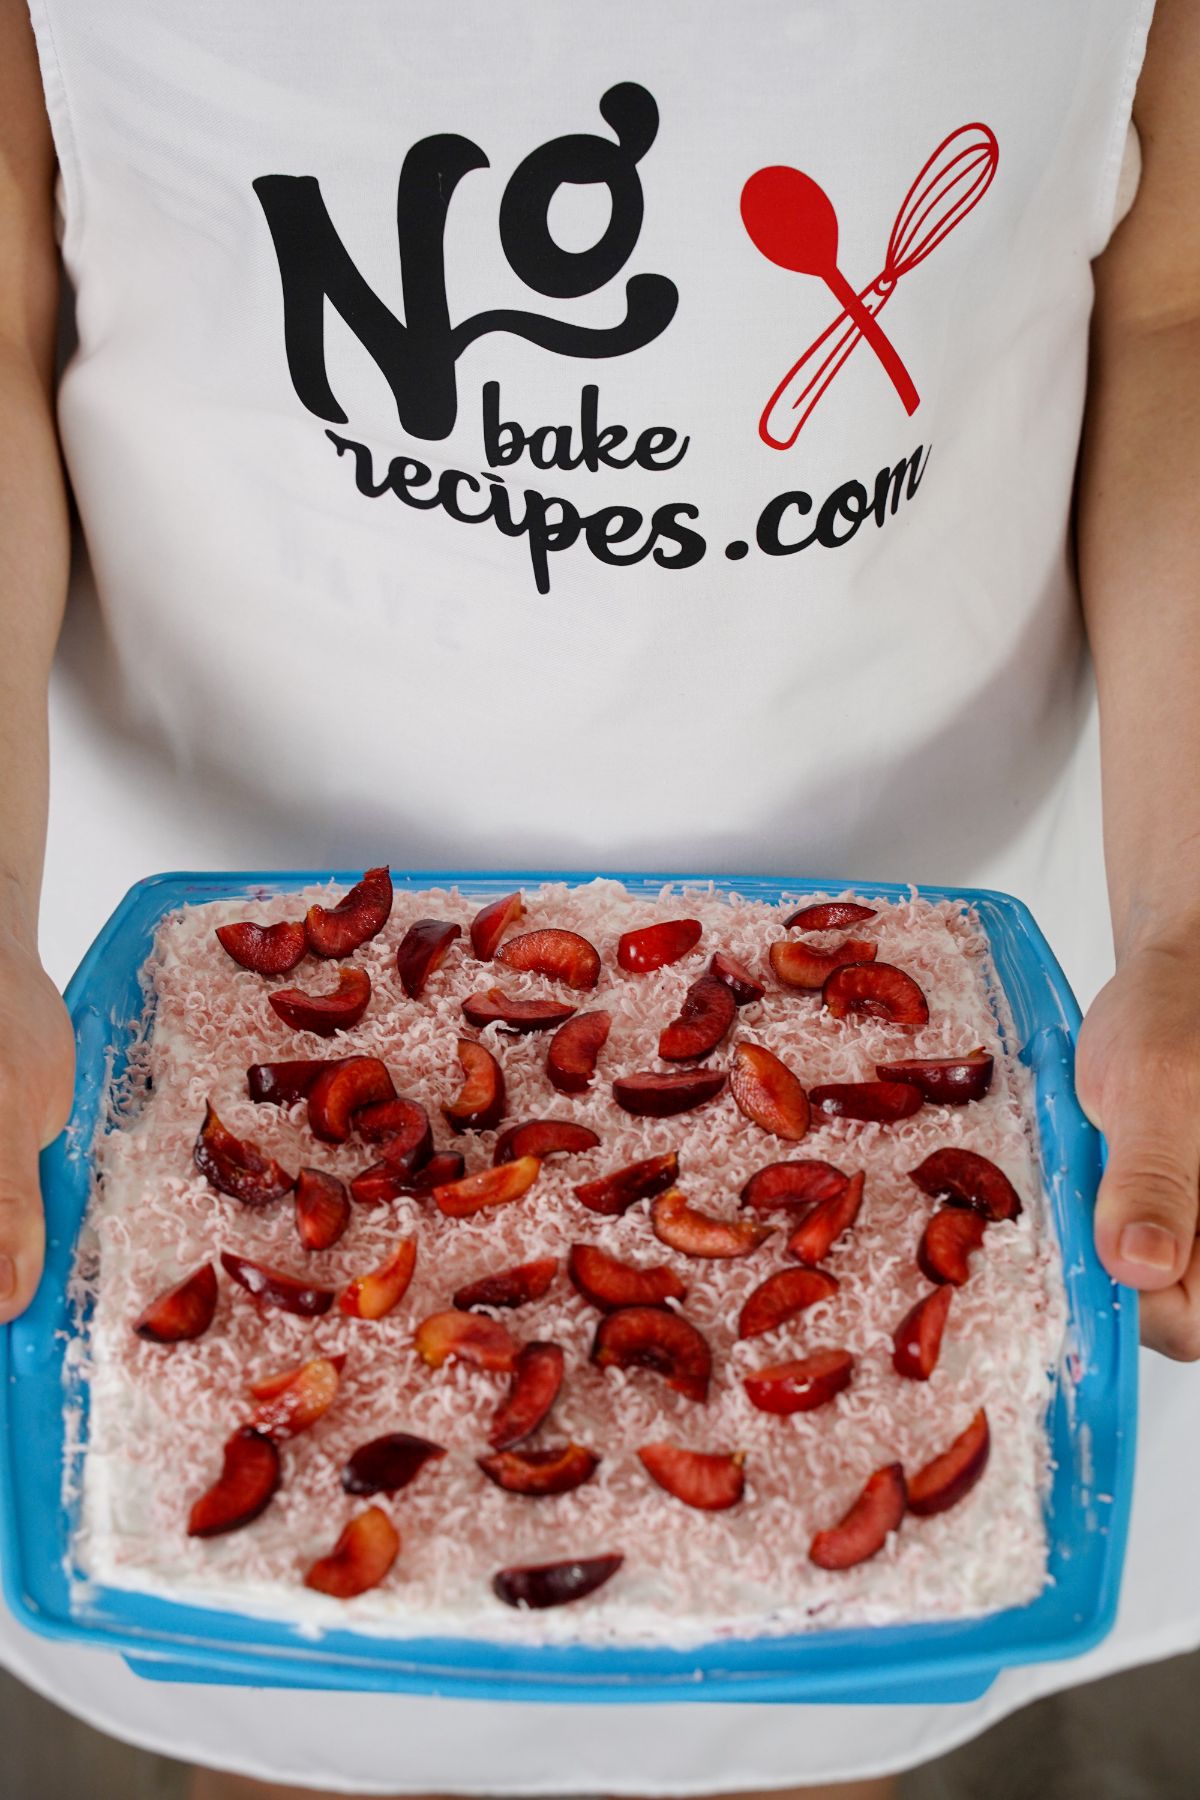
Jump to:
Black Forest Icebox Cake
There’s just something about the colder months of the year that gets you in the mood to celebrate and dig into some delicious and chocolatey sweet treats. And thankfully, it doesn’t take a lot to make a dessert that the whole family enjoys.
Icebox cakes are the way to go if you’re one of those who don’t like to spend a lot of time in the kitchen. They’re versatile and super easy to make. And this black forest icebox cake, in particular, is chock full of flavor and deliciousness.
And if you want something just a bit different, check out this great no-bake eclair cake recipe that is absolutely decadent!
Variations of this Icebox Cake
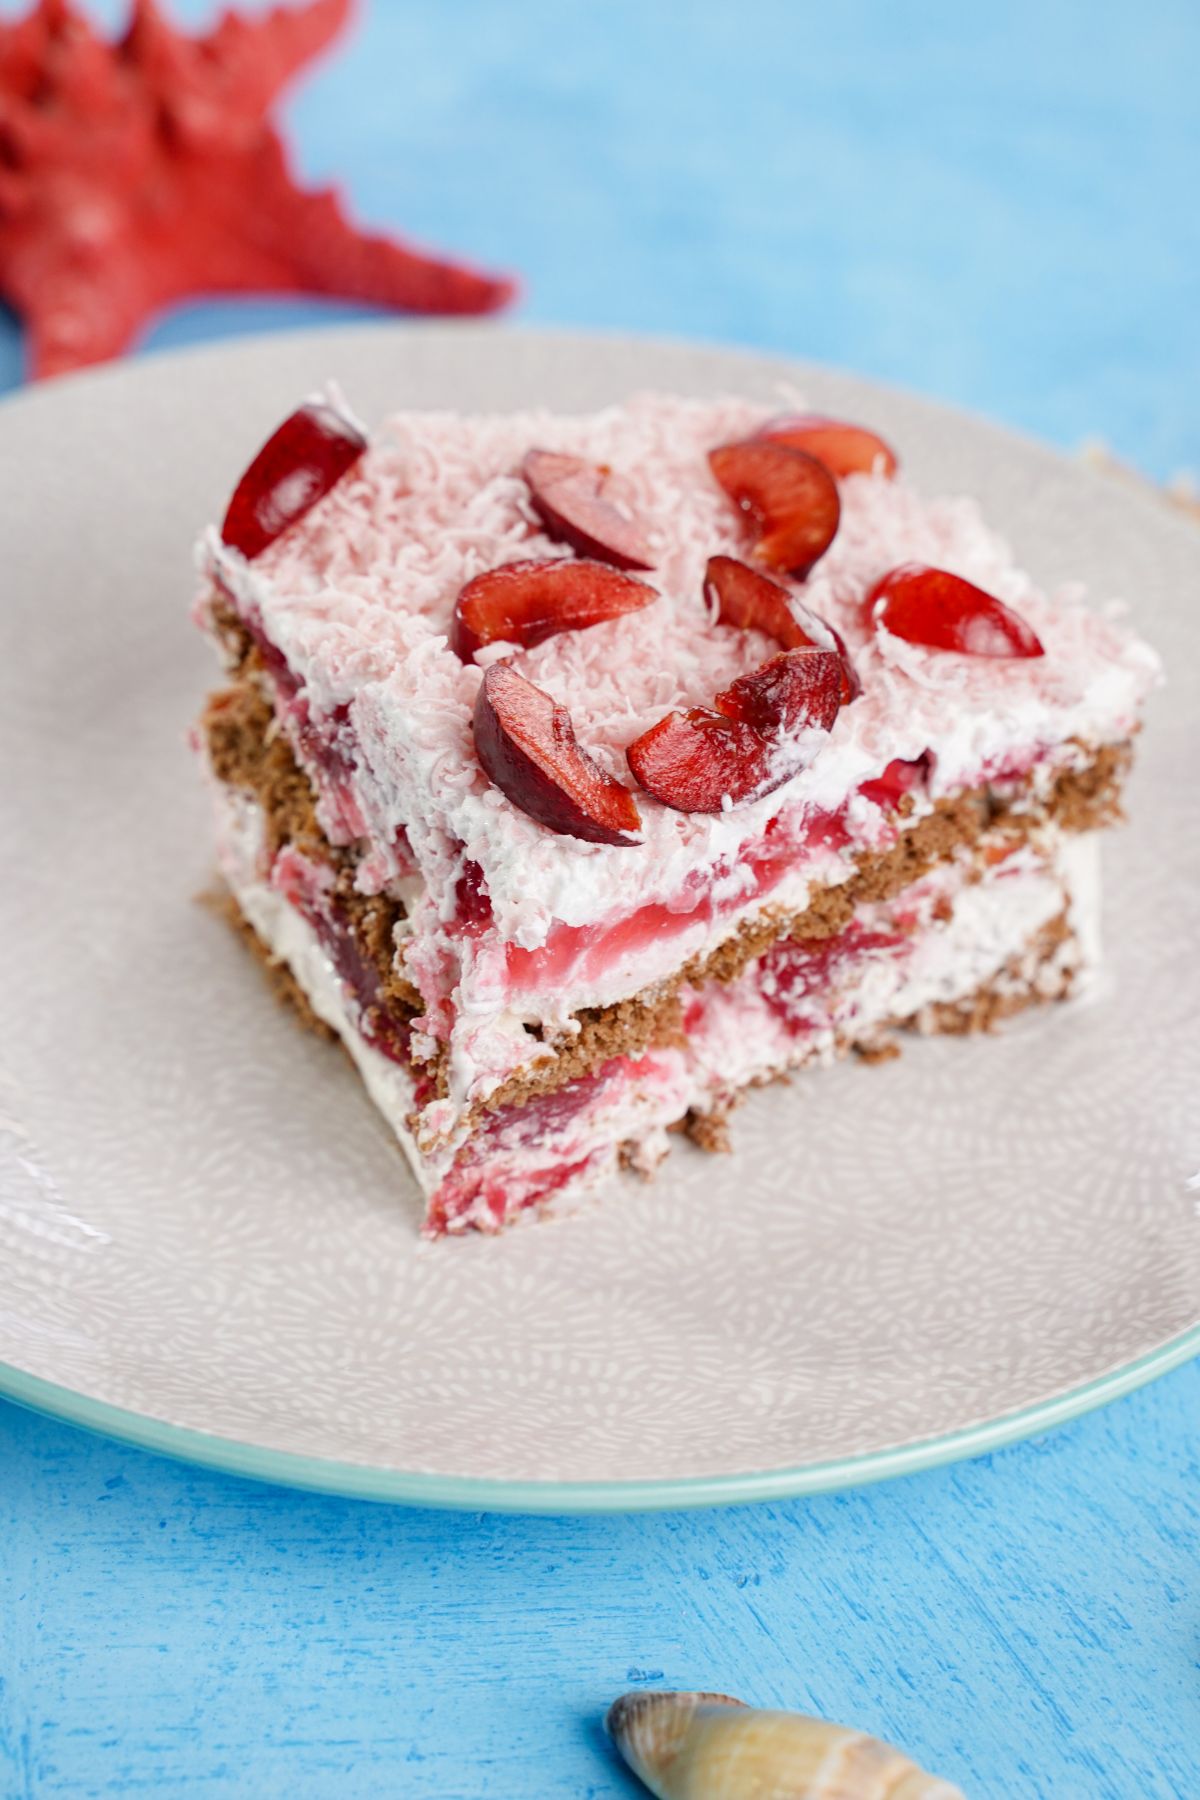
Fresh cherries and chocolate shavings are the classic toppings for your black forest icebox cake, but if you’re bringing in some variation with the flavors and additions to this cake, you can also experiment with the toppings.
Here are a few ideas you can never go wrong with.
- Candied pecans
- Chopped walnuts
- Almond slivers
- Coconut flakes
- Mini chocolate chips
- Fresh berries, sliced
- Caramel sauce
- Chocolate sauce
- Nutella spread
- Peanut butter cups
- Oreo thins
- Crushed Oreos
- Sprinkles
Ingredients For the Icebox Cake
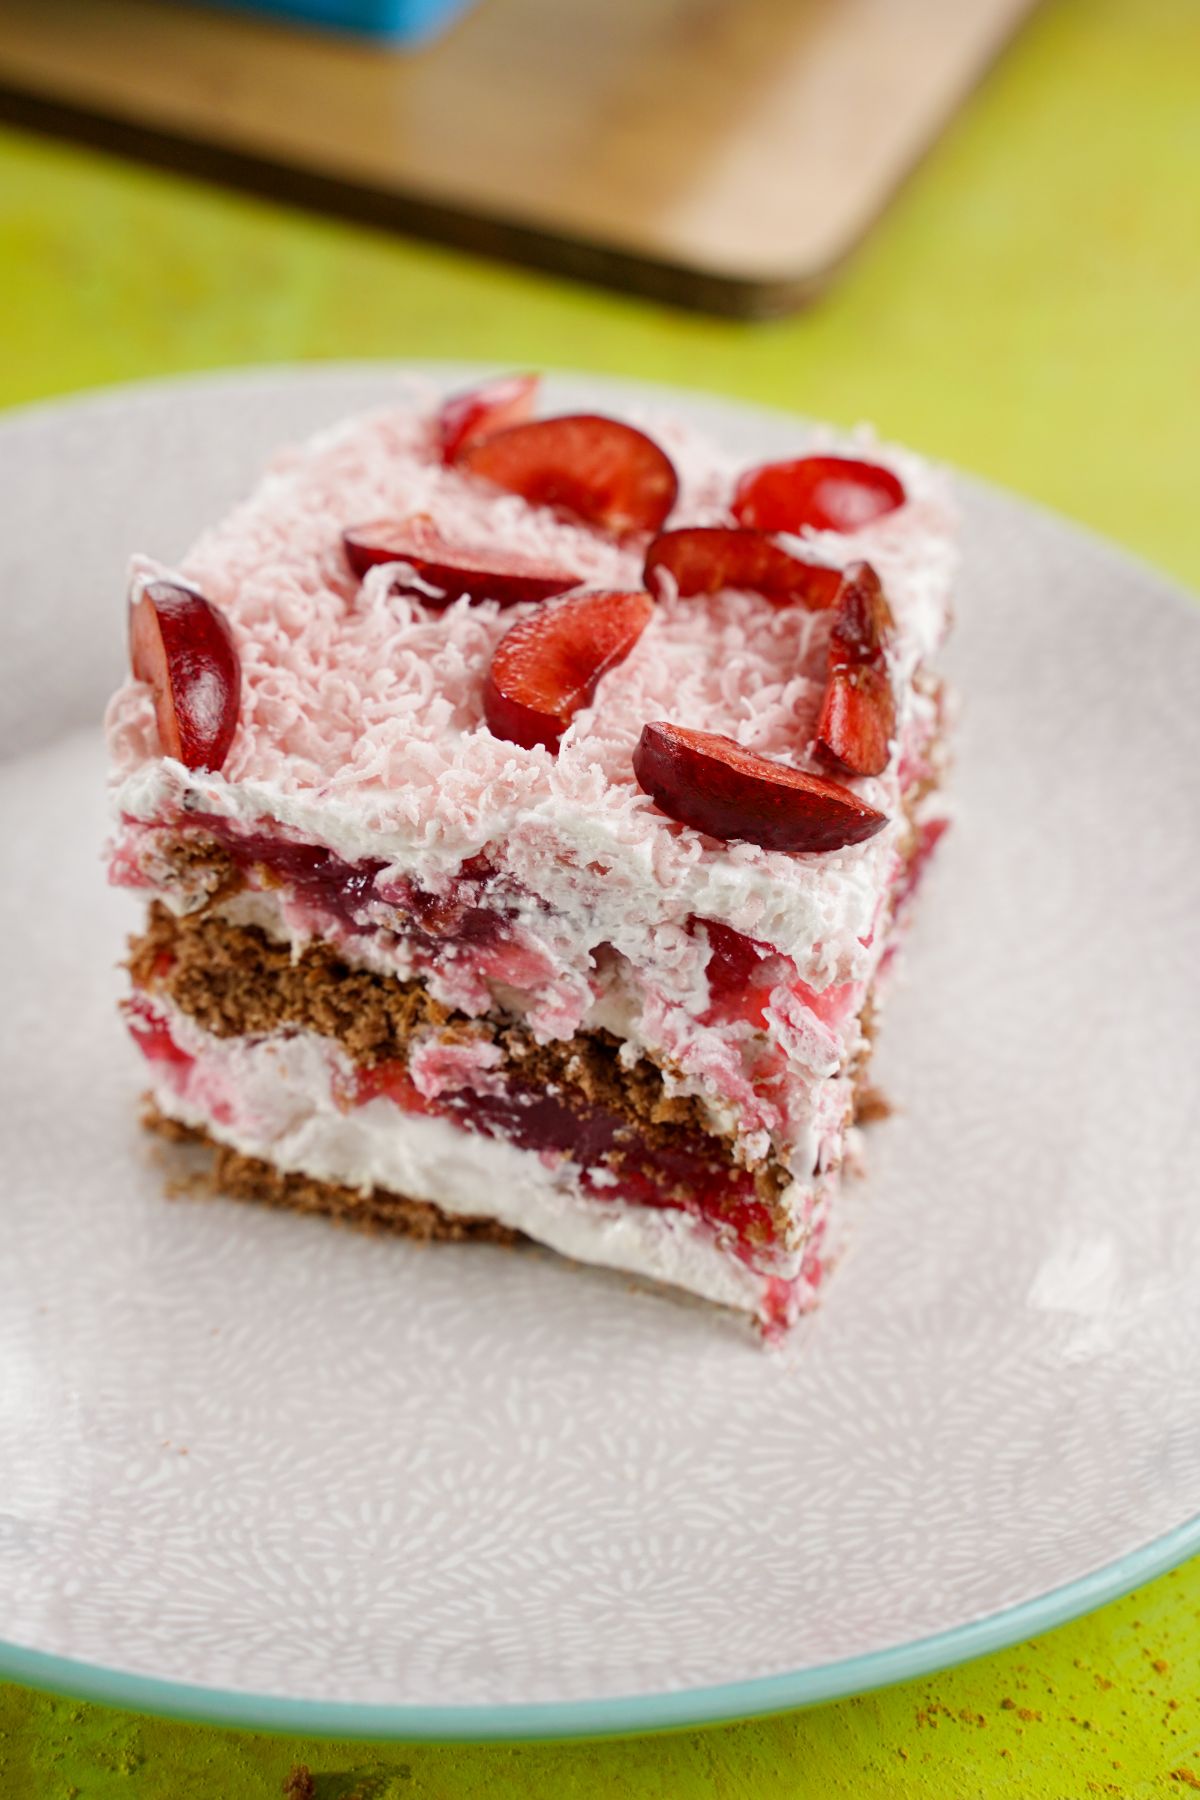
You’ll need just 4 simple ingredients to put this decadent cake together. How cool is that?
- 2 packs chocolate wafer cookies
- 1 can cherry pie filling
- 2 cups heavy whipped cream
- ½ cup powdered icing sugar
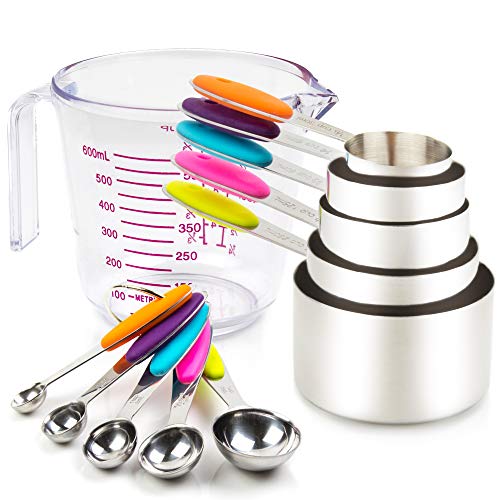
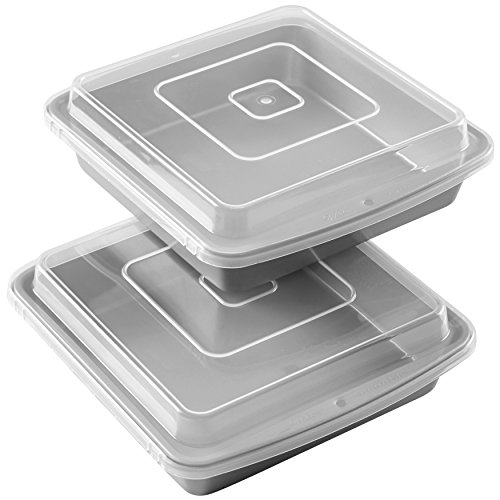
Kitchen Tools Needed
How to Make the Black Forest Icebox Cake
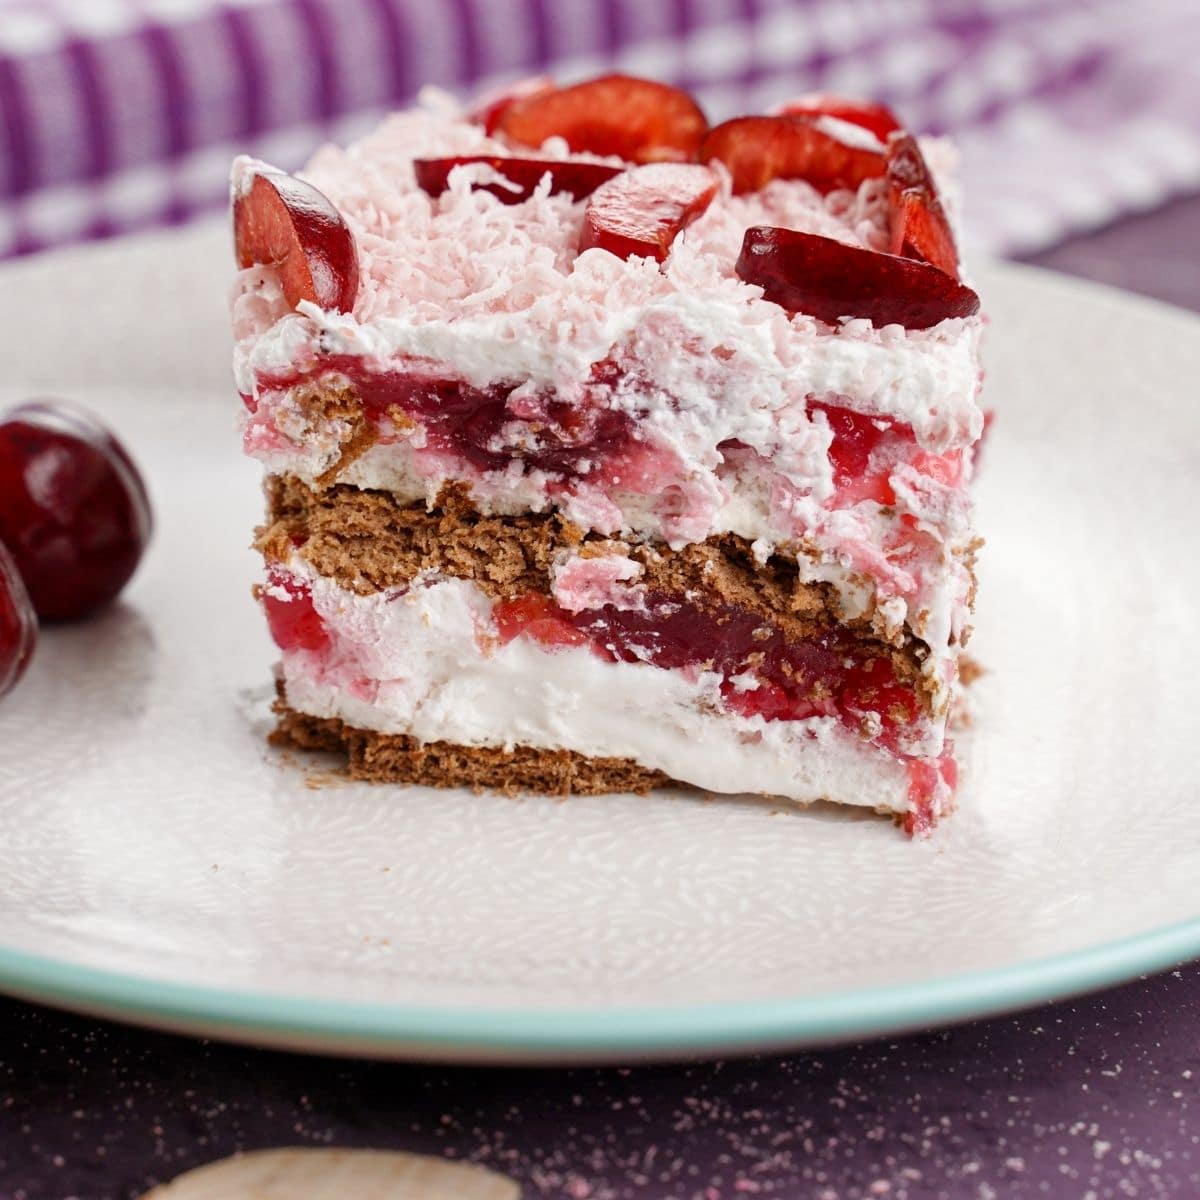
In a large bowl, beat together the whipping cream and powdered sugar until soft peaks form then set aside.
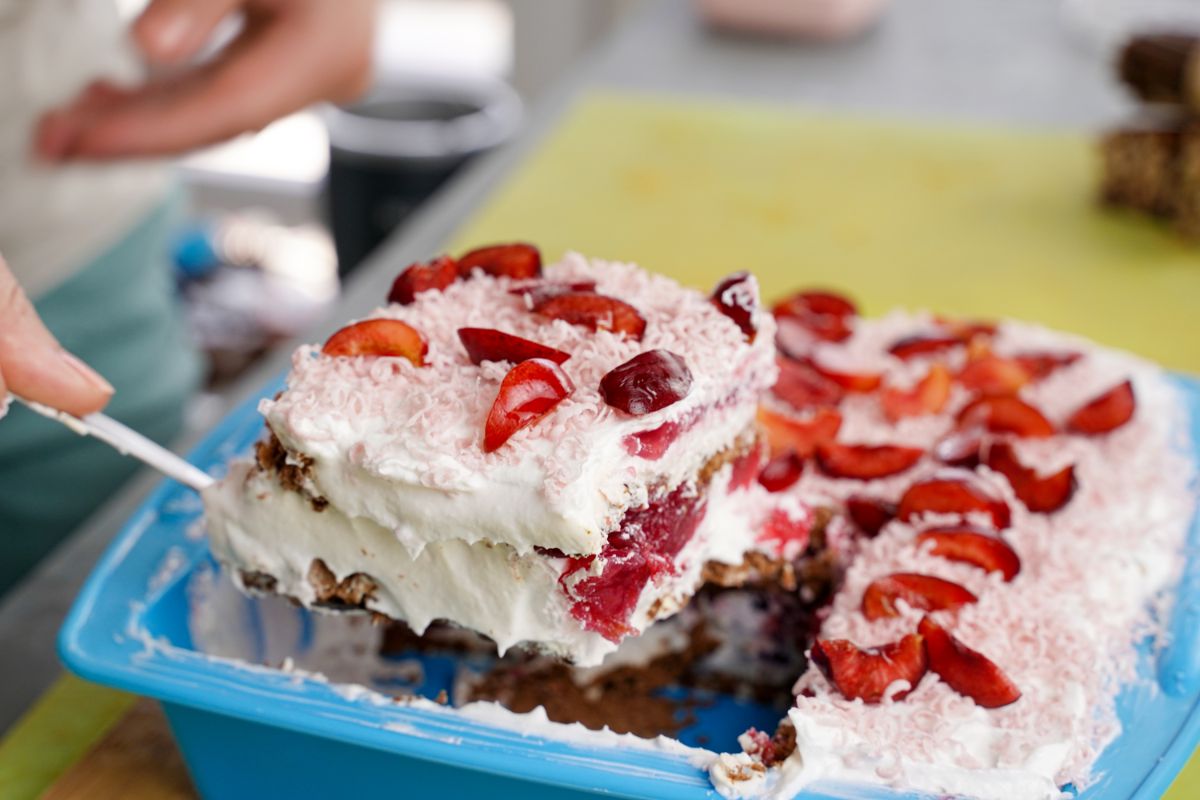
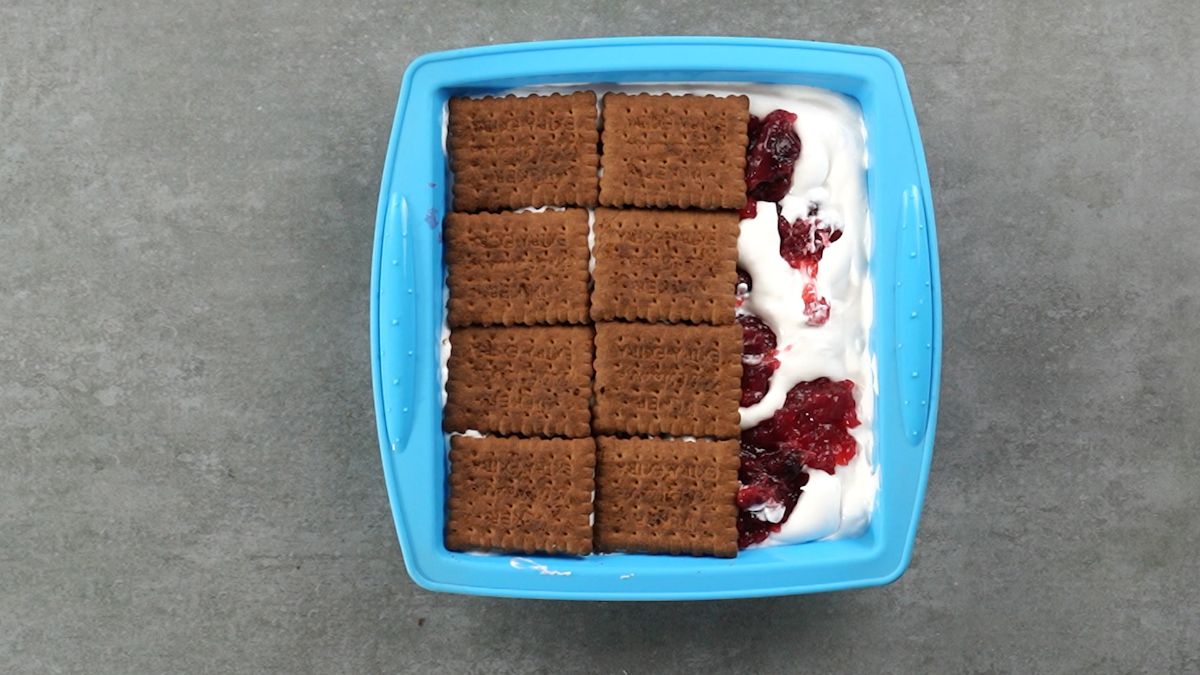
In a baking dish or pan, place a single layer of chocolate cookies.
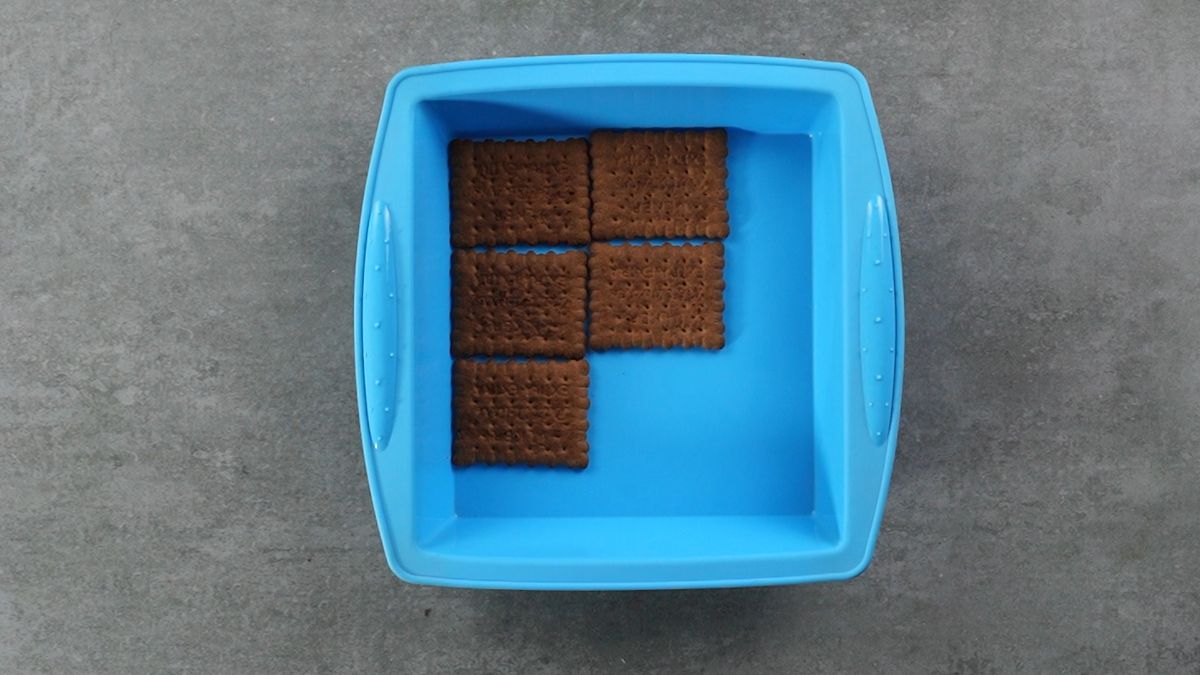
Then spread ½ of the whipped cream over the top of the cookies.
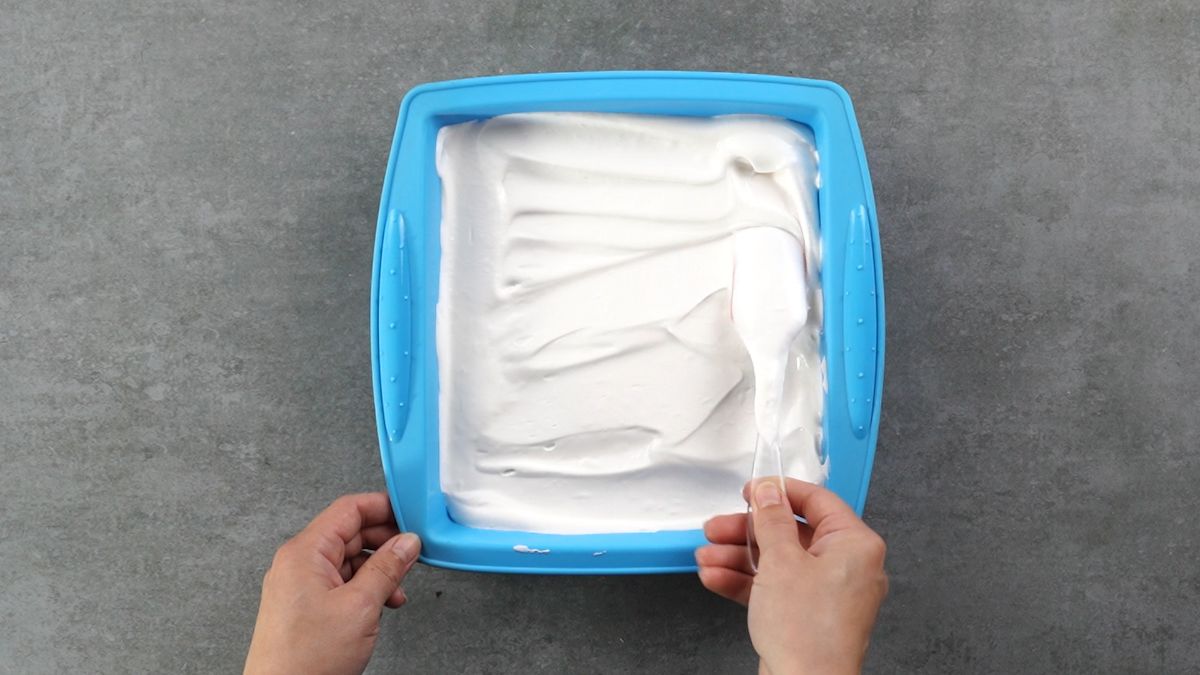
Next, spread ½ of the cherry pie filling over the whipped cream.
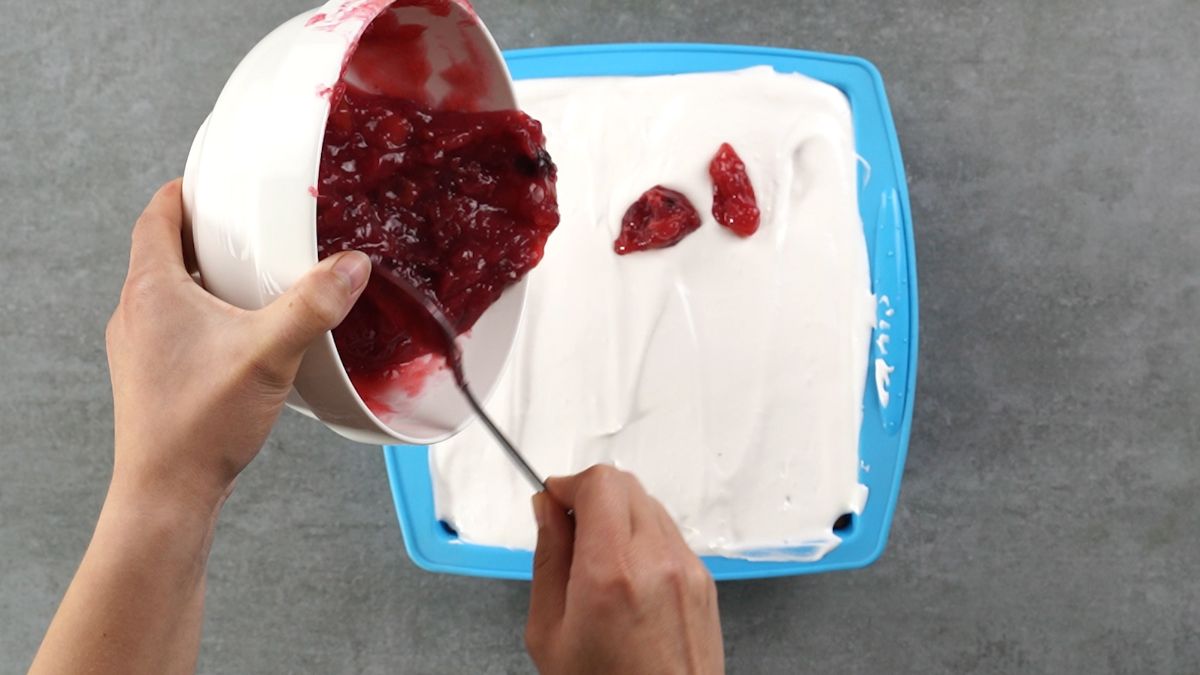
Repeat this process one more time using the remaining cookies, then whipped cream, then cherry pie filling.
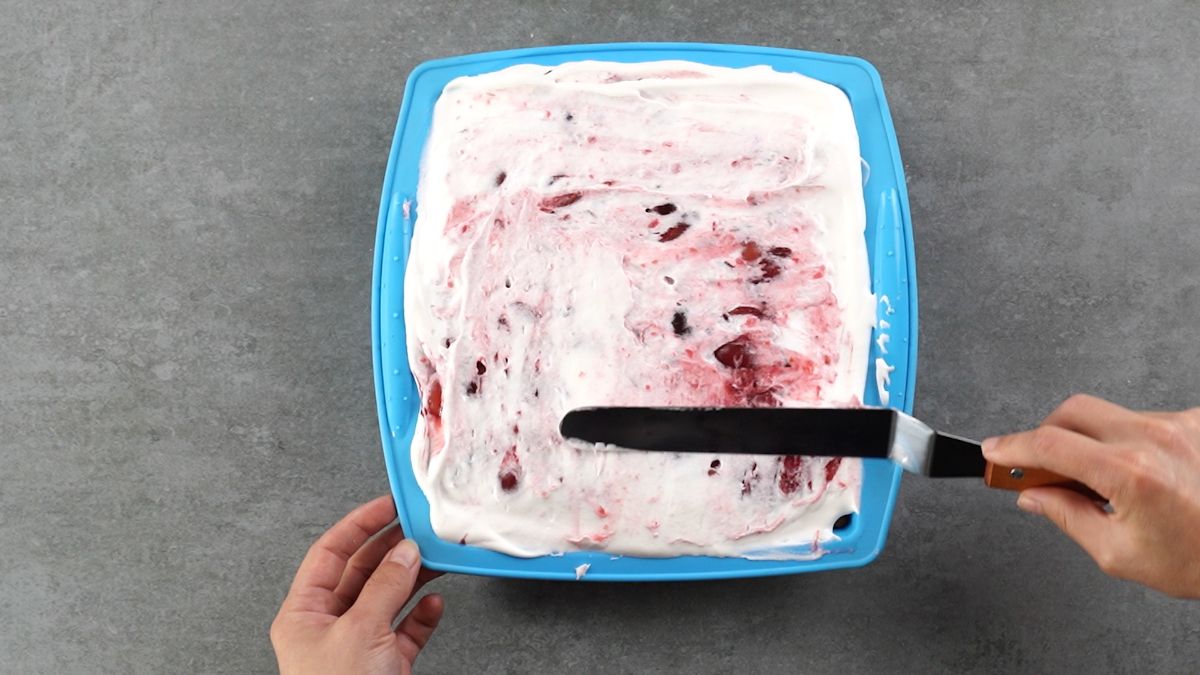
Cover loosely and chill for at least 6 hours.
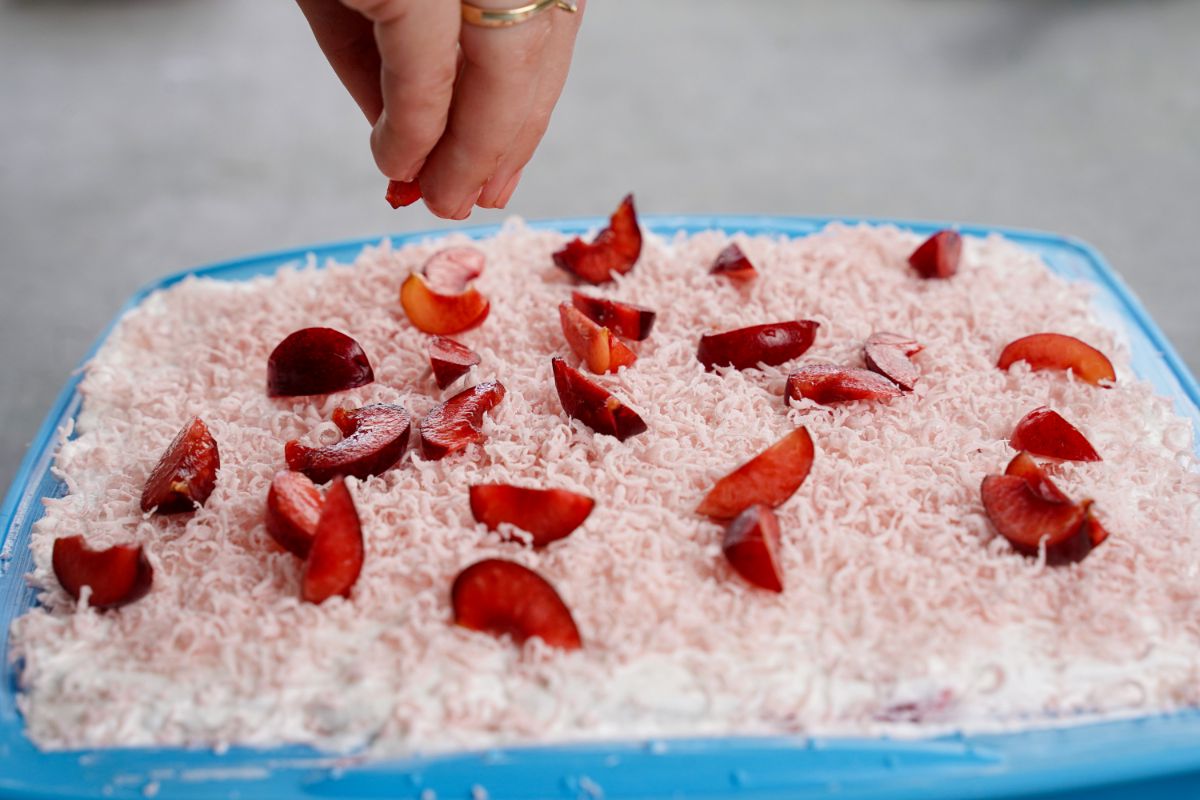
Add additional whipped cream, cherries, or sprinkles on top before serving.
Frequently Asked Questions
Chocolate wafer cookies are an absolute must for this recipe, simply because they’re classic and easy to work with. Oreos are great too, but then again, they’re round, and they won’t give your cake that perfect flat, a fit edge that you’re looking for. If you’re looking for an alternative, chocolate-flavored graham crackers are your best bet.
ally can! To balance out the flavors and the creaminess of this icebox cake, you might need to add in a bit of condensed milk too though.
Got some leftovers that you need to store? Just transfer them to an airtight container and refrigerate them. You can have them within 3 days. Anything beyond that will just be a soggy mess, thanks to the wafers soaking up all the moisture and turning limp and sad. If the cake slices feel too delicate to be moved to a container, you can store them in the same container you made them in. Just make sure you cover it well and you’re sorted.
What Else Can I Add to the Icebox Cake
One of the best things about an icebox cake is the fact that it is your literal playground to experiment with different flavors, textures, and additions. While the black forest icebox cake is a heavenly classic that you just can’t go wrong with, you can still bring about a little variation if feel like it.
For example, you could use any berry jam or compote as a swap for the cherry pie filling in the recipe for a bit of a different flavor. Top the cake with some coconut flakes to take it to the next level.
You could also ditch the fruit completely and use chopped or candied nuts instead- they’ll also lend your cake a nice bit of crunch and bring in a little variation in texture too.
And if you’re doing that, you can also mix a bit of espresso powder into the cool whip if you’re a coffee lover.
If you’re making this dessert during fall, you can sneak in a bit of pumpkin pie spice into the whipping cream, and use pumpkin puree too.
Tips & Tricks to Make the Black Forest Icebox Cake
Think you’ve got it all covered? Wait up! You might want to keep these little tips in mind to nail the recipe.
- Before you refrigerate the cake, make sure you cover it with a lid or tinfoil. This will ensure that the cake doesn’t end up having those weird refrigerator smell once you get it out and serve.
- If your whipping cream isn’t forming the stiff peaks as you would want it to, you can allow the cake to refrigerate for 15 minutes after every layer of whipping cream, so that the cake is well set and holds its shape.
- This cake ideally needs 12 hours of setting time in the refrigerator to get that perfect cake-like soft texture and for the flavors to blend in and develop, but if you’re making this on a bit of short notice, you can allow it to refrigerate for a minimum of 6 hours, and then serve it.
- Make sure the cream is cold when you start to whip it. If your kitchen seems hot, you can also chill the bowl and whisk for a while, and then use them to whip the cream.
- To get some extra chocolatey flavor into this dessert, you can also add a bit of cocoa powder into the whipped cream.
Loved how easy it was to make this black forest icebox cake? Looking for some more similar easy and quick dessert recipes? Here are some you might want to try out.
- No-Bake Cherry Cheesecake Lasagna Recipe
- White Chocolate No Bake Layer Cake Recipe
- No-Bake Blueberry Cheesecake Recipe
- No-Bake Italian Cream Cake Recipe
Recipe
Easy Black Forest Icebox Cake Recipe
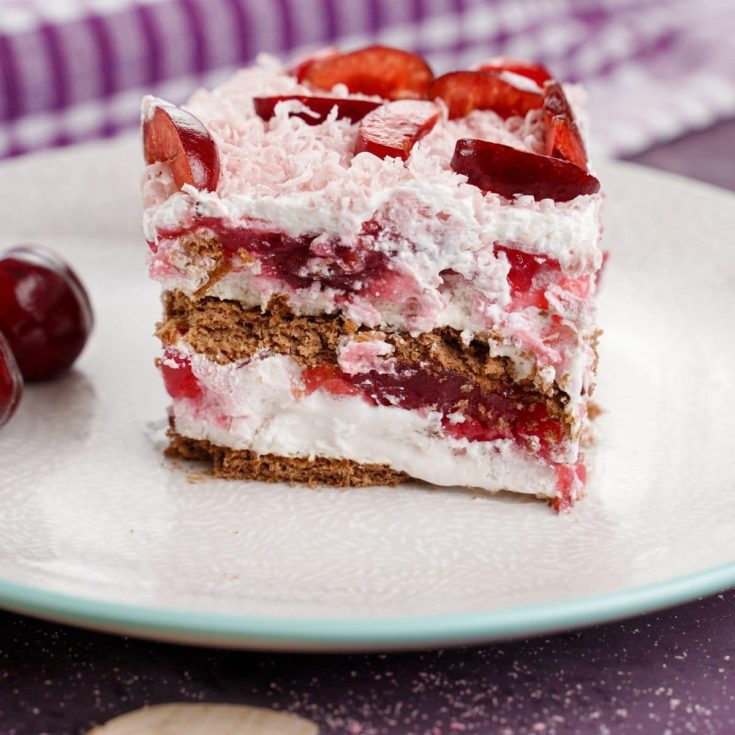
This black forest icebox cake is your old-fashioned chocolate icebox cake taken up a notch. Plus, it is incredibly easy to put together.
Ingredients
- 2 packs chocolate wafer cookies
- 1 can cherry pie filling
- 2 cups heavy whipped cream
- ½ cup powdered icing sugar
Instructions
- In a large bowl, beat together the whipping cream and powdered sugar until soft peaks form then set aside.
- In a baking dish or pan, place a single layer of chocolate cookies.
- Then spread ½ of the whipped cream over the top of the cookies.
- Next, spread ½ of the cherry pie filling over the whipped cream.
- Repeat this process one more time using the remaining cookies, then whipped cream, then cherry pie filling.
- Cover loosely and chill for at least 6 hours.
- Add additional whipped cream, cherries, or sprinkles on top before serving.
Notes
Customize this recipe with different flavors of cookies and different pie fillings for something different every time.
Recommended Products
As an Amazon Associate and member of other affiliate programs, I earn from qualifying purchases.
-
No-Bake Treats: Incredible Unbaked Cheesecakes, Icebox Cakes, Pies and More
-
Whisks for Cooking, 3 Pack Stainless Steel Whisk for Blending, Whisking, Beating and Stirring, Enhanced Version Balloon Wire Whisk Set, 8"+10"+12"
-
Hamilton Beach 6-Speed Electric Hand Mixer, Beaters and Whisk, with Snap-On Storage Case, White
-
Measuring Cups and Spoons Set 11 Piece. Includes 10 Stainless Steel Measuring Spoons and Cups Set and 1 Plastic Measuring Cup. Liquid Measuring Cups Set and Dry Metal Measuring Cup Set
-
Pyrex Glass Mixing Bowl Set (3-Piece Set, Nesting, Microwave and Dishwasher Safe)
-
Wilton Recipe Right Non-Stick 9-Inch Square Baking Pan with Lid, Set of 2
Nutrition Information:
Yield:
8Serving Size:
1Amount Per Serving: Calories: 203Total Fat: 5gSaturated Fat: 3gTrans Fat: 0gUnsaturated Fat: 2gCholesterol: 12mgSodium: 68mgCarbohydrates: 38gFiber: 1gSugar: 12gProtein: 1g






Comments
No Comments