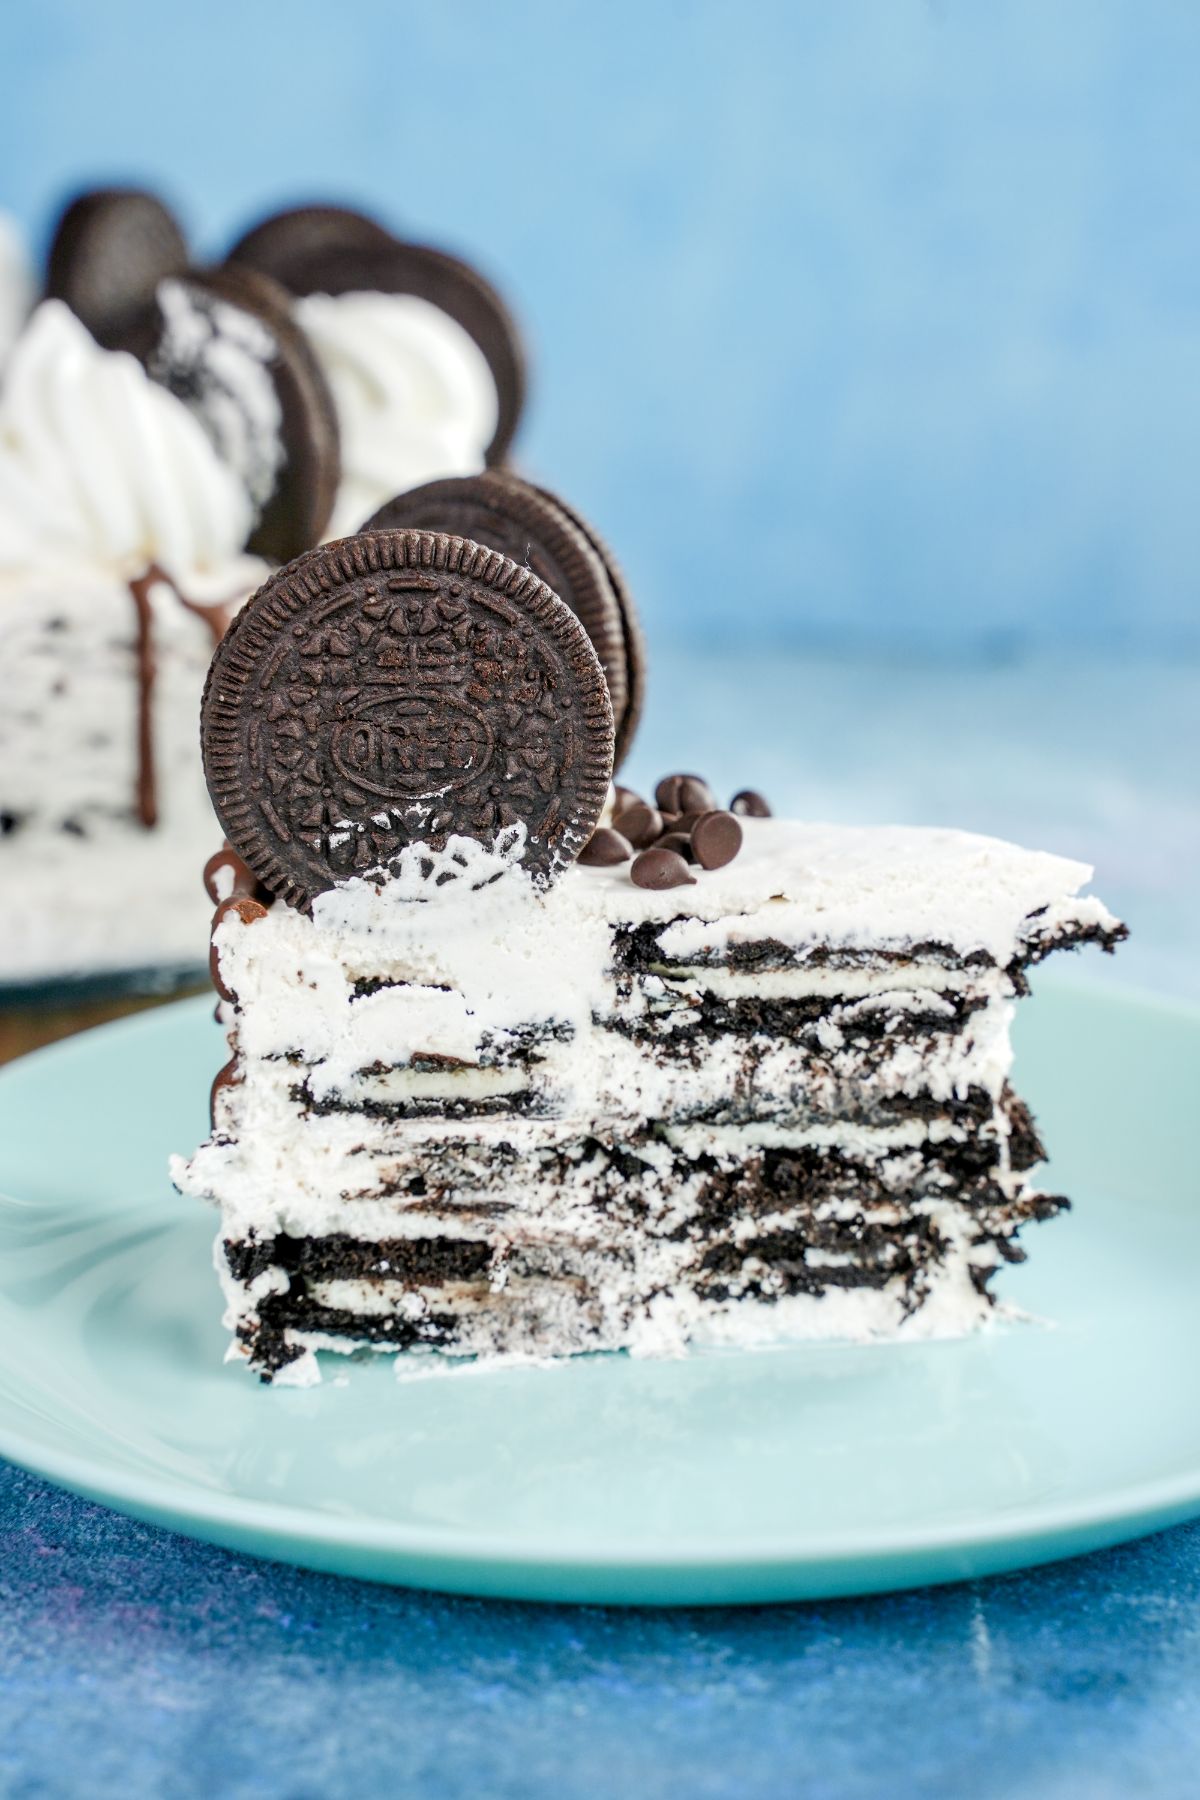
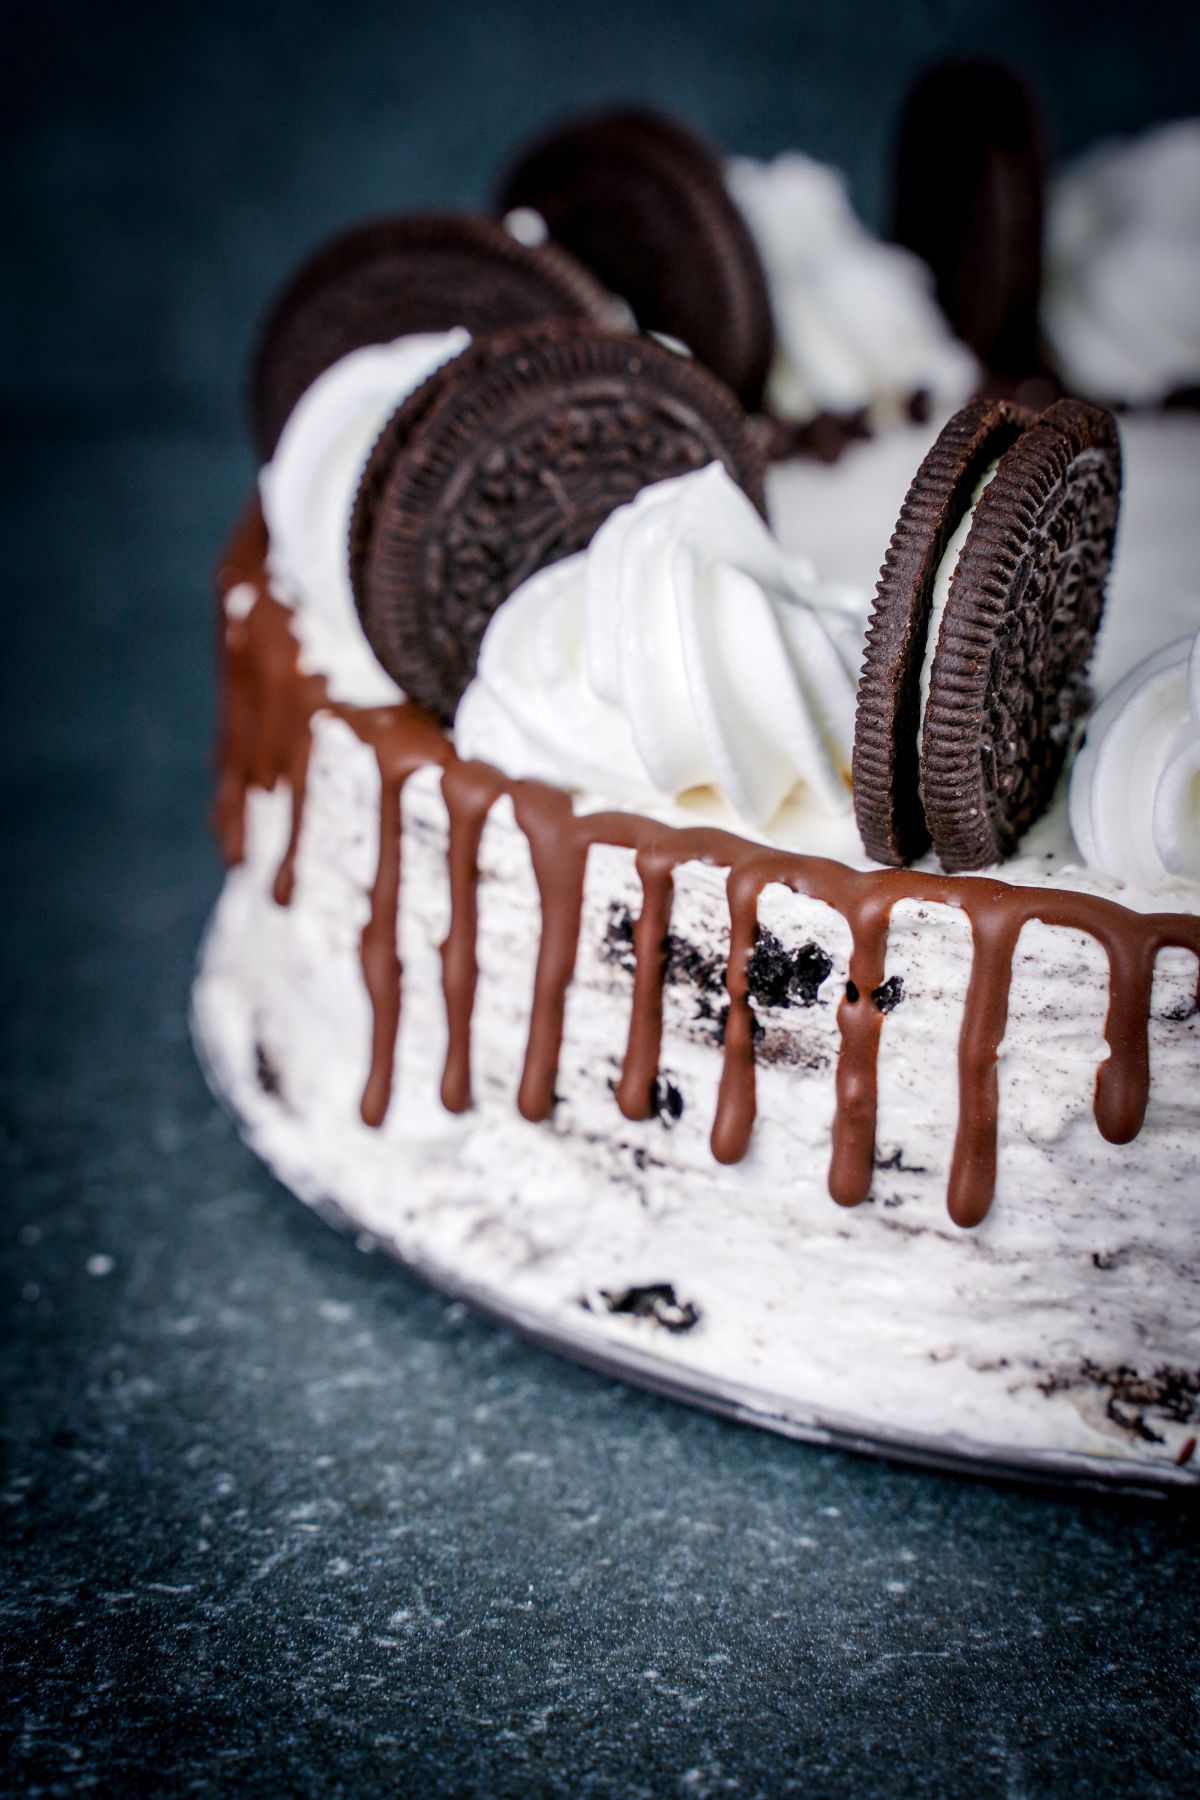
Simple ingredients, a little stacking, and an overnight chill are all it takes to make this delicious Oreo icebox cake.

Icebox cakes are a savior for anyone who has a sweet tooth, but can’t stand the idea of spending hours toiling away in the kitchen, and if you are one of those (like me), you are going to love this Oreo icebox cake recipe.
It packs in a combination of simple and classic ingredients - including your favorite Oreo cookies and transforms it into a delicious and heavenly dessert.
Jump to:
Tempted already? Here’s all you need to know about making this cake from scratch.
Ingredients For the Recipe
You will need just 4 simple ingredients to make the Oreo icebox cake.
- 3 cups cold heavy cream
- ½ cup powdered sugar
- 1 teaspoon pure vanilla extract
- 64 Oreo cookies (about 1 ½ typical packages)
Kitchen Tools Needed
How to Make the Oreo Icebox Cake
Once you have all your ingredients ready, here is what you need to do to put the cake together.
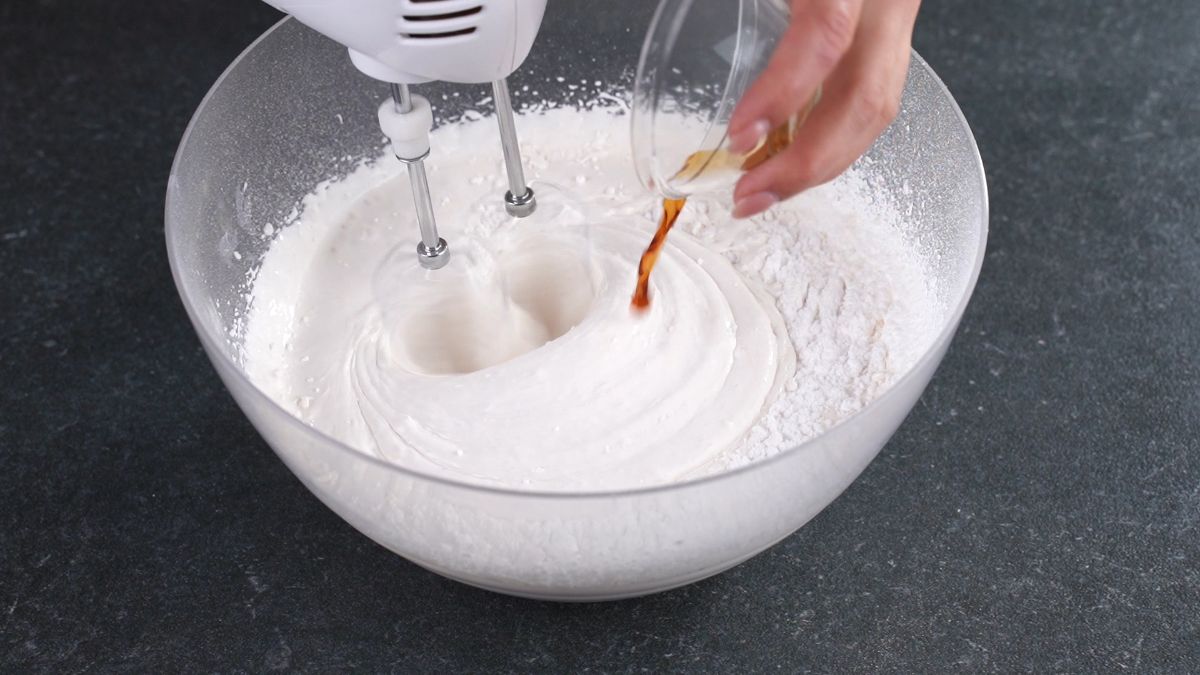
In a big bowl mix the heavy cream, vanilla, and powdered sugar until everything is well combined and soft peaks begin to form (the cream will thicken and stiffen and stay in a peak on the end of your mixer).
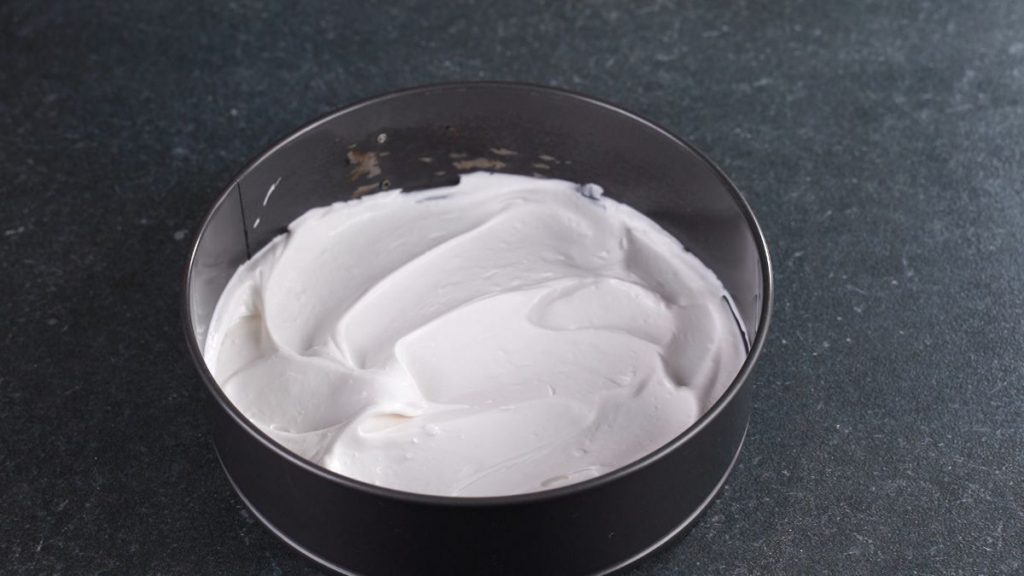
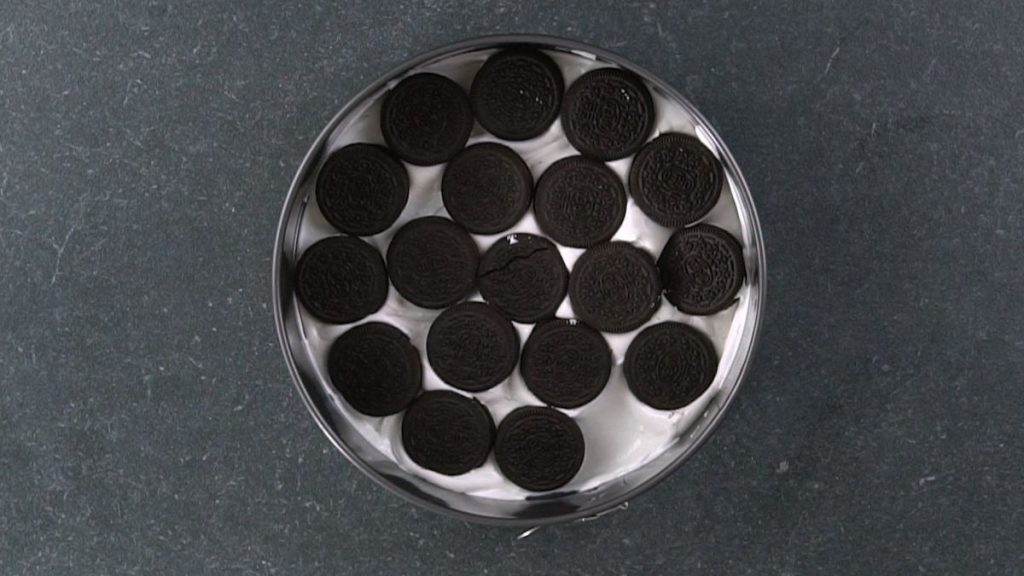
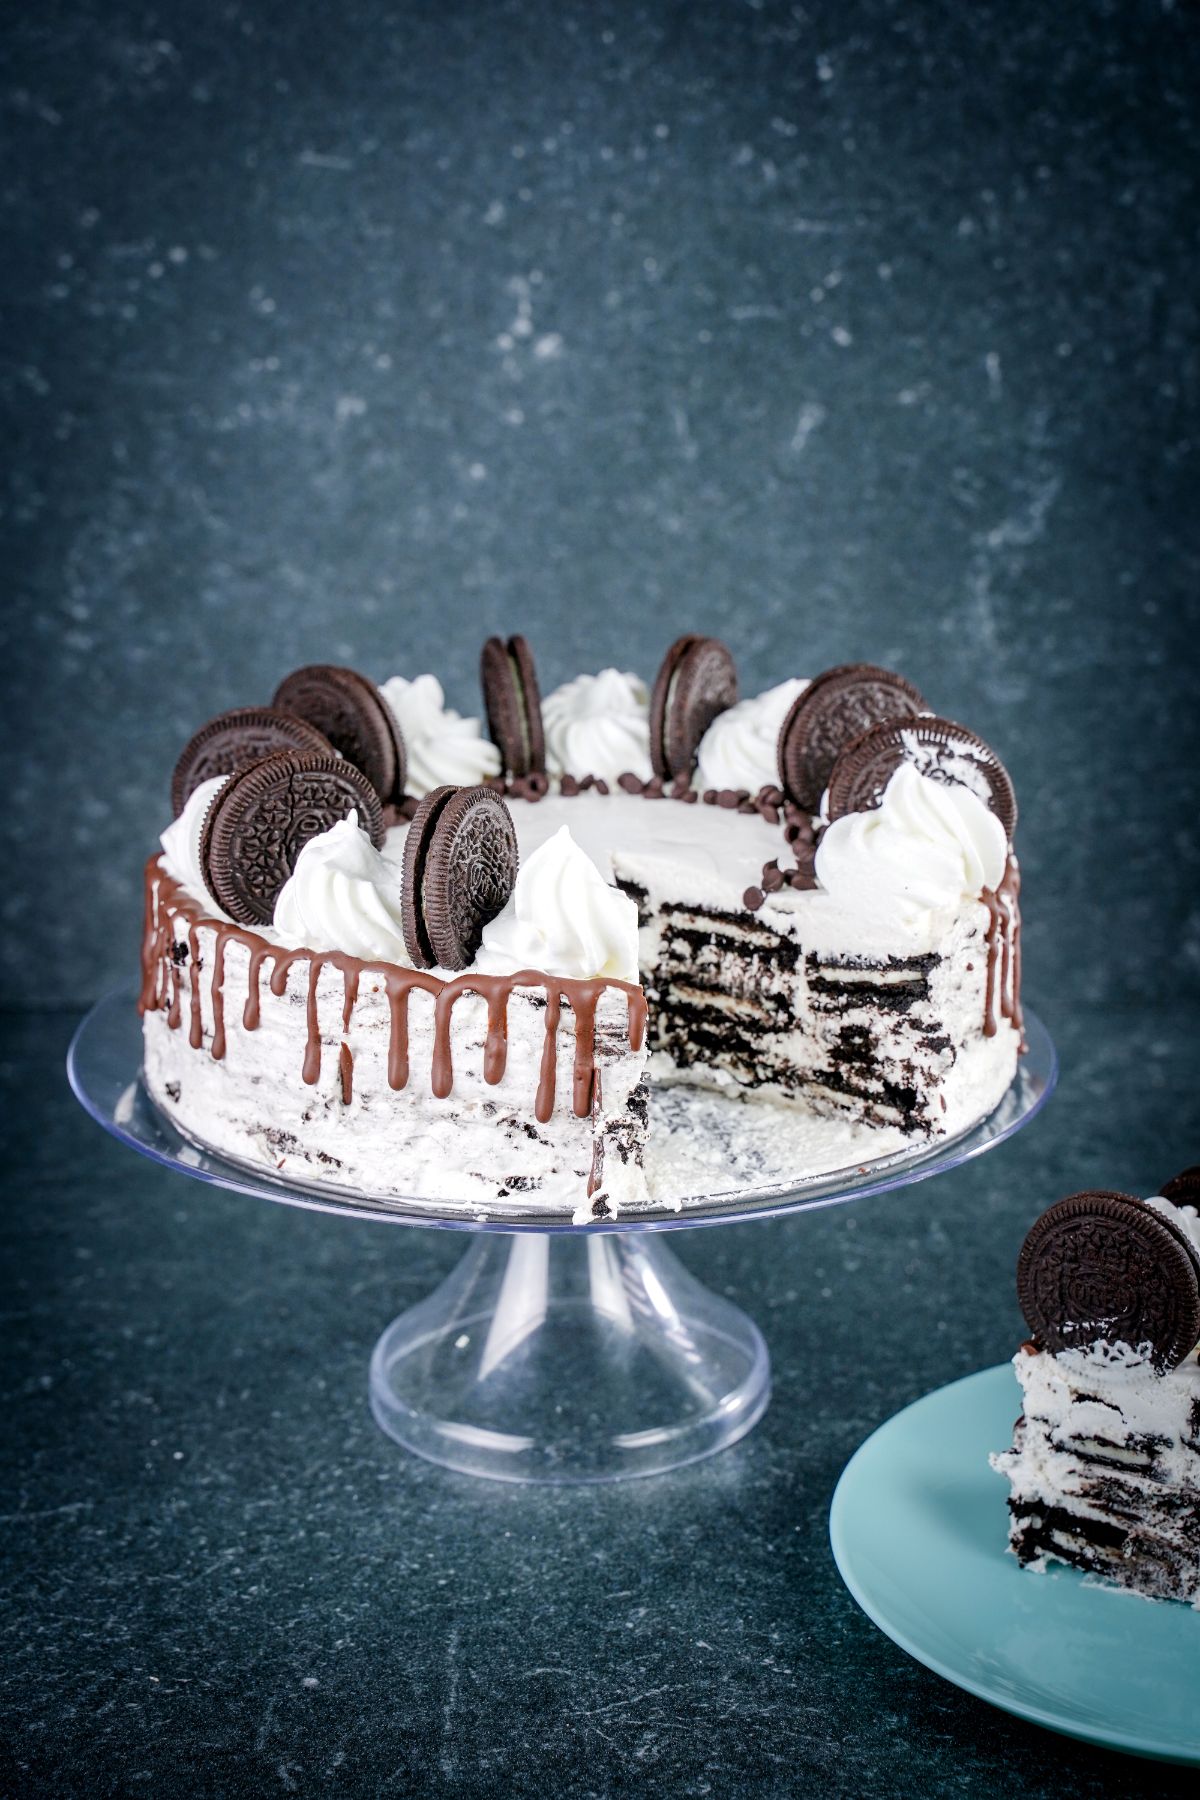
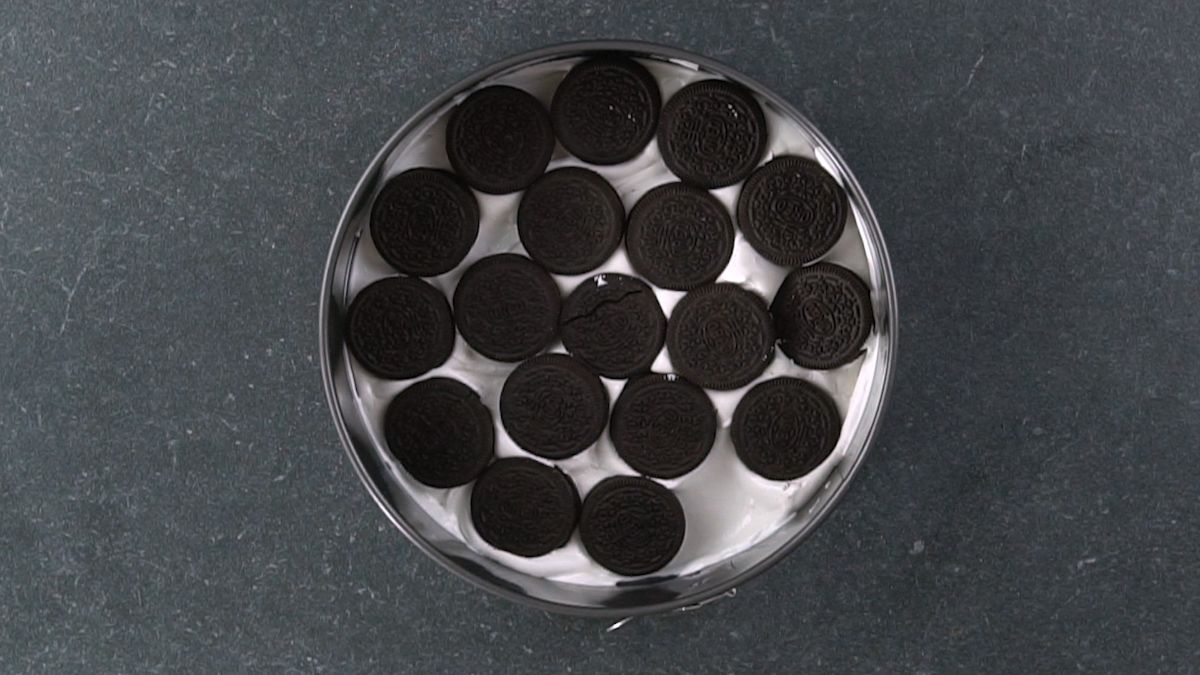
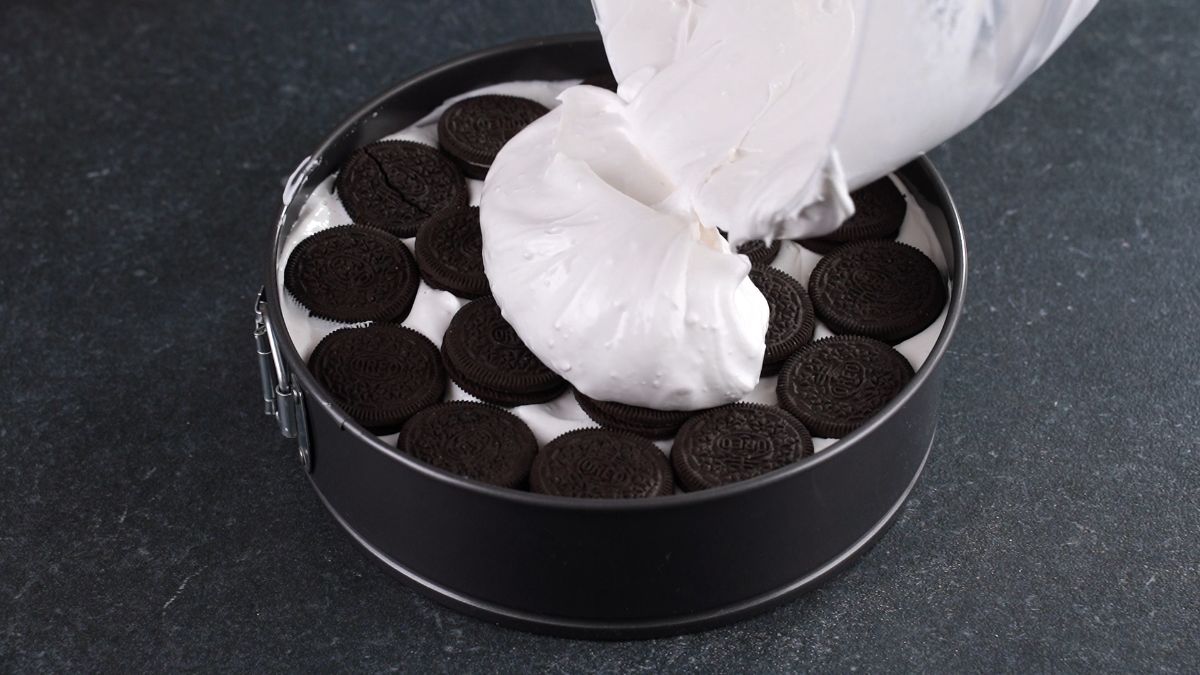
In a big cake mold, spread a layer of about ⅓ of the heavy cream mixture and place a layer of cookies over the top.
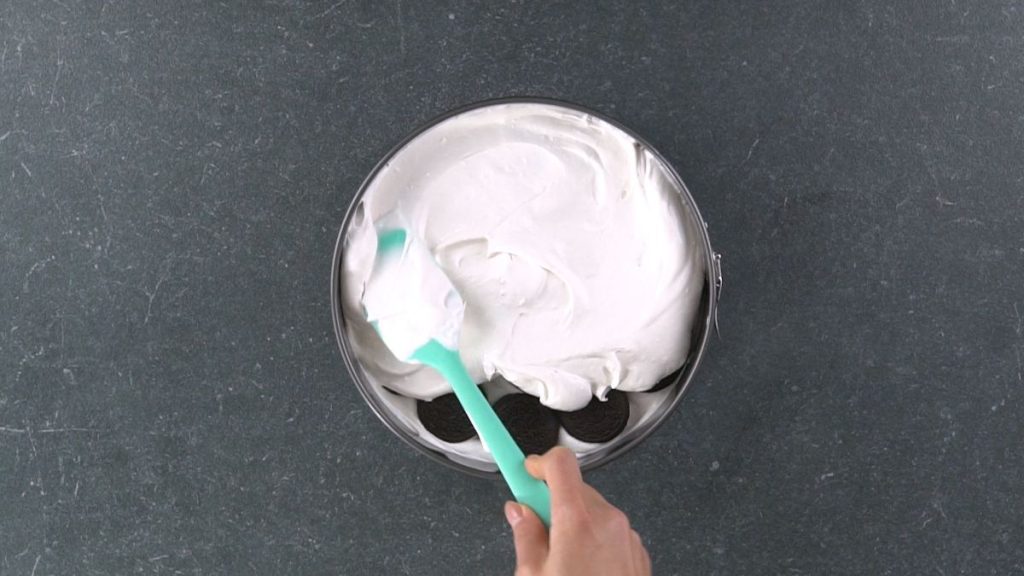
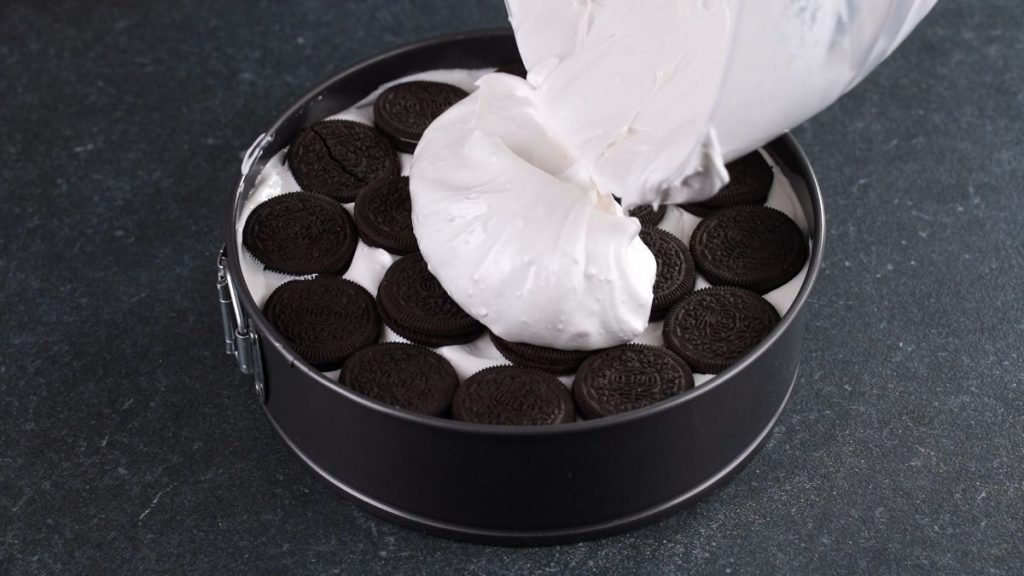
Repeat the same procedure and finish on the top with the remaining heavy cream mixture.
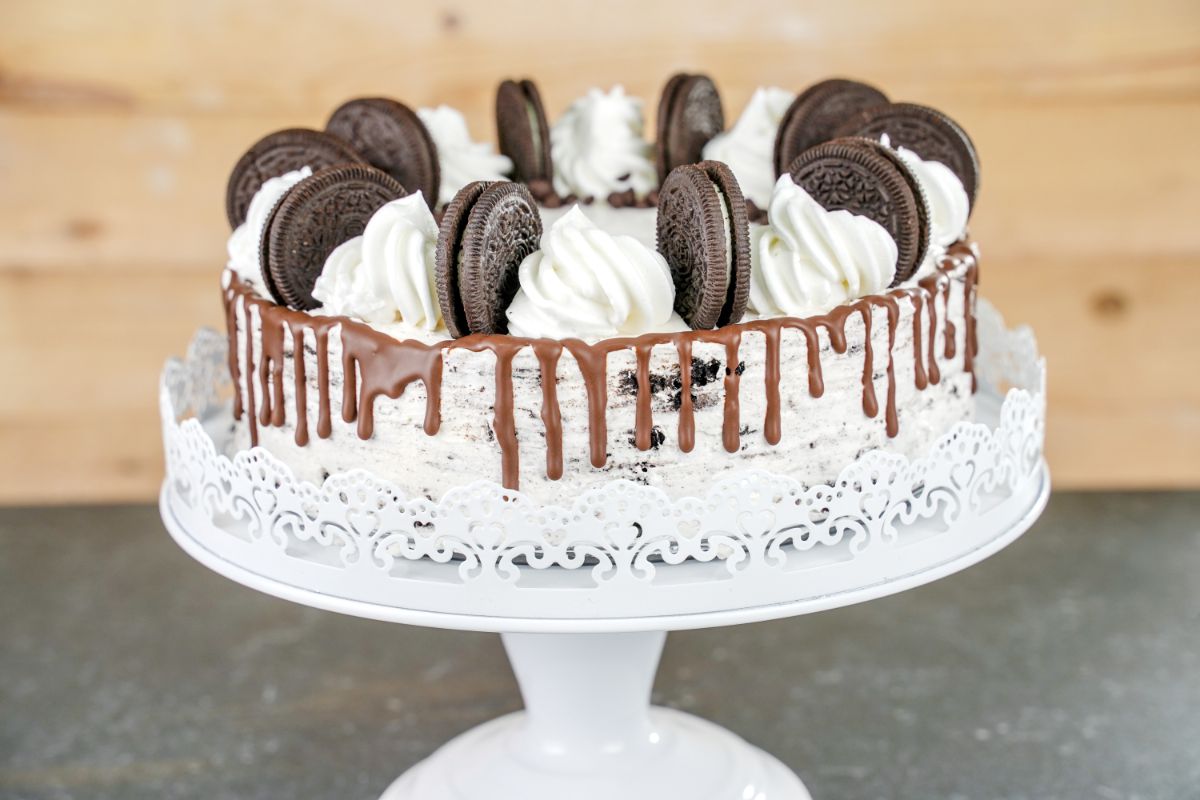
Leave the cake in the fridge for at least 4 hours and decorate it to your taste on the top with some additional Oreo cookies.
Frequently Asked Questions
Heavy cream, when whipped, gets to the right consistency you need it to be for this icebox cake. If you don’t want to use only heavy cream, you can make a quick mixture of whipped cream and cream cheese with some sugar to get a little cheesecake -like flavor.
And of course, if you’re looking for a shortcut, you can just use Cool Whip! To make this recipe dairy-free, you can use coconut cream instead of heavy cream.
Oreos are classic - they are inexpensive and easily available, which is why they're actually the best choice for this recipe. If you don’t have Oreos or just want to try the recipe with different cookies, you could use graham crackers, chocolate chip cookies, nutter butter, or chocolate wafers.
If you can, use double stuffed Oreos- they can really add an extra touch of creaminess to the icebox cake, and also bring extra stability to it, which is exactly what you need if you’re making this for the first time.
Your classic Oreo icebox cake has two flavors - chocolate and vanilla - but it doesn’t have to be that way. You can actually throw in other ingredients and flavors if you want to.
For instance, you can drizzle some salted caramel sauce between layers or add some chopped candied or salted nuts on the top before you serve.
If you’re using golden Oreos or any other vanilla flavored cookies, you can transform this icebox cake into a summery dessert by layering some freshly chopped berries into the layers.
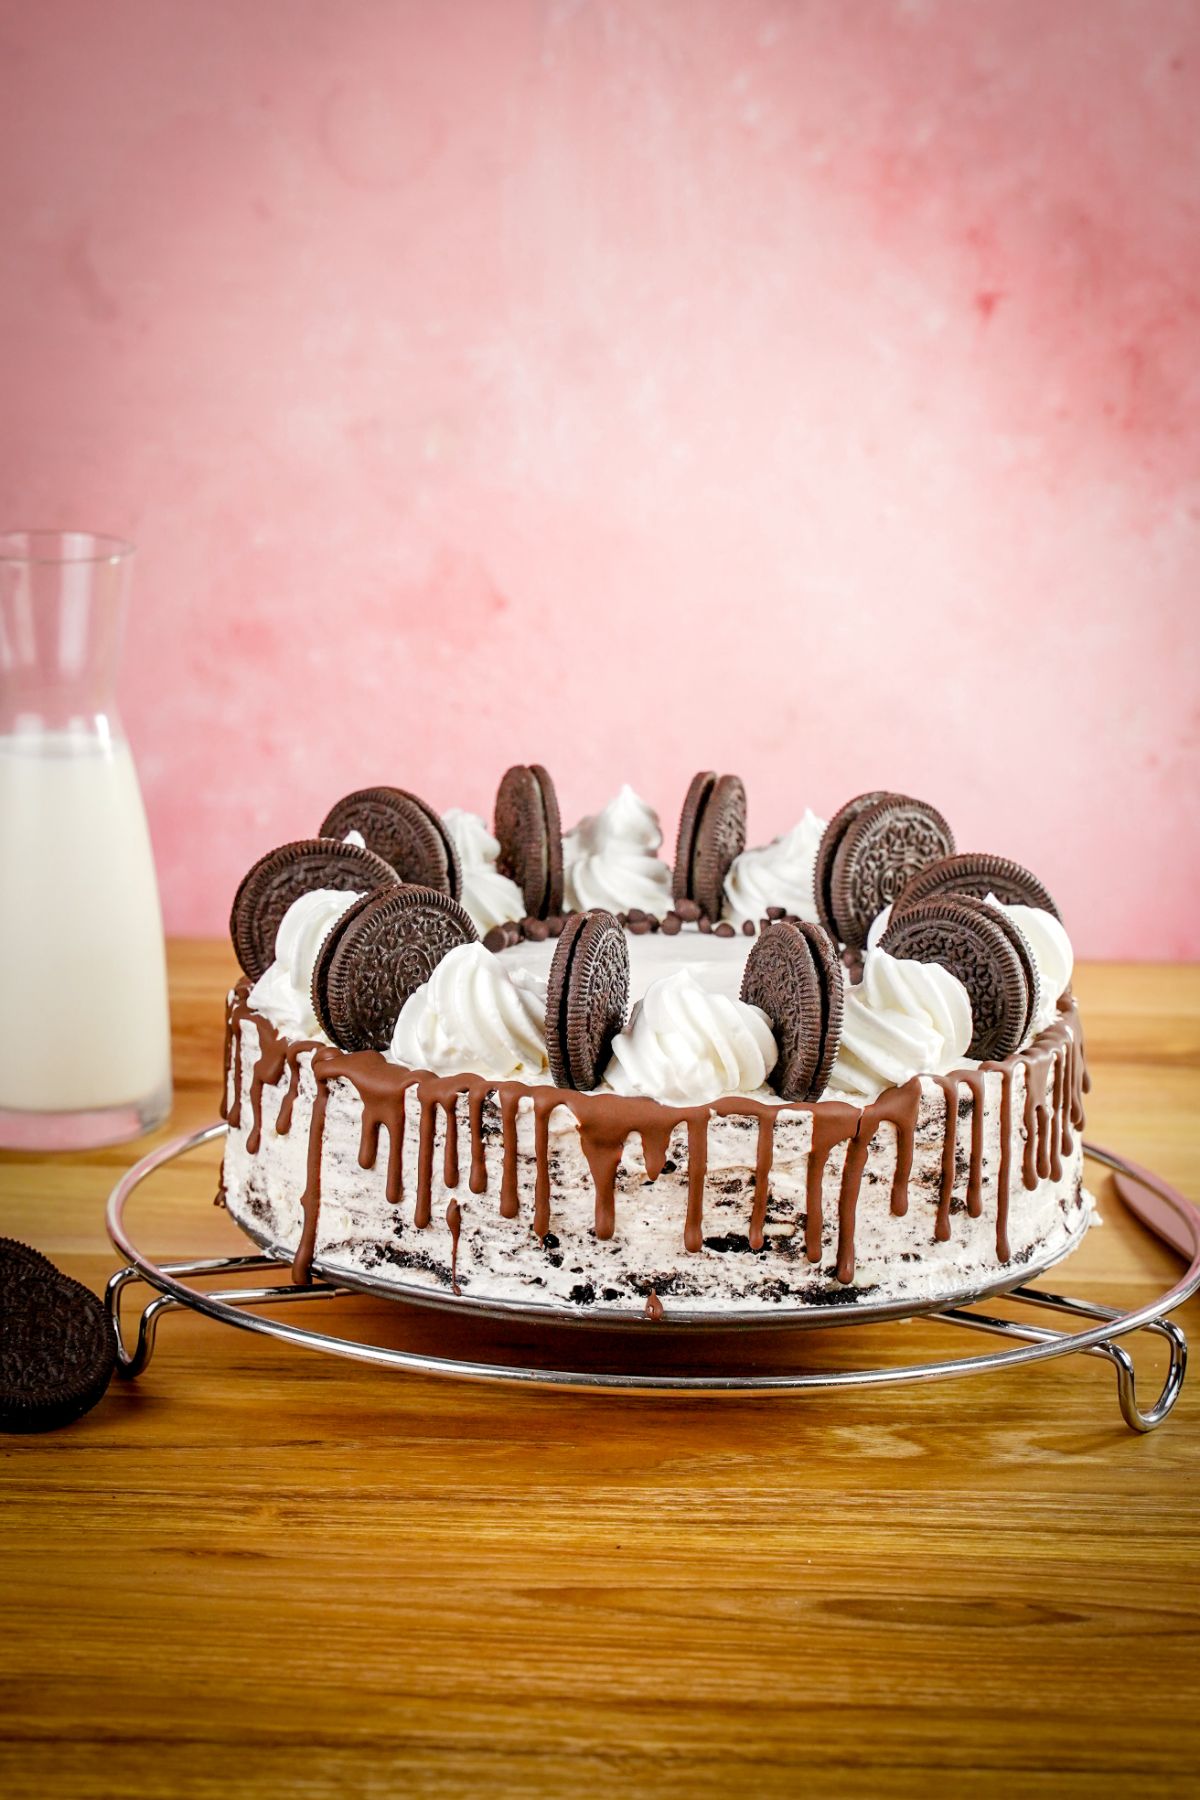
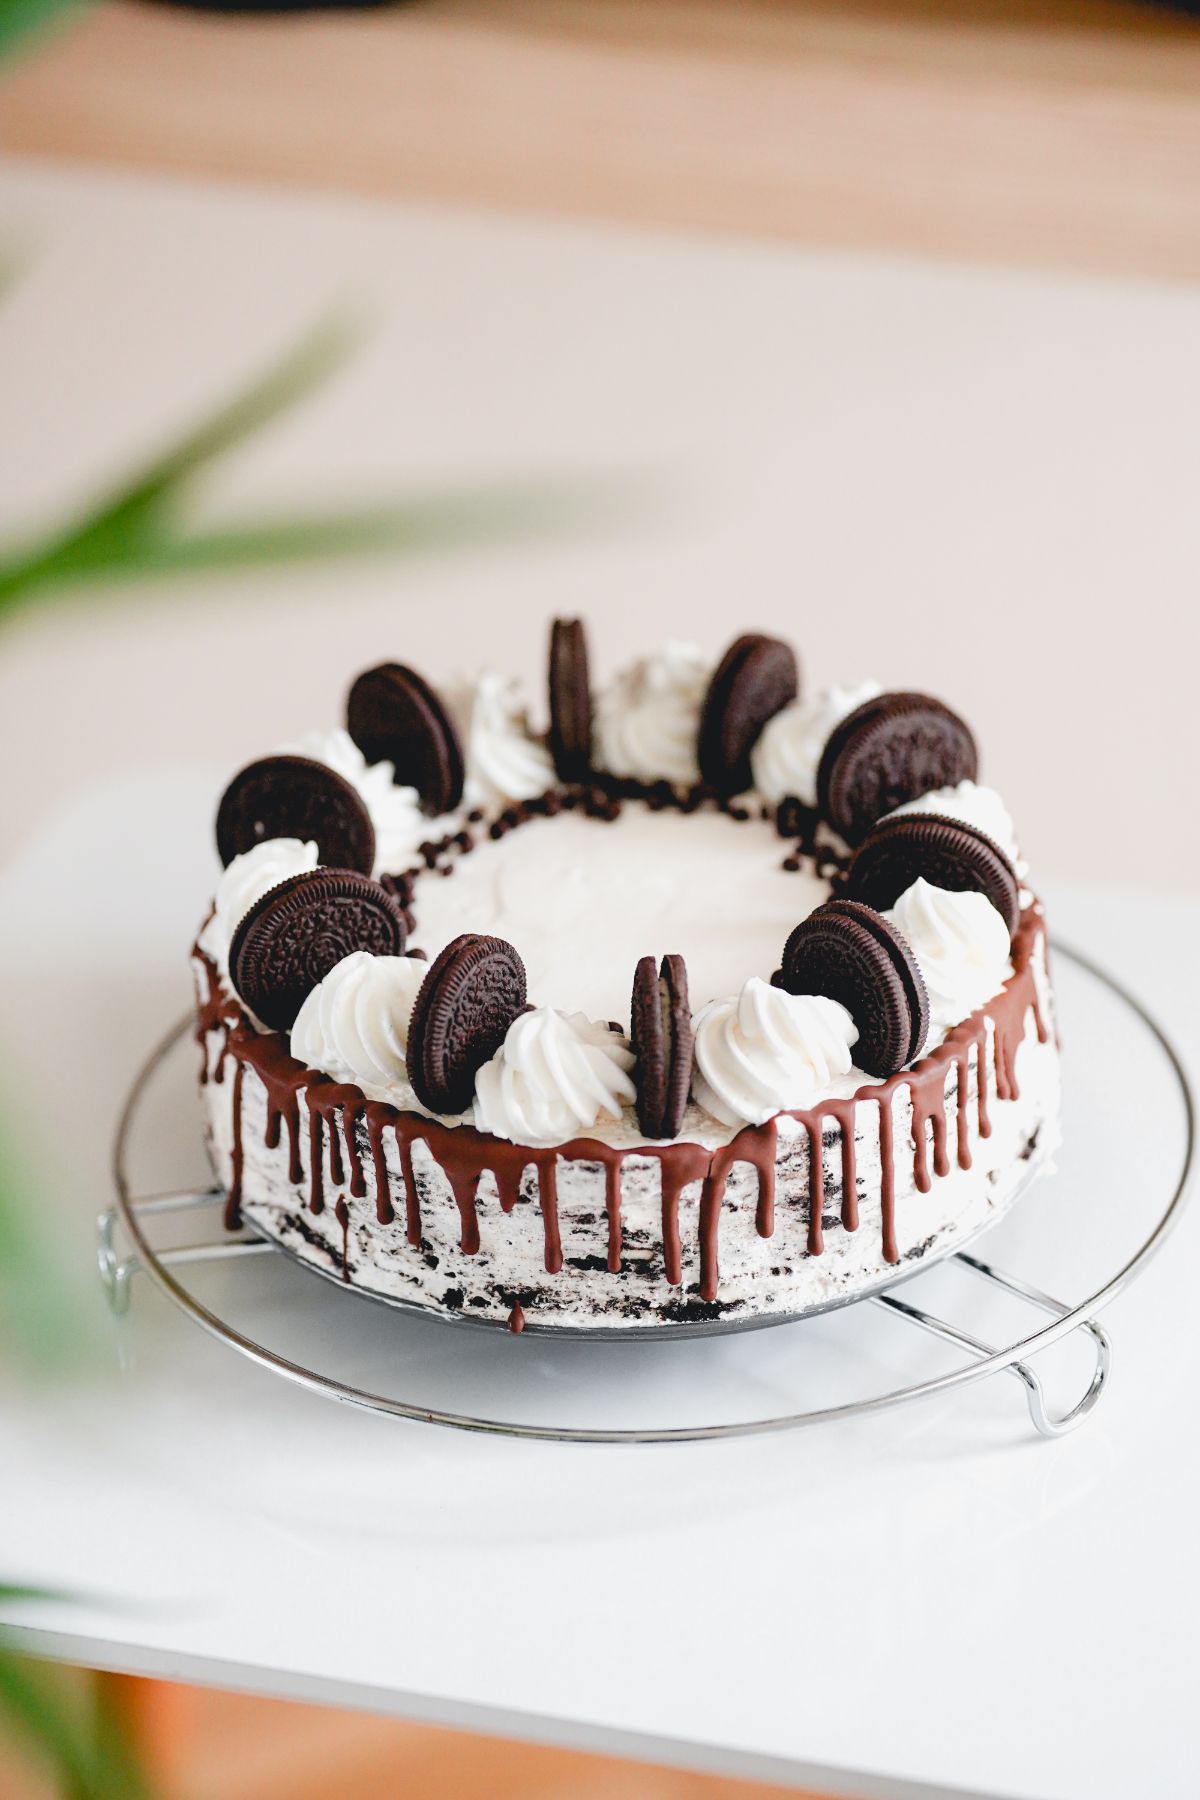
The simplest way to decorate and serve this icebox cake is to top it with some more Oreos, but if you really want to take it up a notch, you can sprinkle some chocolate shavings or mini chocolate chips.
And if you want some extra flavor and deliciousness, you can drizzle some chocolate sauce over the top too.
Because the cake is loaded with whipped cream, refrigeration is an absolute must if you want to store the leftovers for later. Make sure you cover the container with a lid or some cling wrap to keep the icebox cake from picking up any fridge smells.
The cake can be refrigerated for up to 3 days. While it can certainly last longer than that, it won’t taste as good, because the Oreos will have soaked up all the moisture and become soggy and limp.
Tips & Tricks to Nail the Oreo Icebox Cake Recipe
The recipe is super simple, but keeping these additional tips and tricks in mind can help you take it up a notch.
- While you can always use your regular powdered sugar to sweeten the whipped cream, adding confectioner’s sugar instead can be even better. That’s simply because the confectioner’s sugar contains starch, which can help stabilize the whipped cream and help it hold its shape for longer.
- Make sure the cream, the whisk, and the bowl are chilled well enough before you start the process of whipping the cream. Doing this will help your cream get to the soft peak consistency sooner.
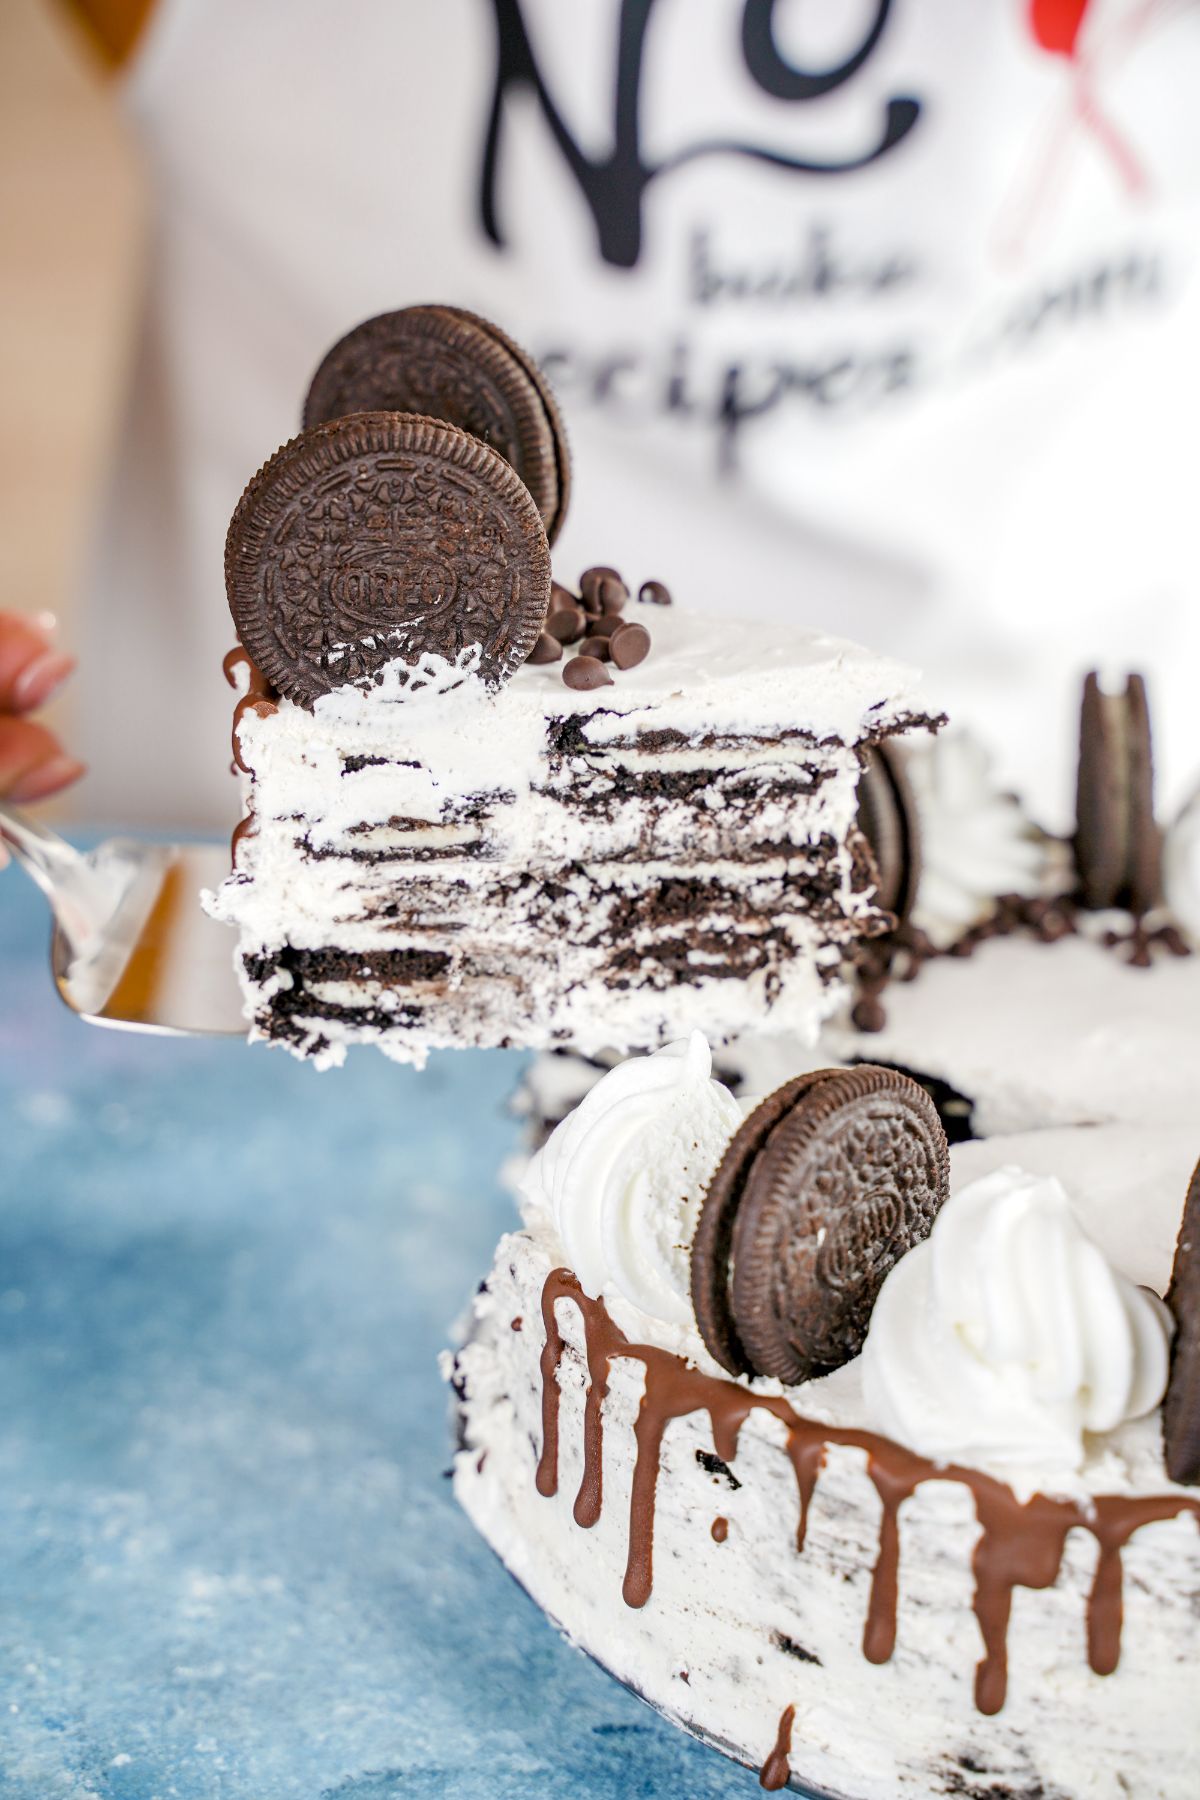
- If you are layering the cake in a large mold, you might be intimidated by the idea of cutting out individual servings, but don’t be. The overnight refrigeration softens the Oreos, which will make it super easy for you to cut through them. Just wipe the knife clean after every cut you make into it, and you should be good.
- This dessert tastes best when you assemble it the night before you intend to serve it. That way, it gets enough time to chill in the refrigerator, and the cookies soak up just the right amount of moisture to turn soft but still retain their bite. However, if you are making this on a time crunch, you can soften the Oreos by dunking them in some milk for a second or two, and then assemble the dessert as you would, ready to serve.
- To turn this dessert into a Black Forest flavored one, you can add an additional layer of chopped maraschino cherries and a generous sprinkle of chocolate shavings on the top.
- If you are making this dessert for a crowd, you can take the headache out of having to slice and serve by simply assembling it in individual dessert glasses.
Loved making this Oreo icebox cake? On the hunt for some more such recipes to try out? You have got to check these out.
- Nutella Oreo Banana Pudding Trifle Recipe
- Frozen Samoa Pie Copycat Girl Scouts Recipe
- Easy Black Forest Icebox Cake Recipe
Recipe
4 Ingredient Oreo Icebox Cake
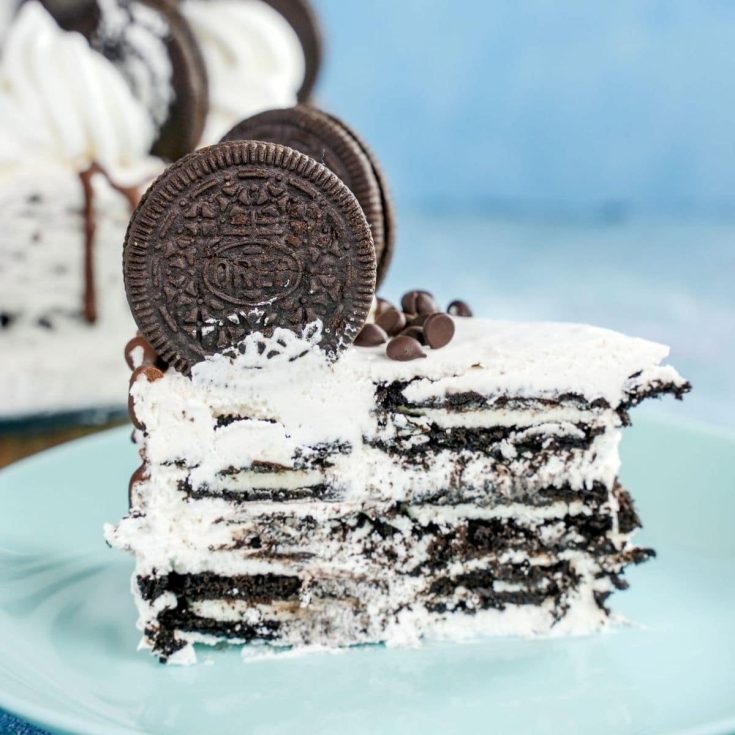
Simple ingredients, a little stacking, and an overnight chill are all it takes to make this delicious Oreo icebox cake.
Ingredients
- 3 cups (700ml) cold heavy cream
- ½ cup (50g) powdered sugar
- 1 teaspoon (5ml) pure vanilla extract
- 64 Oreo cookies (about 1 ½ typical packages)
Instructions
- In a big bowl mix the heavy cream, vanilla, and powdered sugar until everything is well combined and stiff peaks form.
- In a big cake mold, spread about ⅓ of the heavy cream mixture into a layer
and order a layer of cookies over it.
- Repeat the same procedure
and finish on the top with the remaining heavy cream.
- Leave the cake in the fridge for at least 4 hours and decorate it to your taste on the top with some additional Oreo cookies.
Nutrition Information:
Yield:
8Serving Size:
1Amount Per Serving: Calories: 467Total Fat: 23gSaturated Fat: 8gTrans Fat: 0gUnsaturated Fat: 1gCholesterol: 13mgSodium: 363mgCarbohydrates: 67gFiber: 3gSugar: 38gProtein: 3g


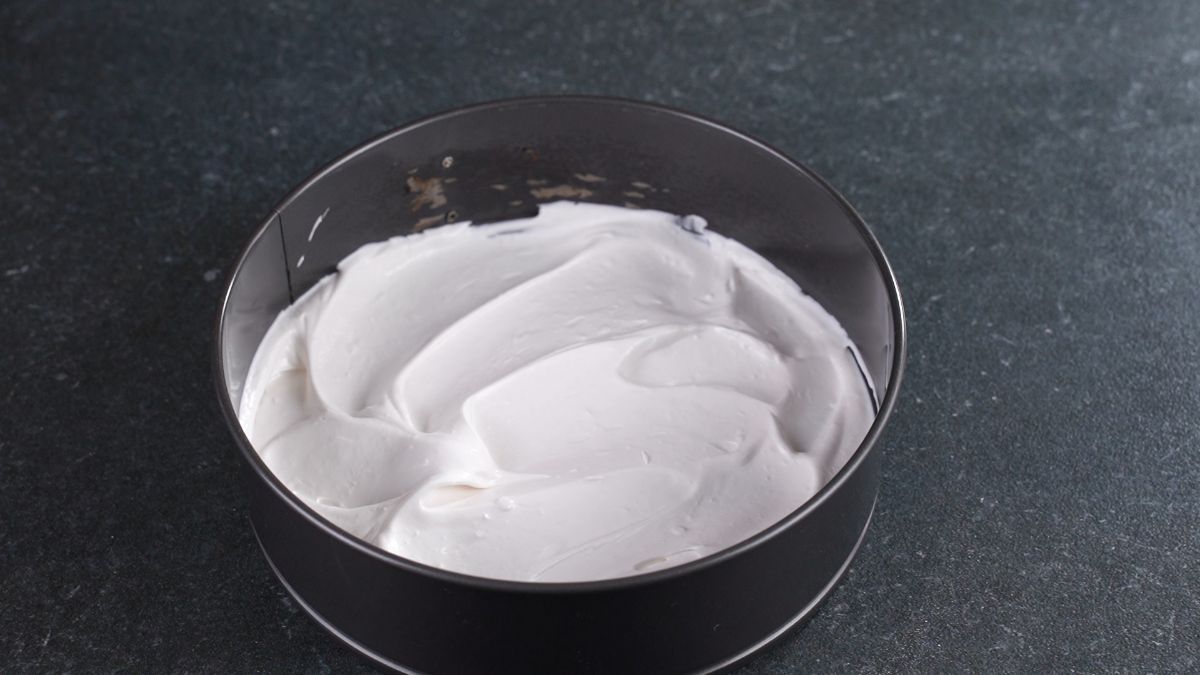 and order a layer of cookies over it.
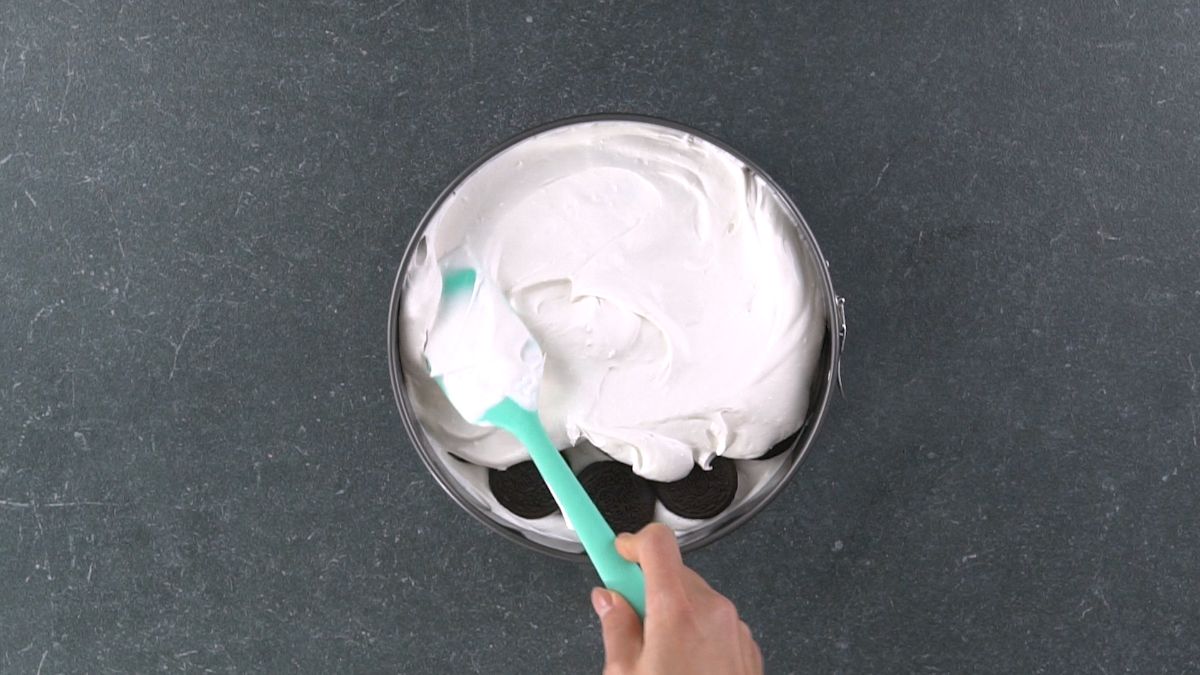 and finish on the top with the remaining heavy cream.
Comments
No Comments